After
seeing how good the vinyl tile looked in the living room and
carefully considering the age of the carpeting in the balance of
the house, we decided to replace all the carpet with tile.
As before, the lead times were substantial, but in due course
the materials arrived. As always, demolition is easy,
installation less so.
The photos below are what we saw.
The
first act was to
evacuate the items in Kathleen's office. No small feat,
but after several days, the items were migrated to other
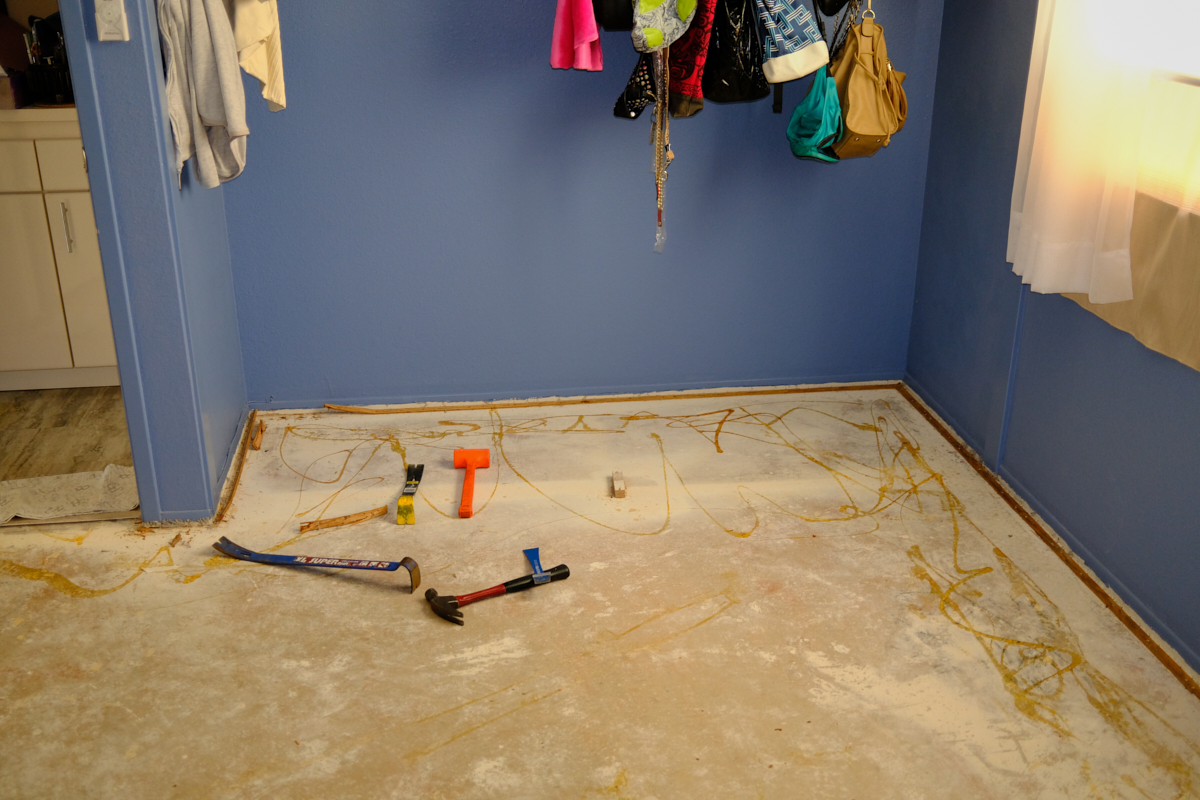
rooms. Once the room was clean, removal of the carpet was
easy. Kathleen found a person anxious to take the cast-off
carpet and padding. When the padding was removed, we were
ready to pull the tack strips and scrape the glue from the slab.
There
was quite a bit of paint and drywall mud from the original
construction of the house in 1978, but unlike the living room
the total area was small and the scraping was completed in only
a few hours. Lots of tedious "hands-and-knees" work, but
not hard.

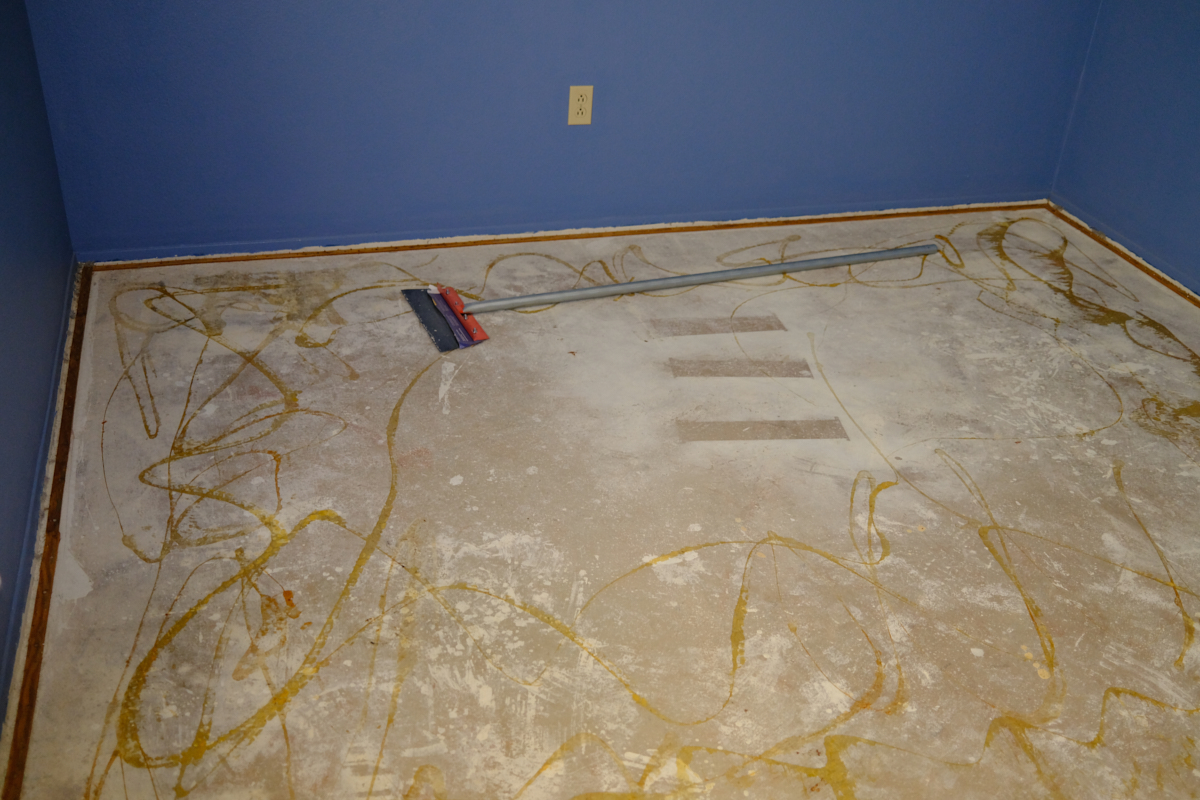
Once the
tack strips were removed and the floor was scraped, the whole
area was cleaned with the shop vac to remove debris.
The
scraping did take some labor, but most of the paint and carpet
glue came off with the aid of scraping tools and some elbow
grease.
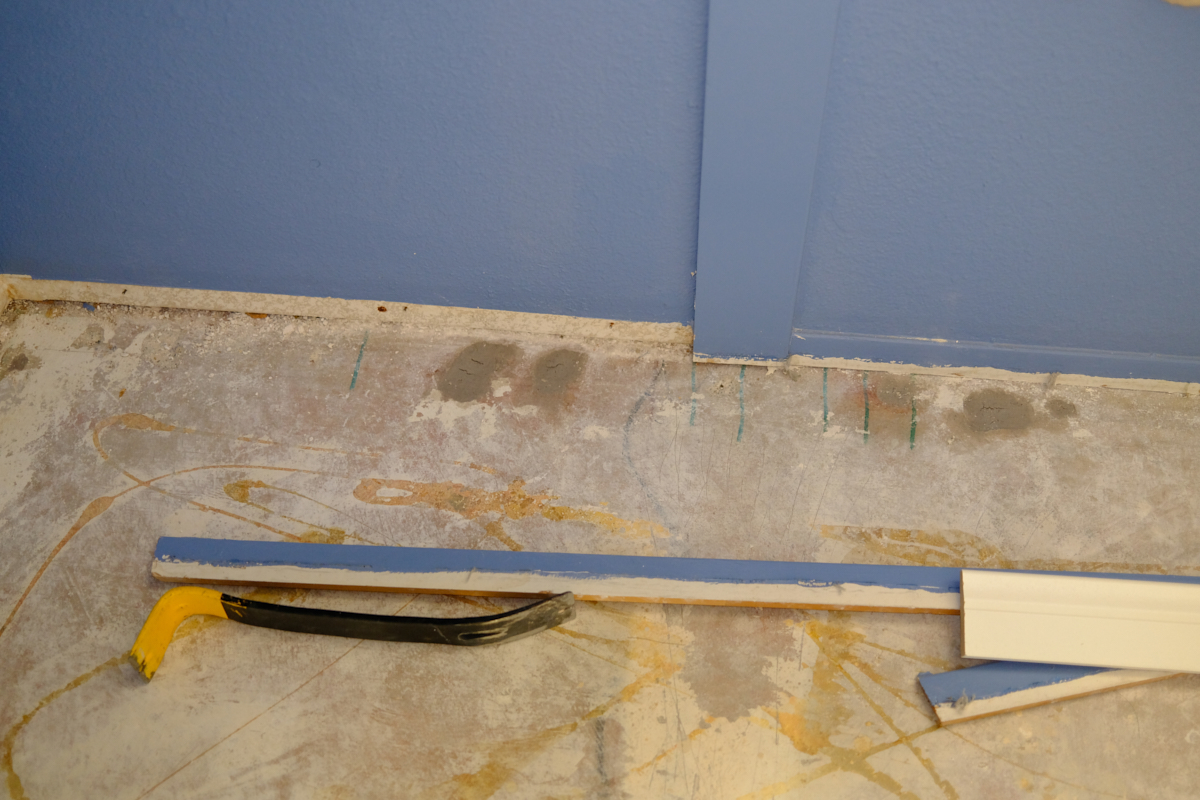
After
the scraping, the baseboards were removed and the holes in the
slab left by the tack strip nails were filled with concrete
patching compound.
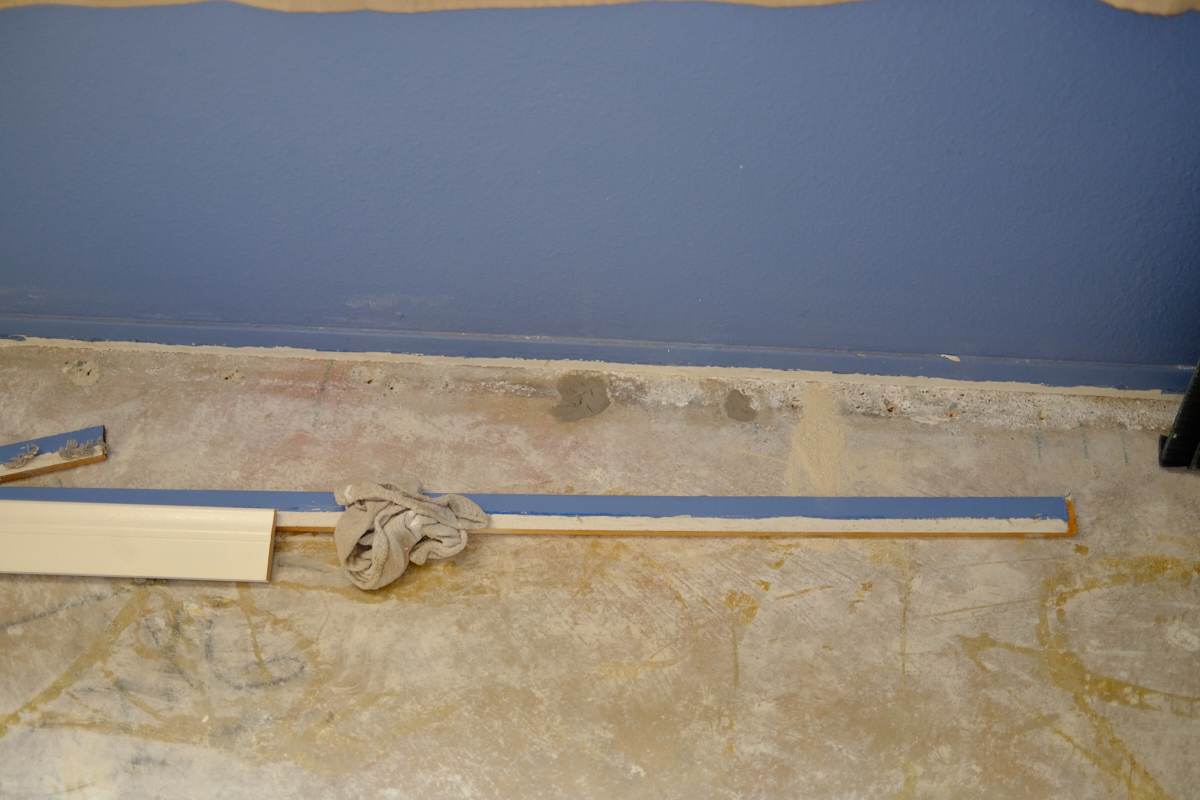
Some of
the areas were more damaged than others and required several
layers of concrete patching material.
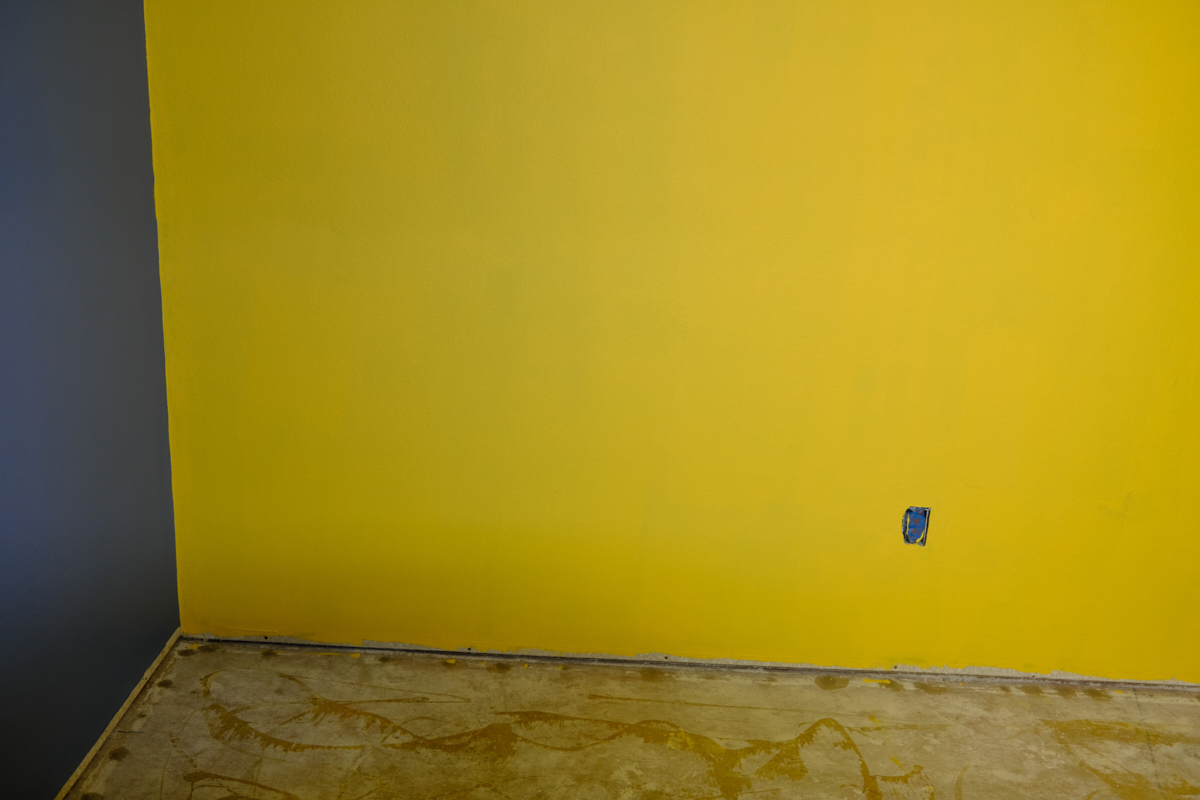
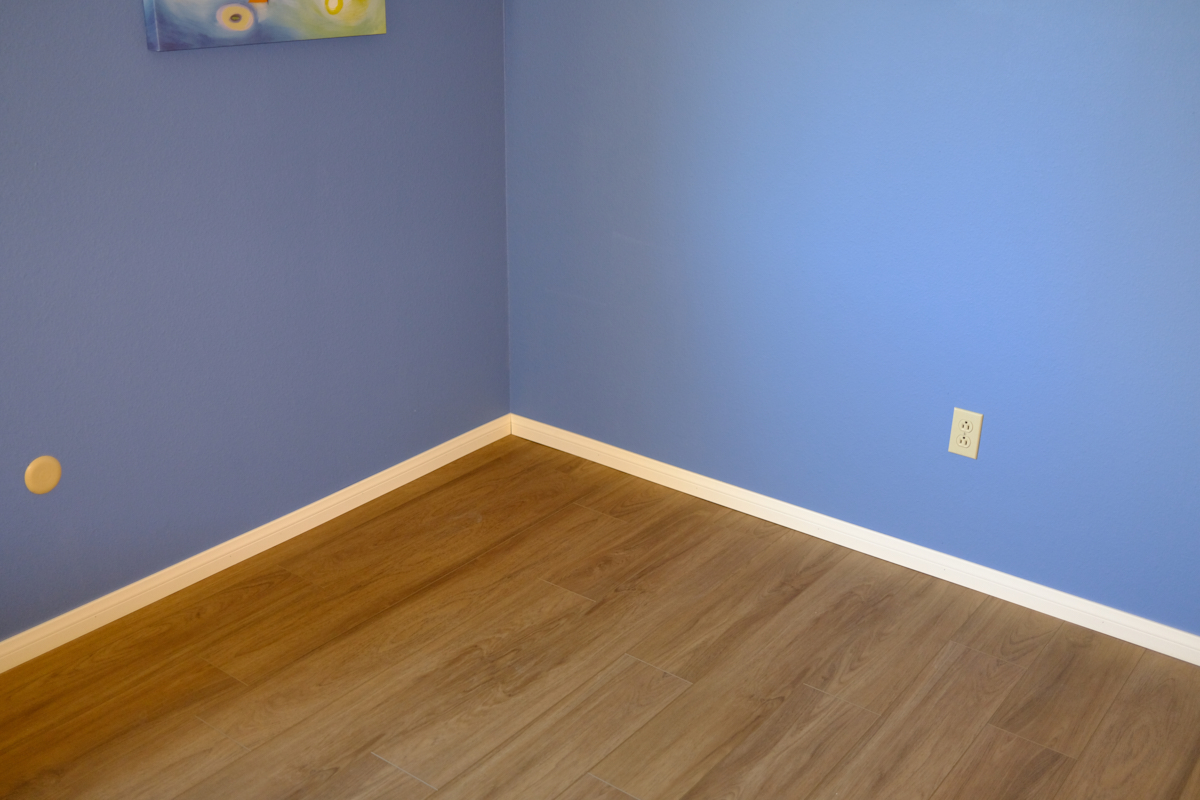
Next up
was paint. Kathleen's color of choice was "Americana Blue"
and the original semi-gloss was covered with a flat
finish. One wall was selected to be the "accent" wall and
a sunflower yellow was chosen. Several coats were required
to get full coverage.

The
yellow was rather bold, but it DID provide the desired
accent. The door would be removed, sanded and repainted
"cottage white".
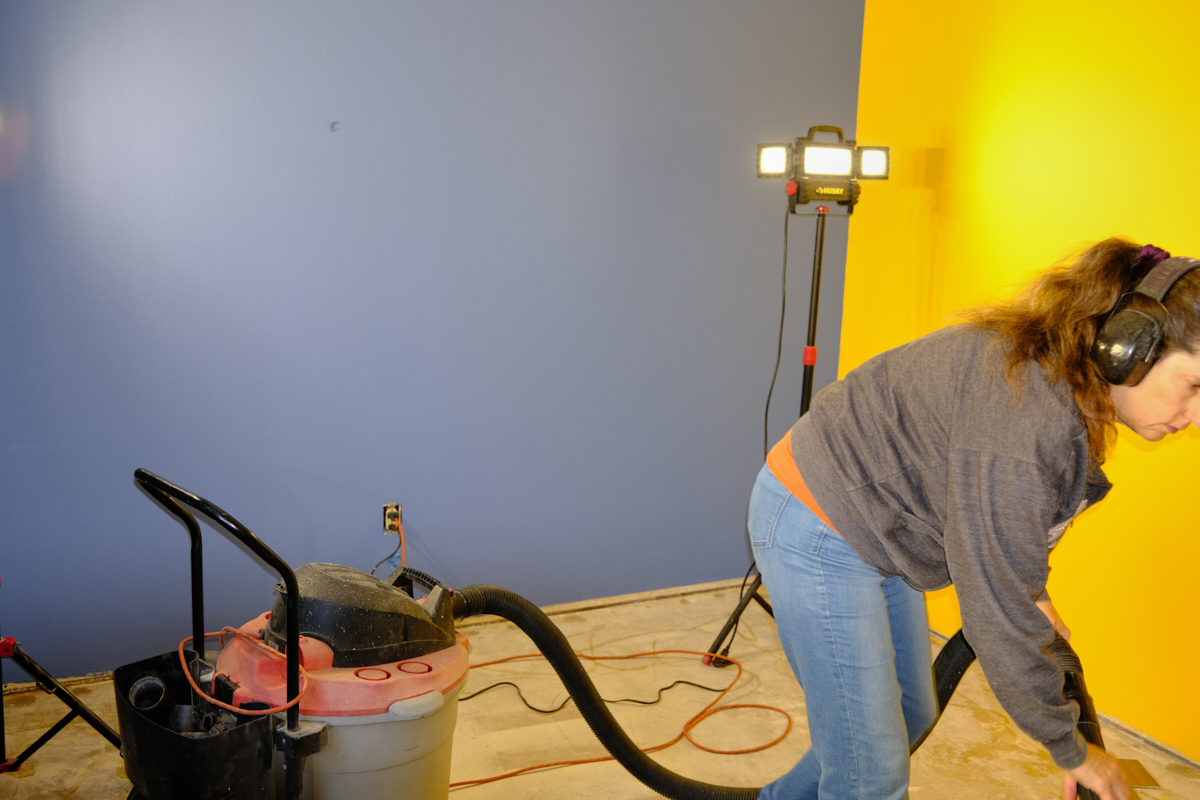
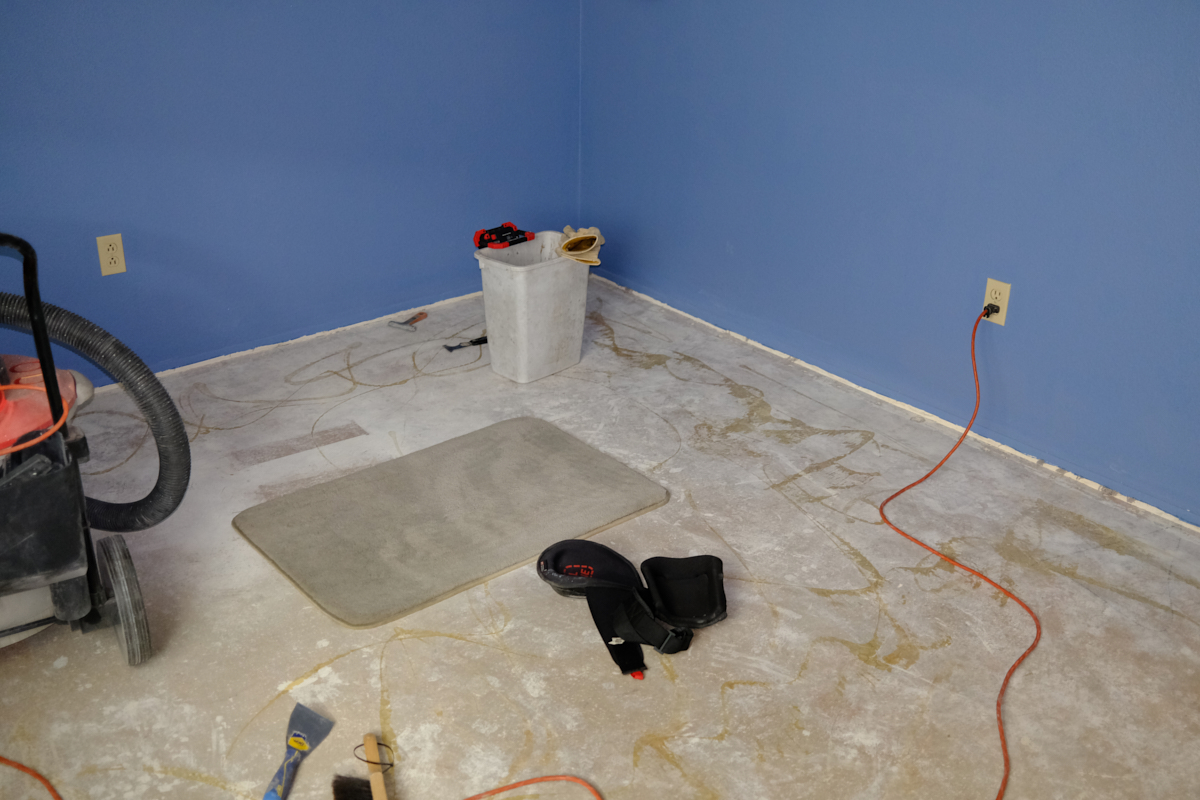
When the
painting was completed, the entire floor was vacuumed again to
insure that no debris remained.
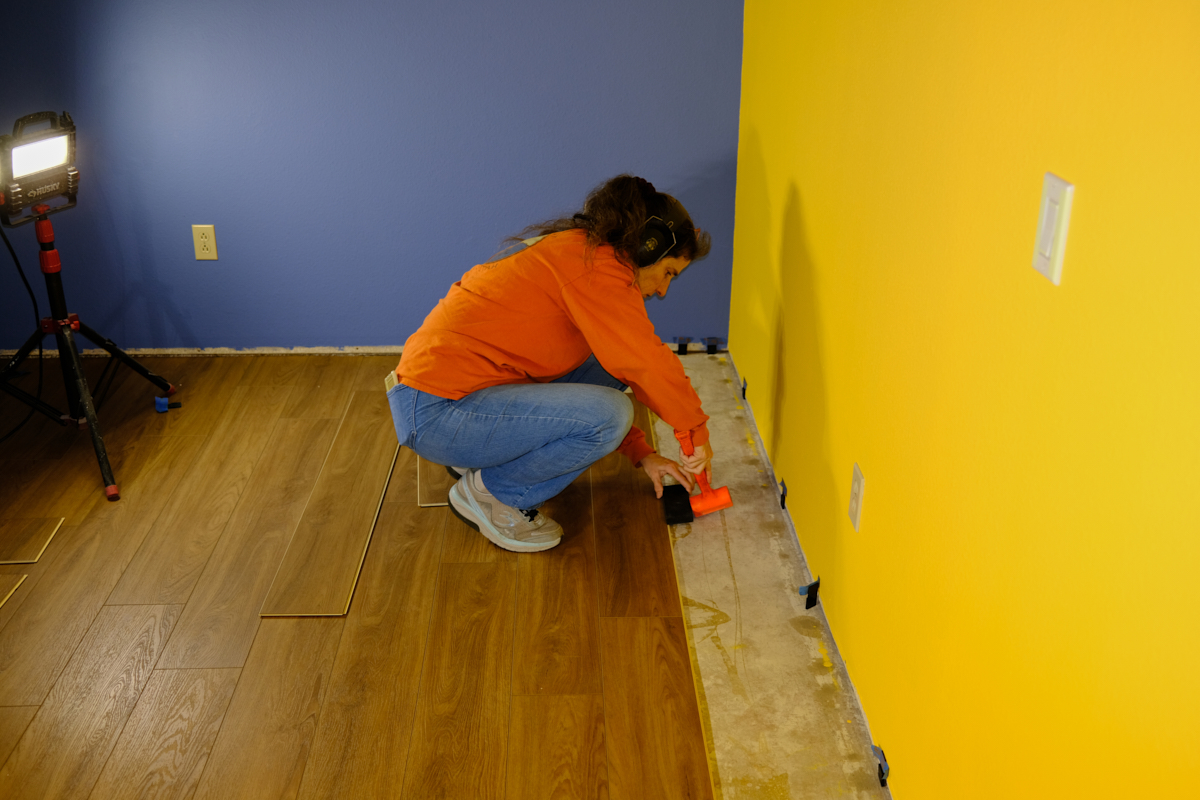
Once our
tile arrived, we started the installation. The tile snaps
together, so assembly is fast once the prep-work is
completed. To insure tight joints, each "course" is seated
with a mallet and block. 5mm plastic spacing blocks were
used as reference to insure sufficient thermal expansion space
for the tile.
Both the
first and last course required ripping the planks length-wise to
insure that the edge planks would not be too narrow.
Installing the last course required substantial care.
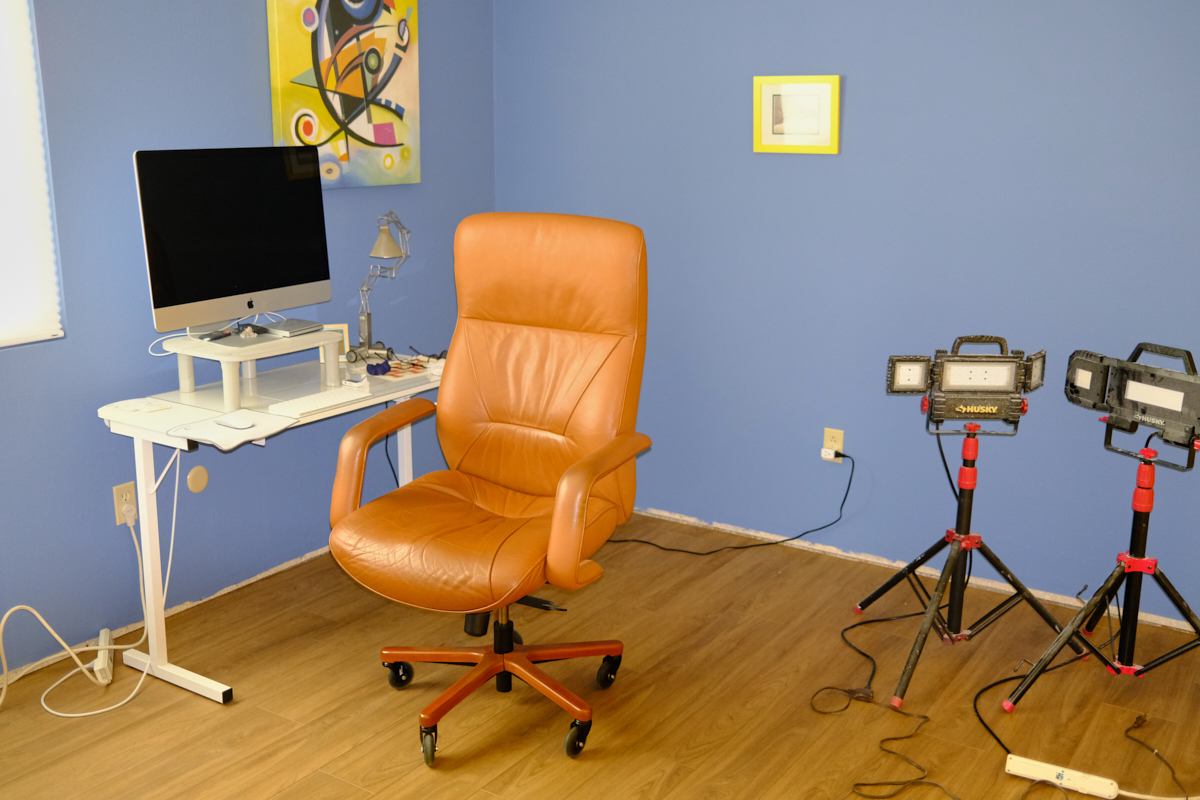
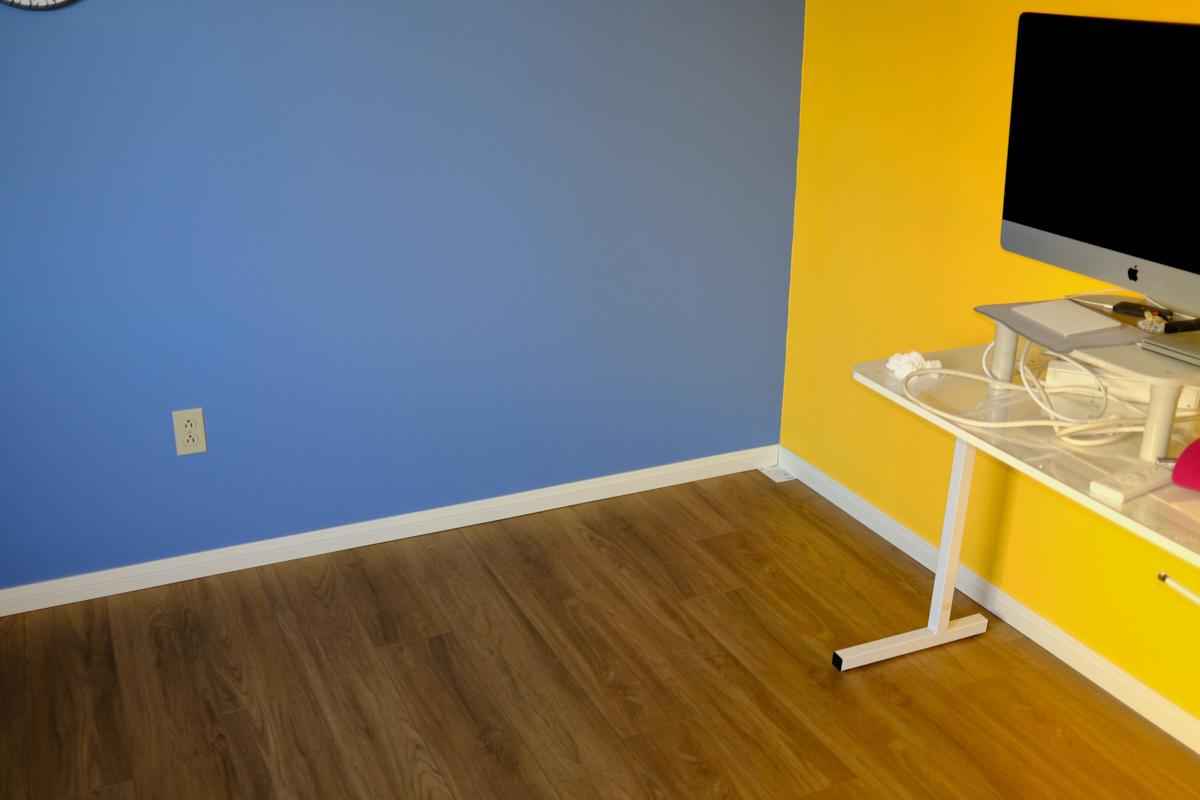
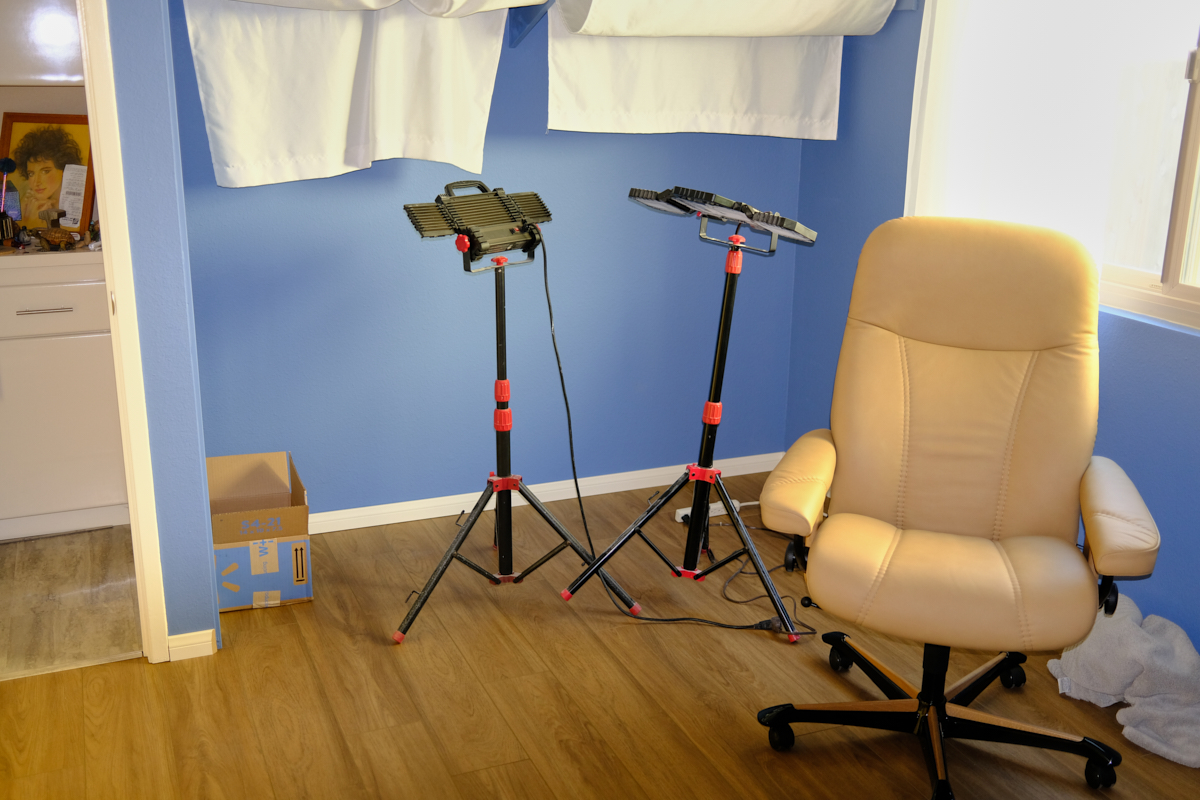
Our
baseboard still had not arrived, so Kathleen decided to evaluate
a new location for her desk. Lighting in the room is an
issue due to reflections off our neighbor's house. The
reflected light produces glare on the computer screen so some
testing was required to get an adequate solution. Here,
her sewing table acts as a desk-proxy for evaluation of the
lighting.
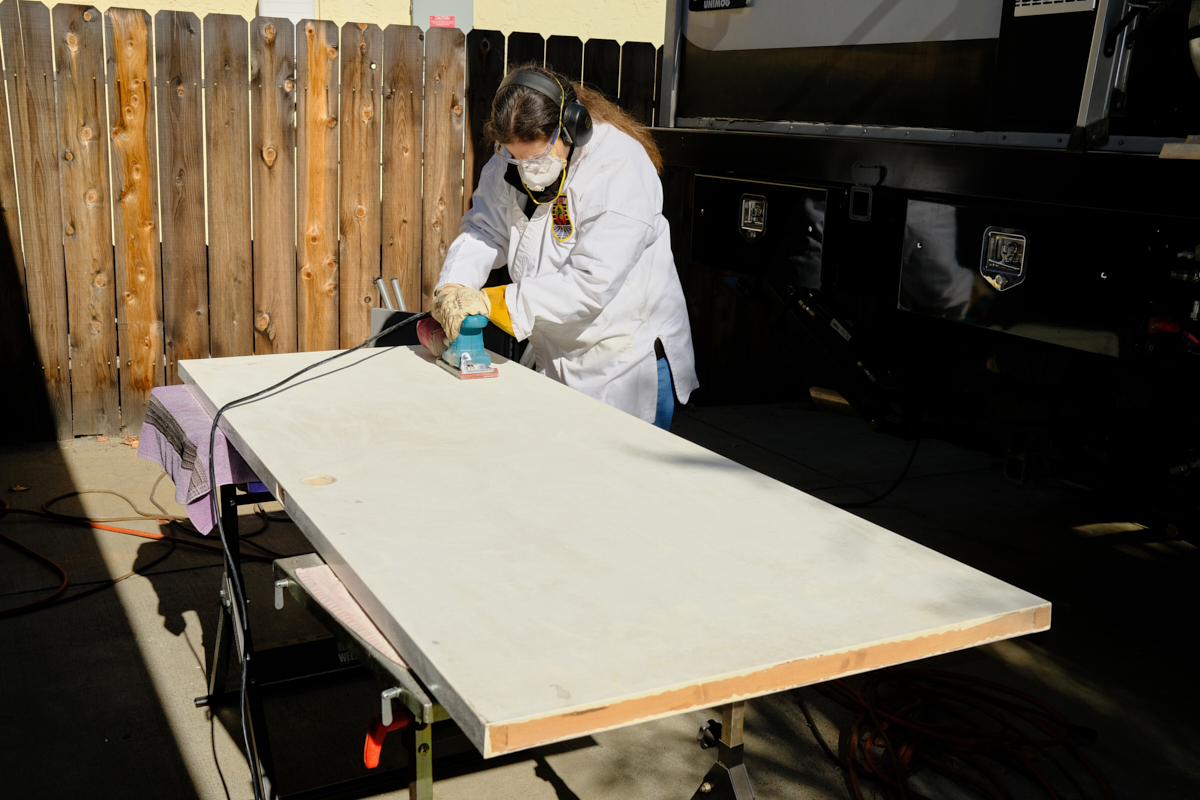
While we
were waiting for delivery of the baseboard, Kathleen refinished
her door using a power sander.

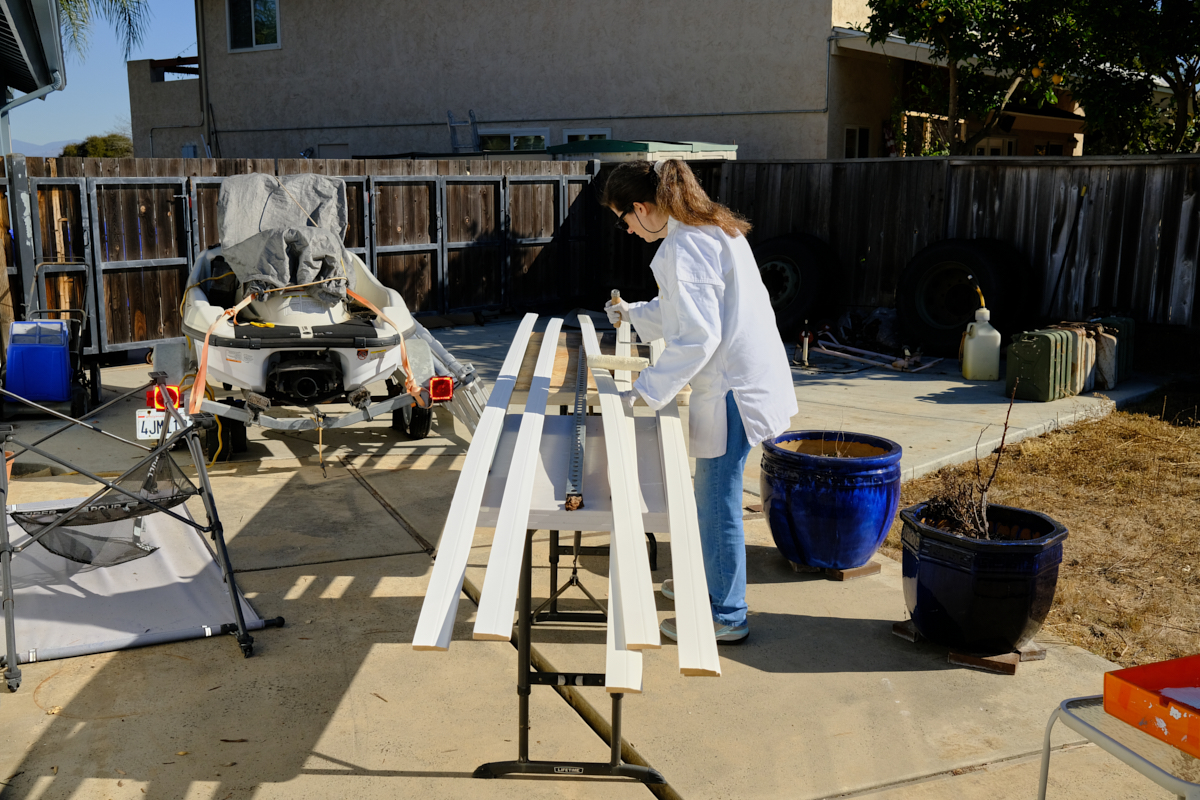
The
baseboard finally arrived and a trip to the vendor was required
to bring it home. These pieces are 15' in length so a
ladder was used to provide support during transport. The
ladder was ratchet-strapped to the truck and the baseboard was
lashed to the ladder.
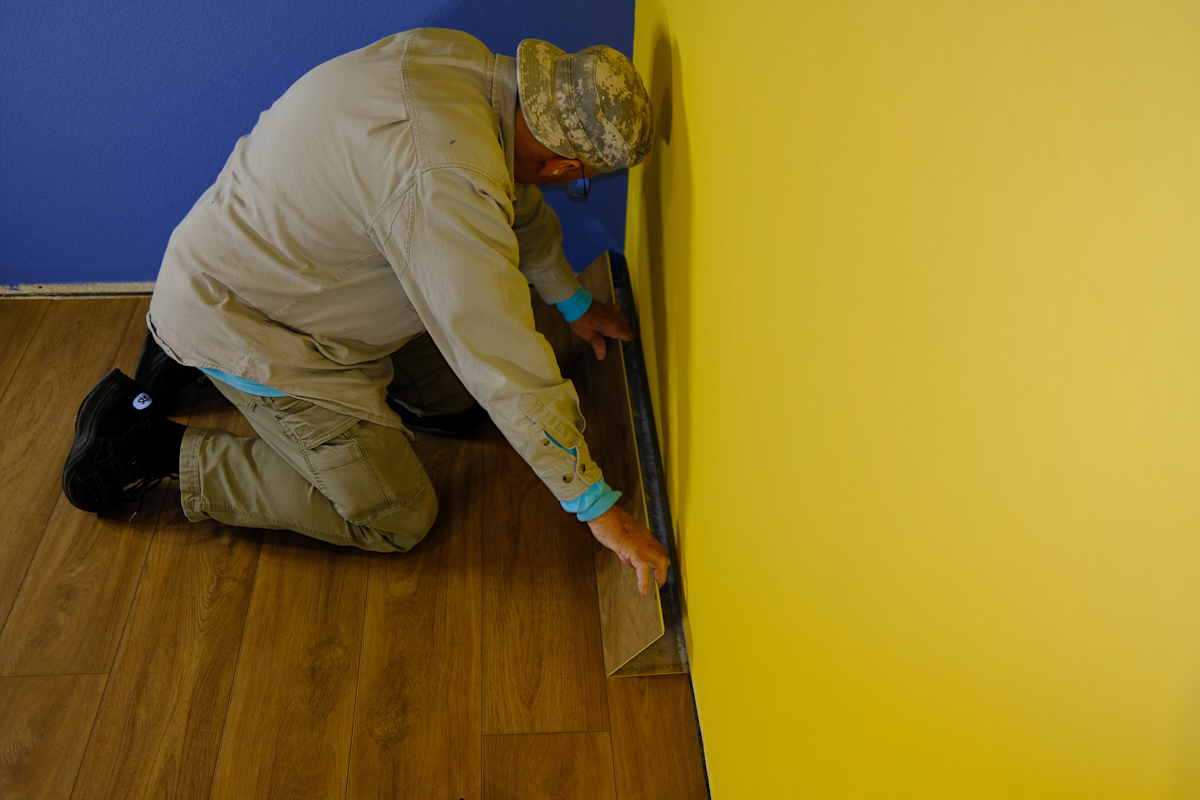
The
baseboard was primed, but a coat of paint was required before
installation.
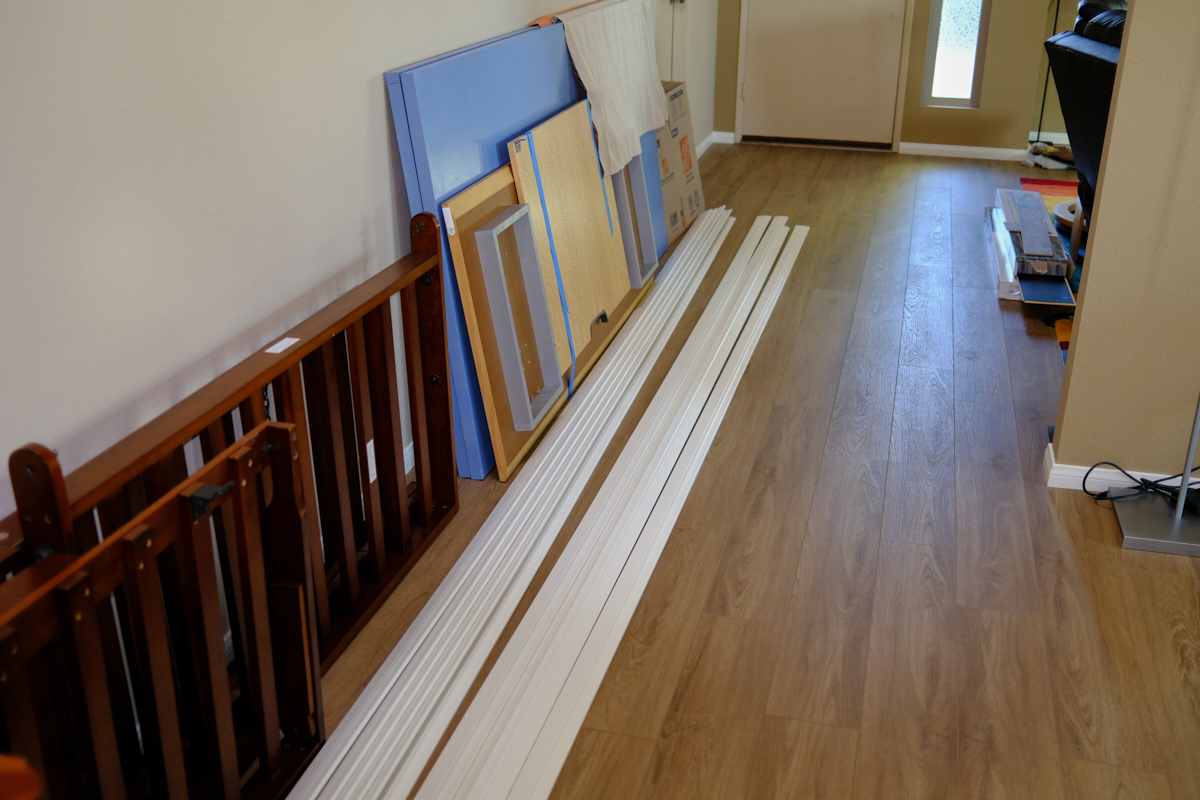
Once the
baseboard was painted and dried, it was brought inside to
protect it from the damp night air and placed alongside the
other items that were office refugees.
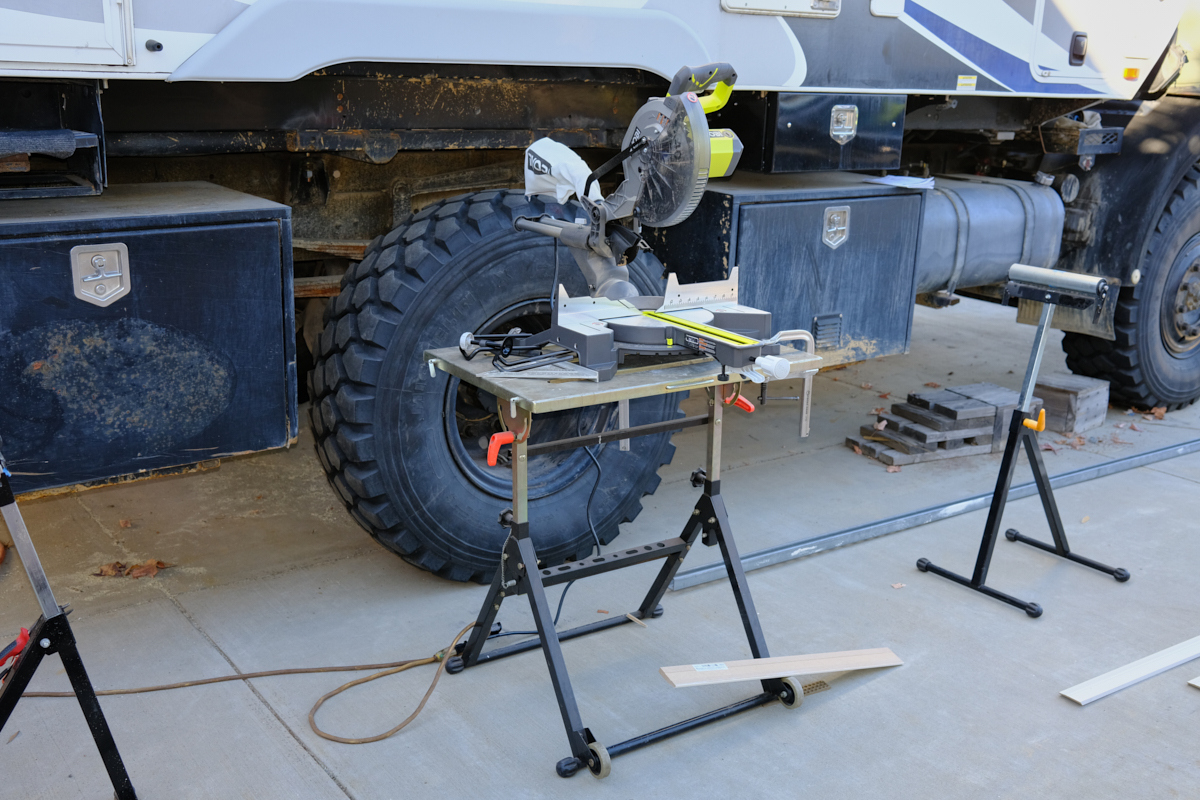
My
neighbor kindly offered his miter saw but his contracting
assignments collided with our needs. In the end, a trip to
Home Depot got us what we needed: a 10" traveling, double bevel
miter saw and an 18ga pneumatic nailer. Both worked as
expected.
The saw
and nailer made completion of the room easy. A bit of
painter's putty and some touch-up paint are all that
remain. The bold yellow worked better than I had
originally thought.
Migrating
from the semi-gloss to flat finish greatly improved my affinity
for the blue color.
Closet
doors were removed and the space would be used to house a futon
bed for guests. Our new Stressless office chairs finally
arrived after many months.
| Previous Adventure | ||
| Trip Home Page |
Photos and Text Copyright Bill Caid 2020, all rights
reserved.
For your enjoyment only, not for commercial use.