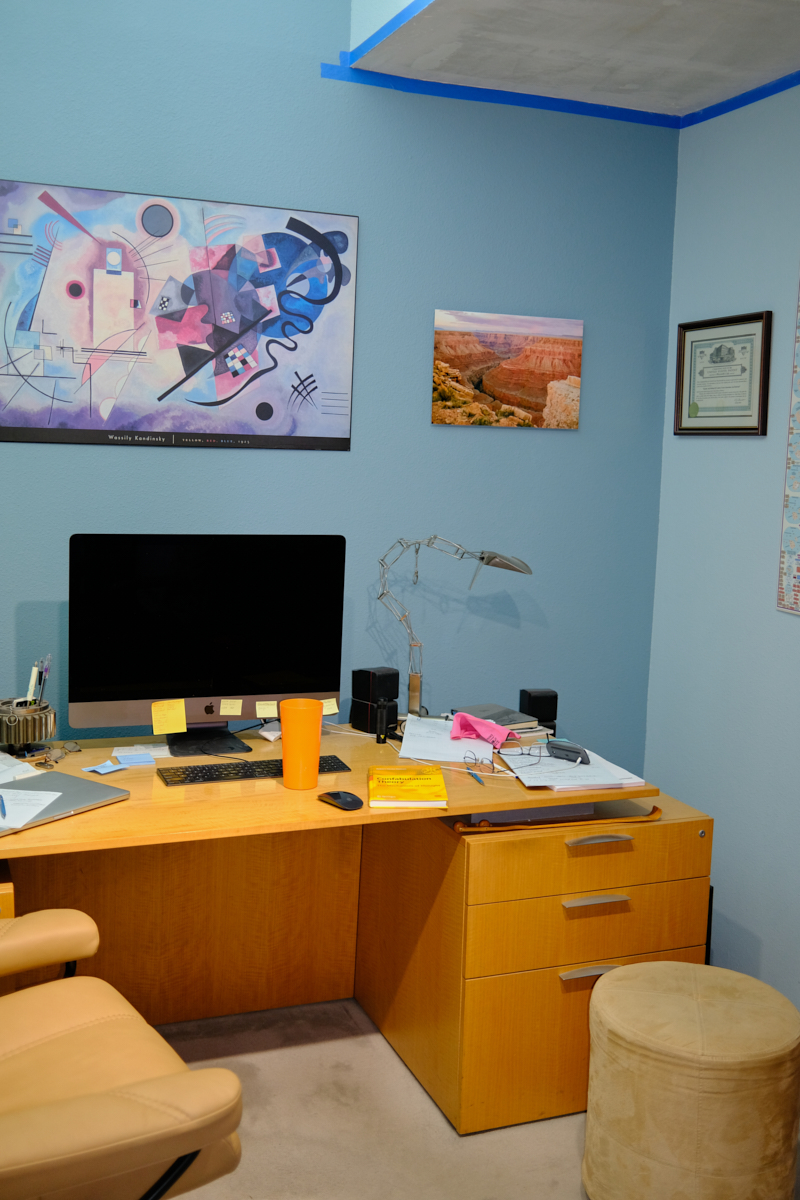
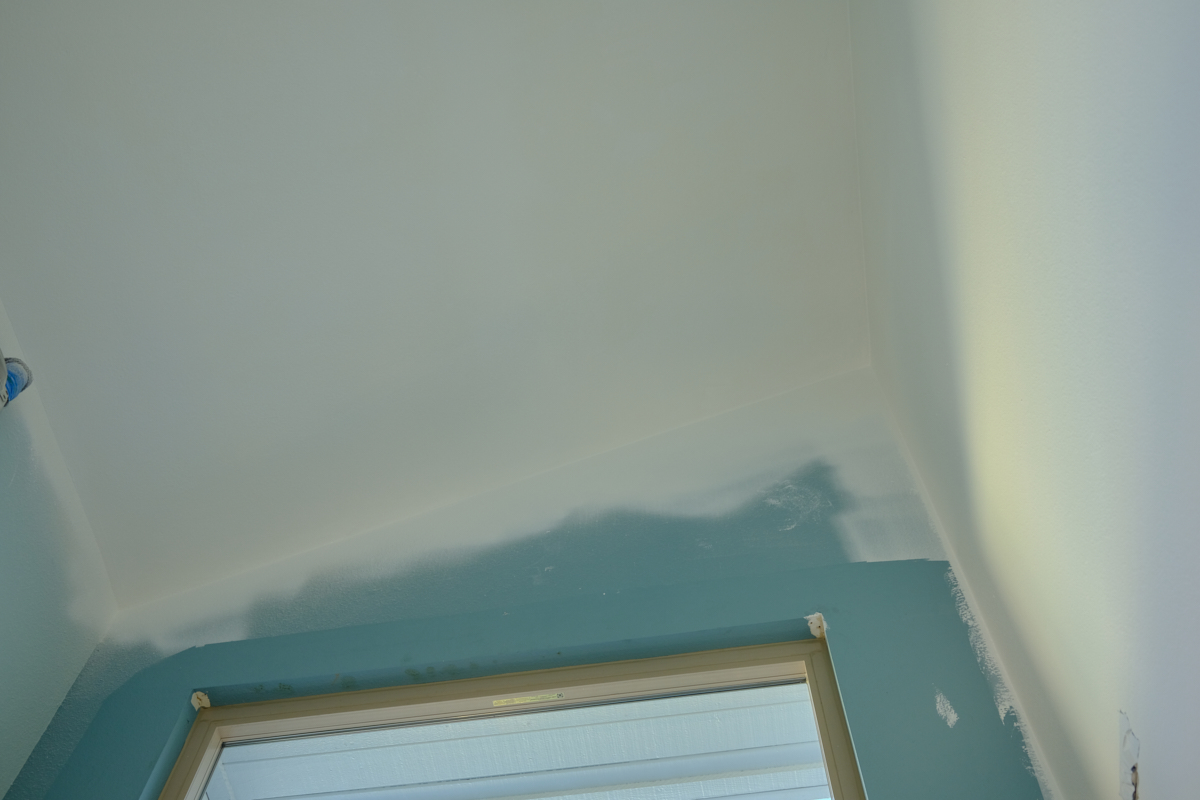
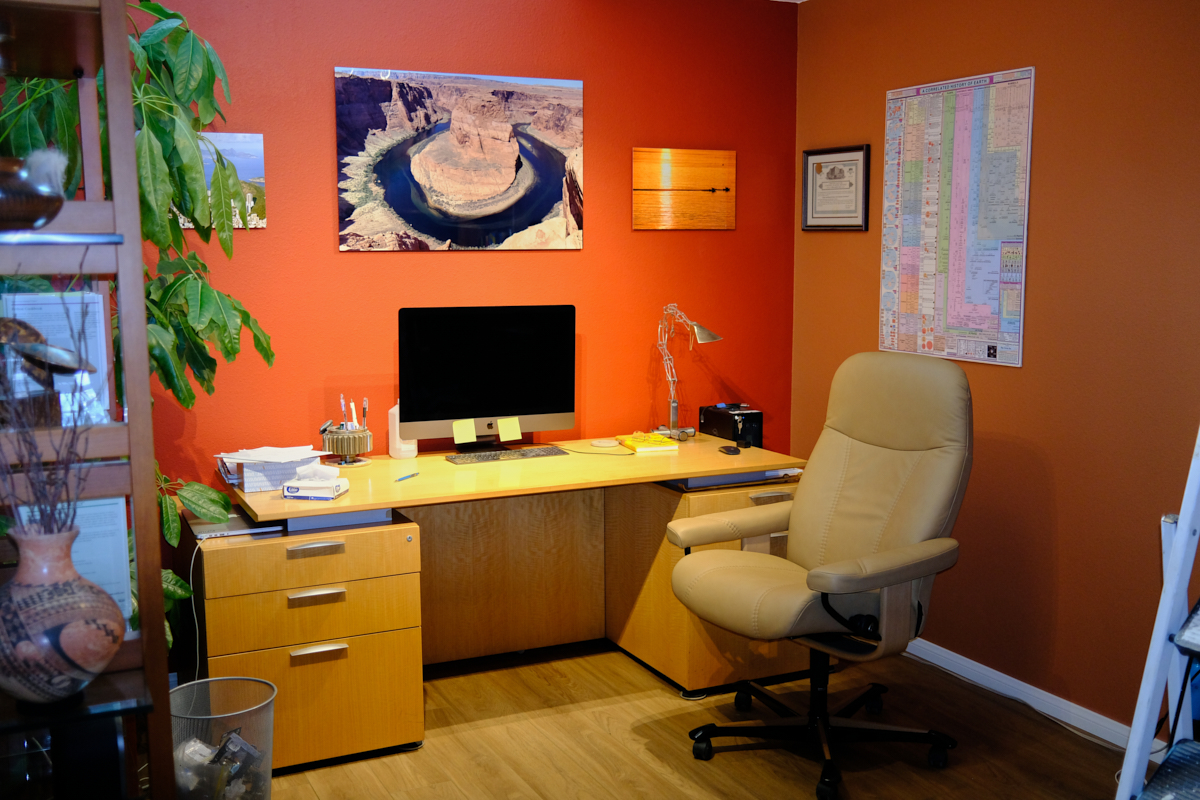
The photos below are what we saw.
This is the "before"
picture. The wall paint is more than 15 years old, but
truth be told, we cannot recall actually doing it. The
blue tape was left in place from the November popcorn removal
effort (the furniture was not moved, only covered, for that
very messy action).
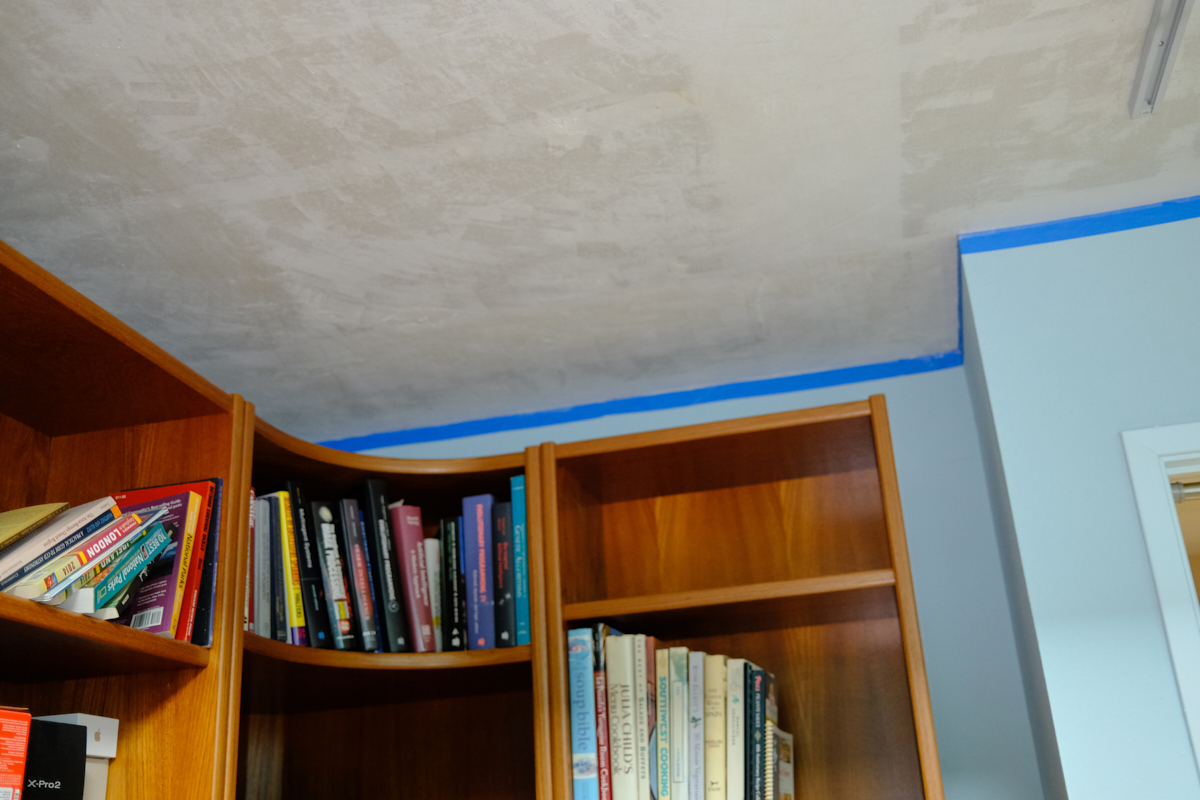
The
ceiling had been scraped during the popcorn removal effort
several months prior. The tape was left in place assuming
that the walls would be draped when the ceiling was textured,
but our plans changed. The heavy/awkward bookcases and all
their contents will have to be moved to allow flooring to be
installed. More "slippery slope" logic: If the contents
have to be removed, might as well repaint too; if painting,
might as well upgrade electrical fixtures as well".
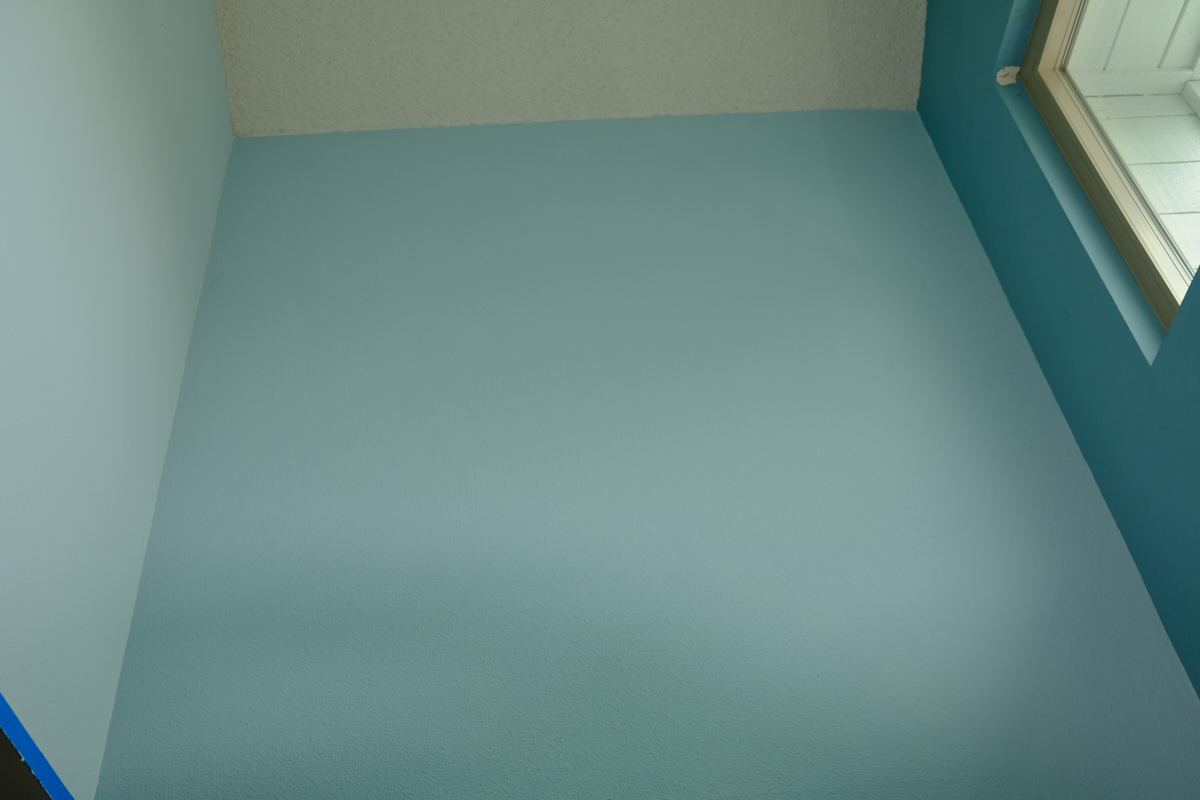
The
outside window in the office was replaced in December 2020, but
the original popcorn on the vaulted part of the ceiling
remains. Since the walls were going to be repainted, we
decided to remove the popcorn too. Likely a good decision,
but it substantially increased the scope and difficulty of the
overall effort.
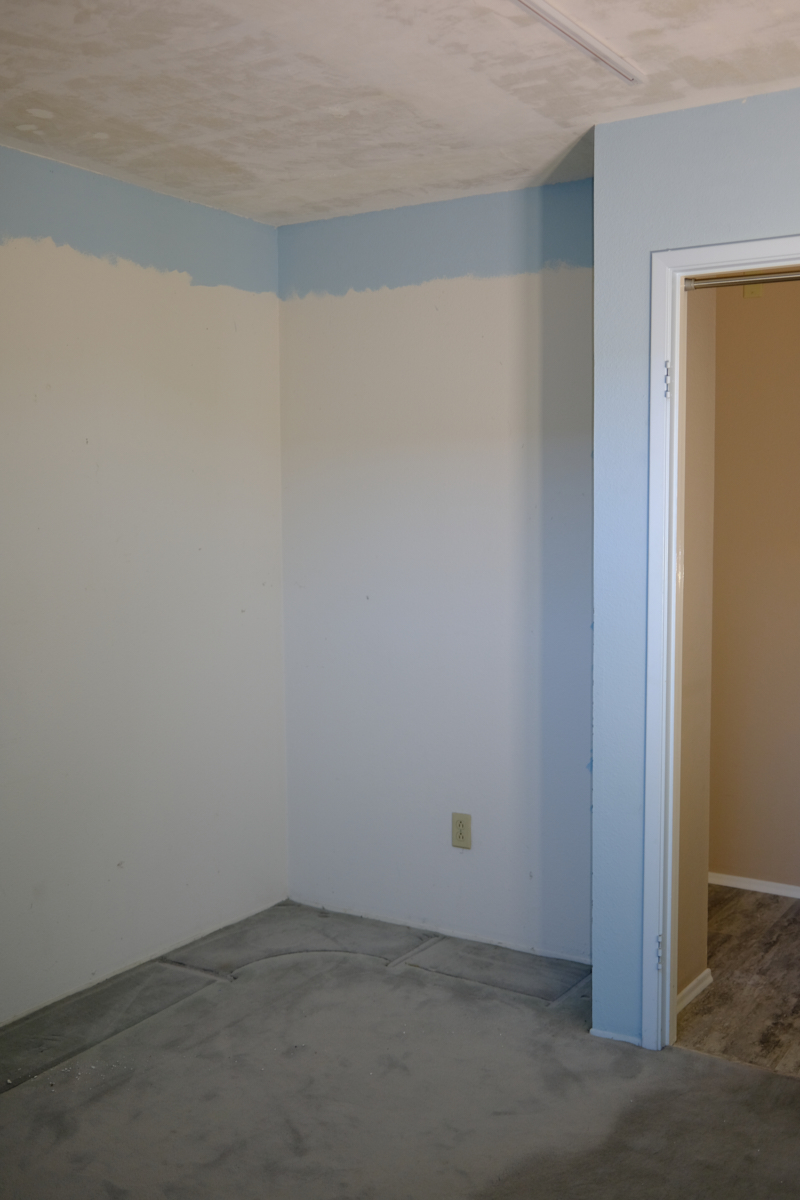
Removal
of the bookcases revealed that we (in this case, "I") had
painted around the bookcases during the previous upgrades,
leaving the fugly, original white paint in all its glory.
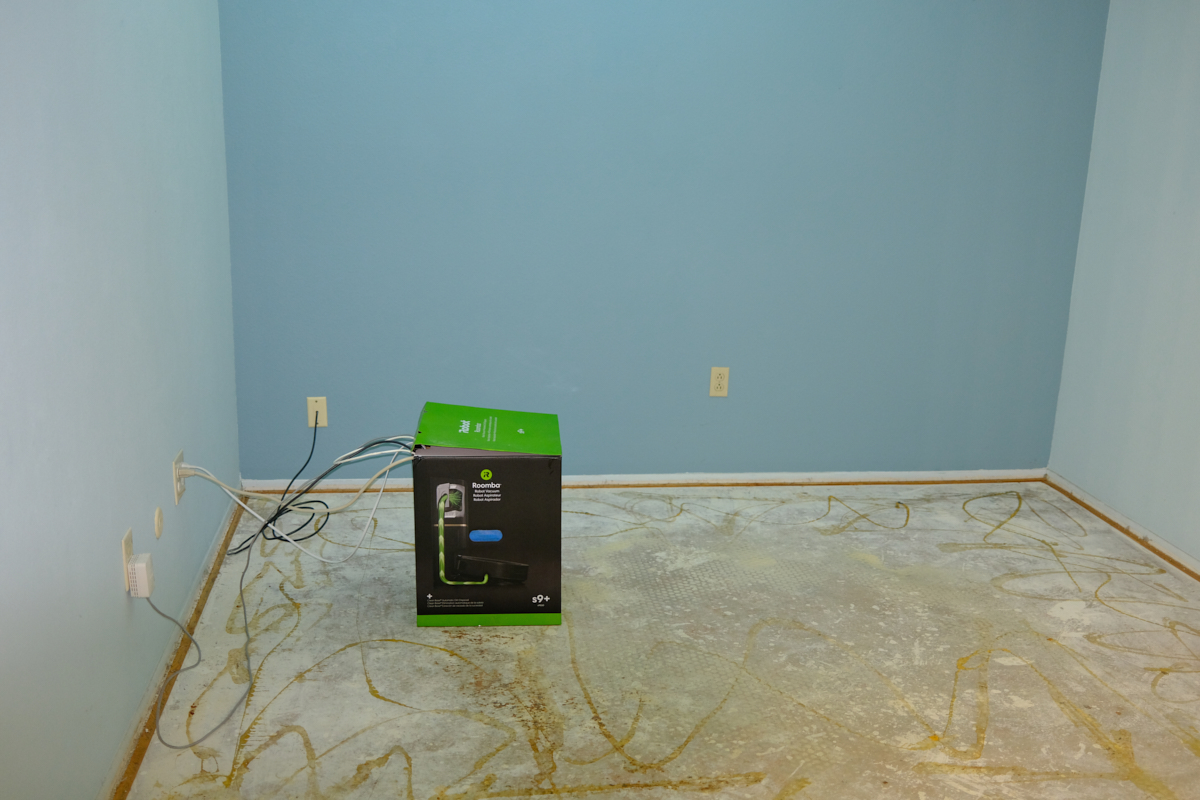
Once the
contents were removed, the carpet and padding was stripped
revealing bare concrete, albeit with glue, paint and drywall mud
residue. We placed all our internet access electronics
(cable modem and router) in the cardboard box for protection and
easy movement. Internet access remained intact for the
duration of this effort.
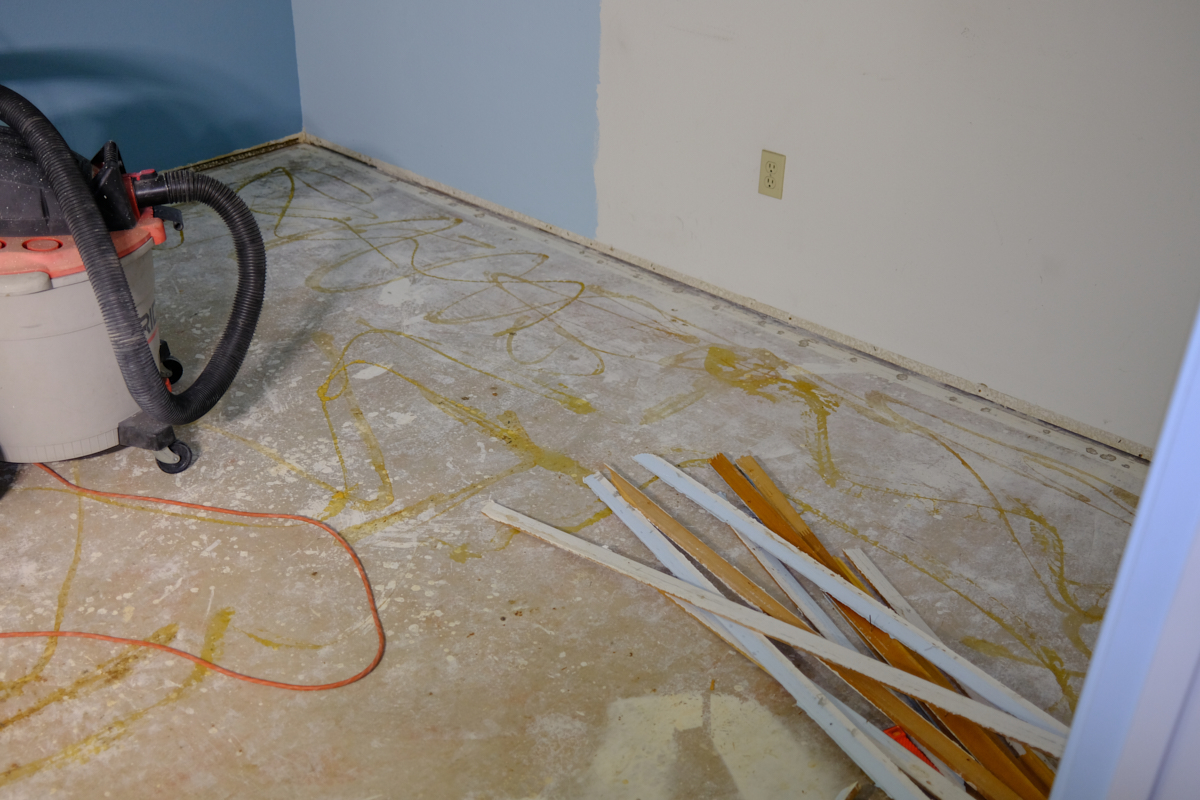
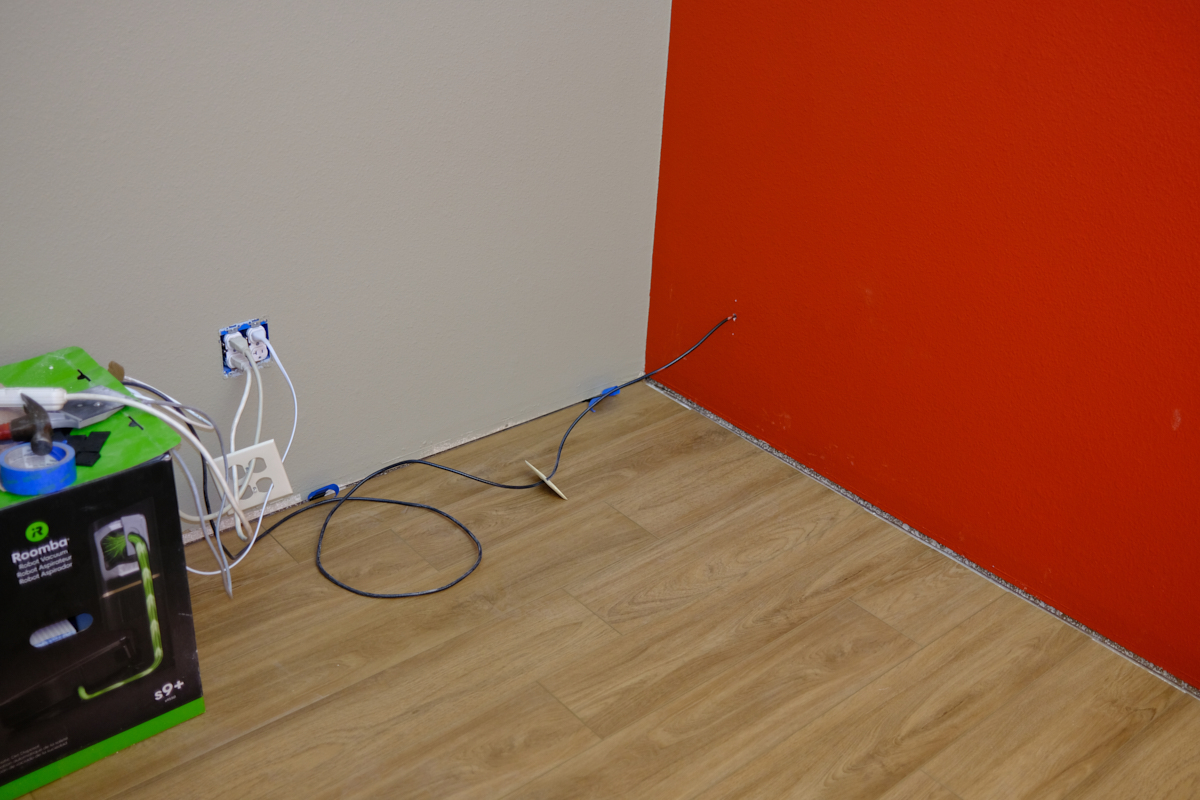
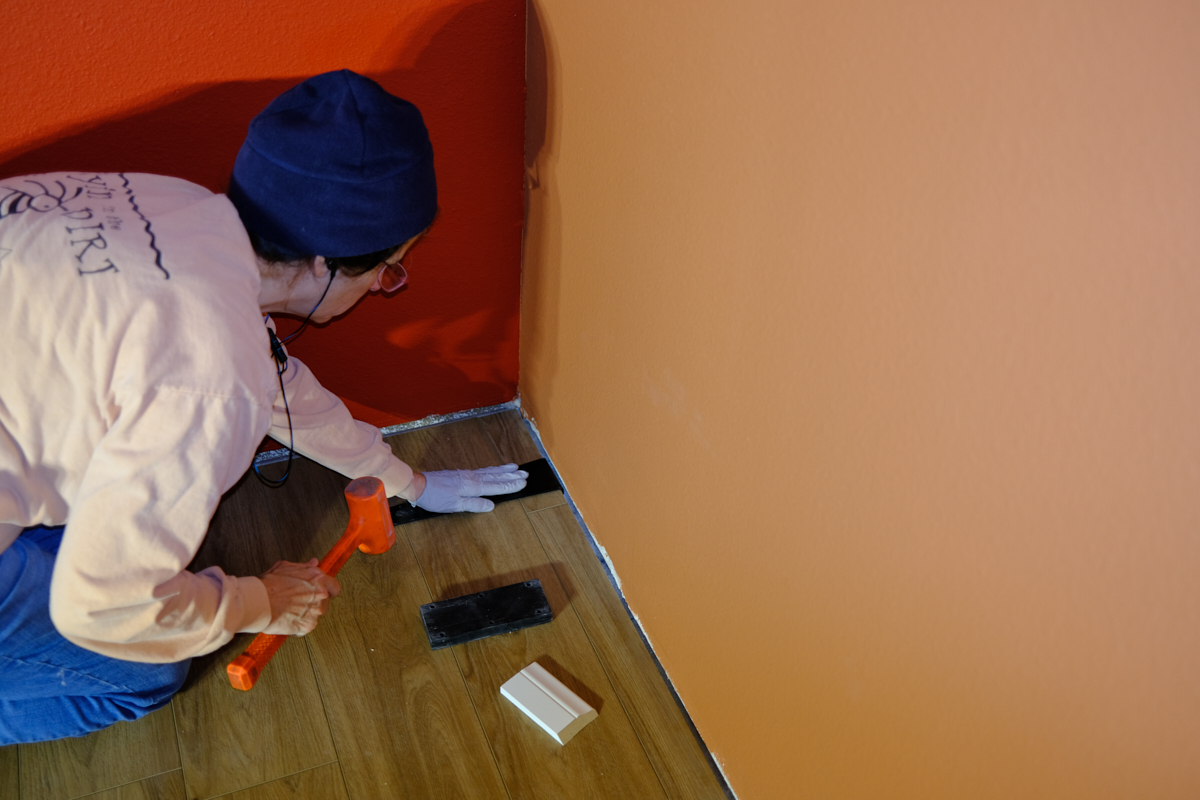
Carpet
tack strips were pulled and the baseboards were removed.
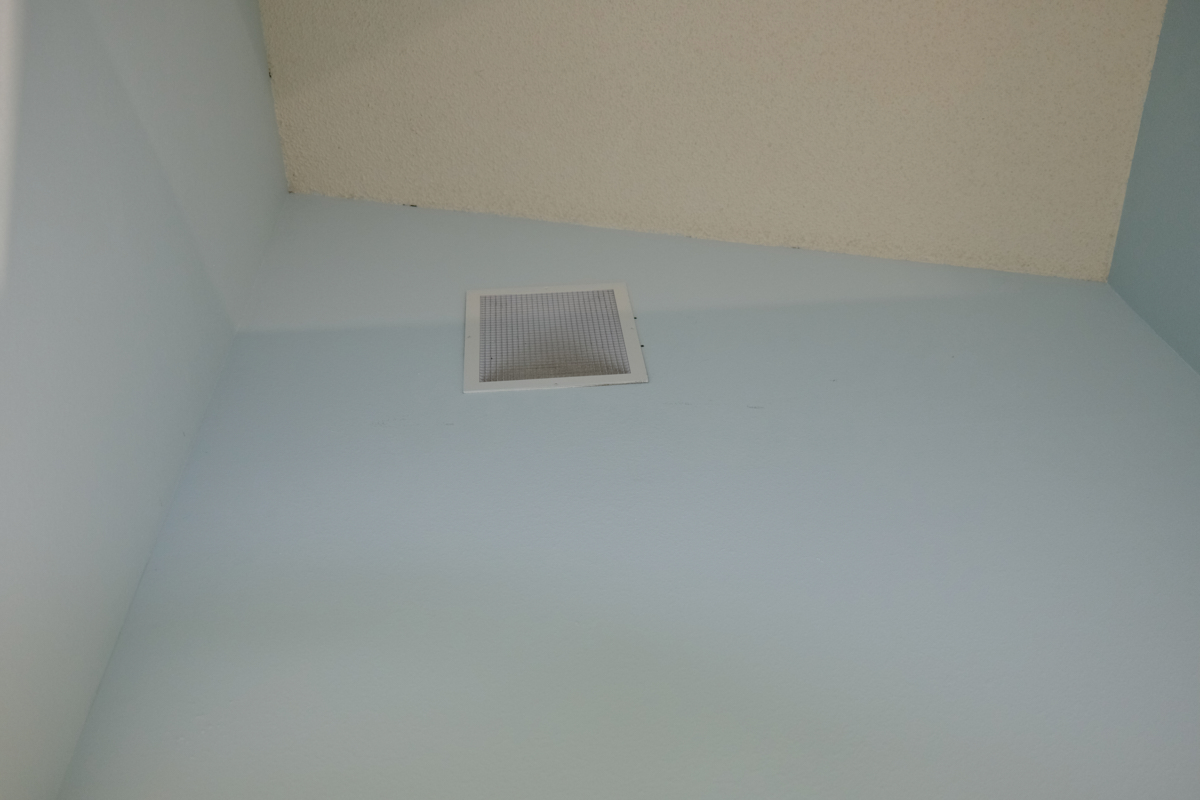
Many
years back I installed a whole-house fan which pulled air from
the vaulted cavity of my office. It works great for
cooling the house during the summer months, but it does
accumulate dust. Its height and awkward location generally
precludes cleaning so it was filthy with accumulated dust.
Some tears in the corner drywall take was also visible once my
desk was removed.
Existing
track lights were removed and the holes in the ceiling were
patched.
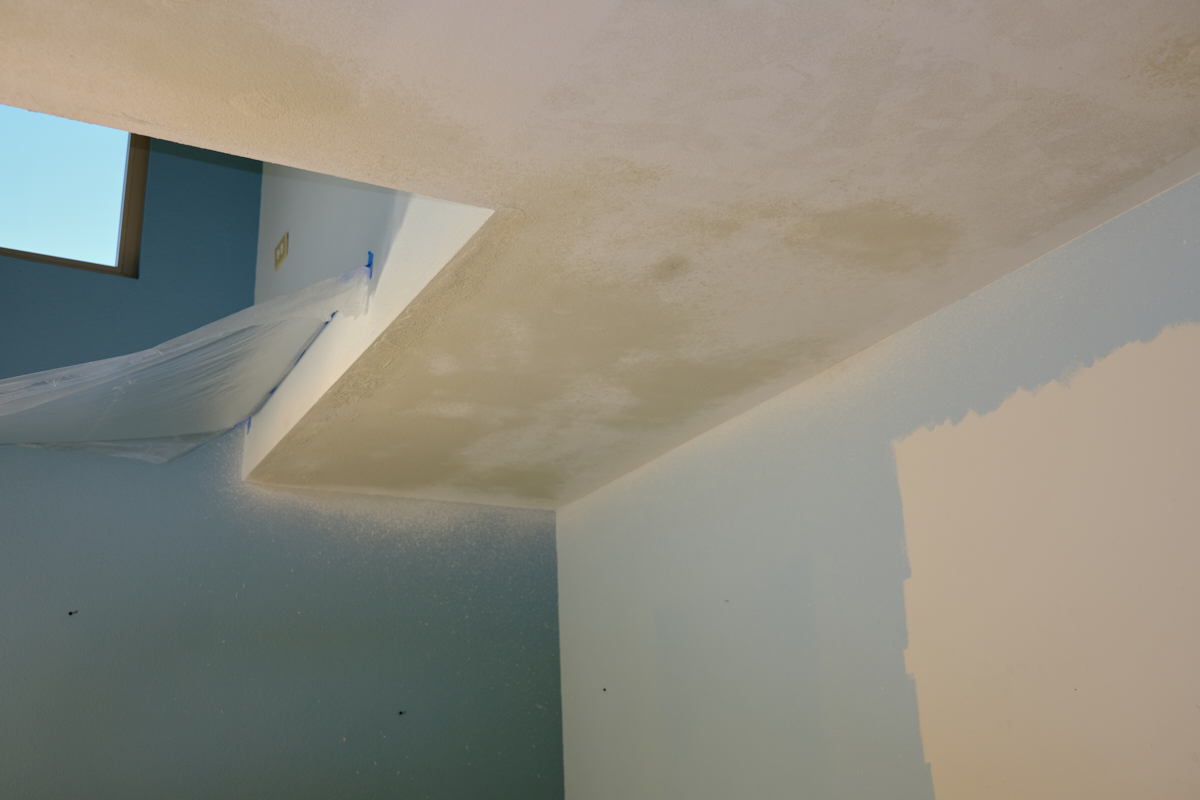
After the new windows were protected with plastic draping, the mud gun was used to apply texture to the ceiling.
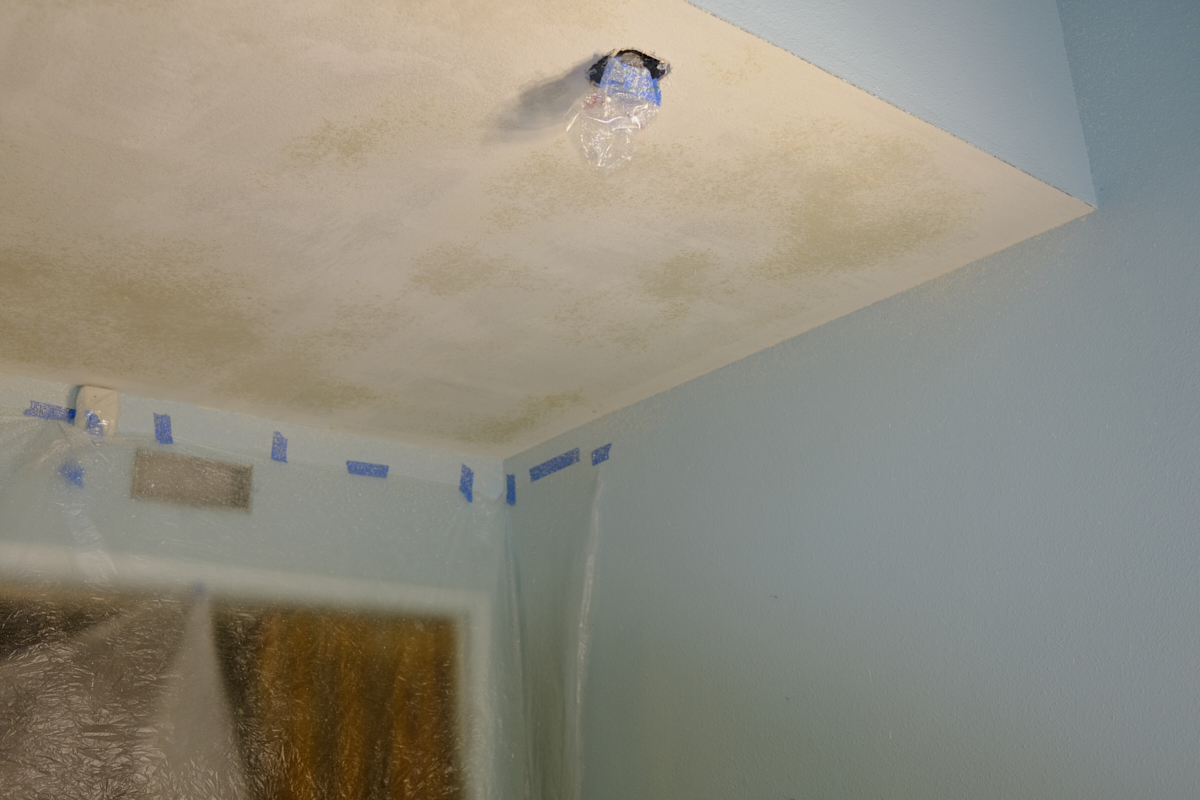
Draping
was also installed to insure that the texture mud stayed within
the office. There was over-spray on the walls, but since
we were repainting anyway and the walls were already textured,
it was ignored.
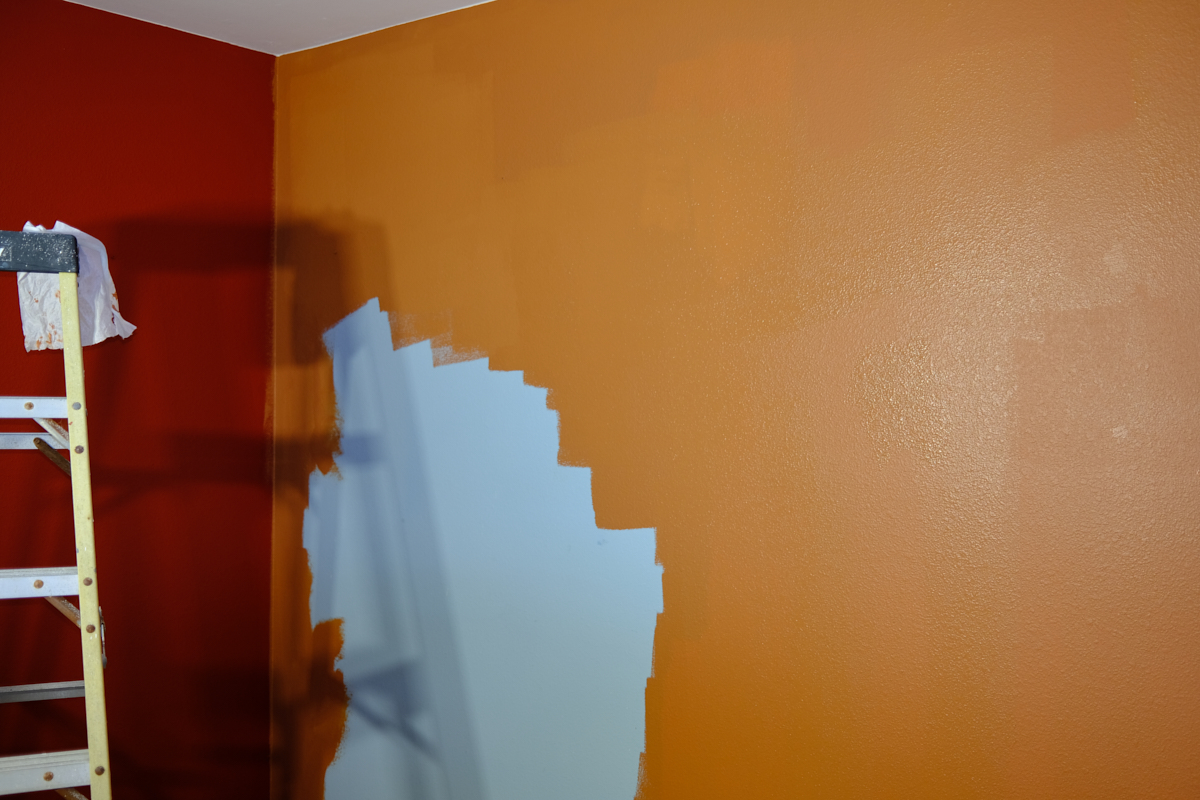
Our
decision to remove the popcorn on the vaulted portion of the
ceiling came after we repainted the cavity walls. The new
decision added a few days to the schedule.
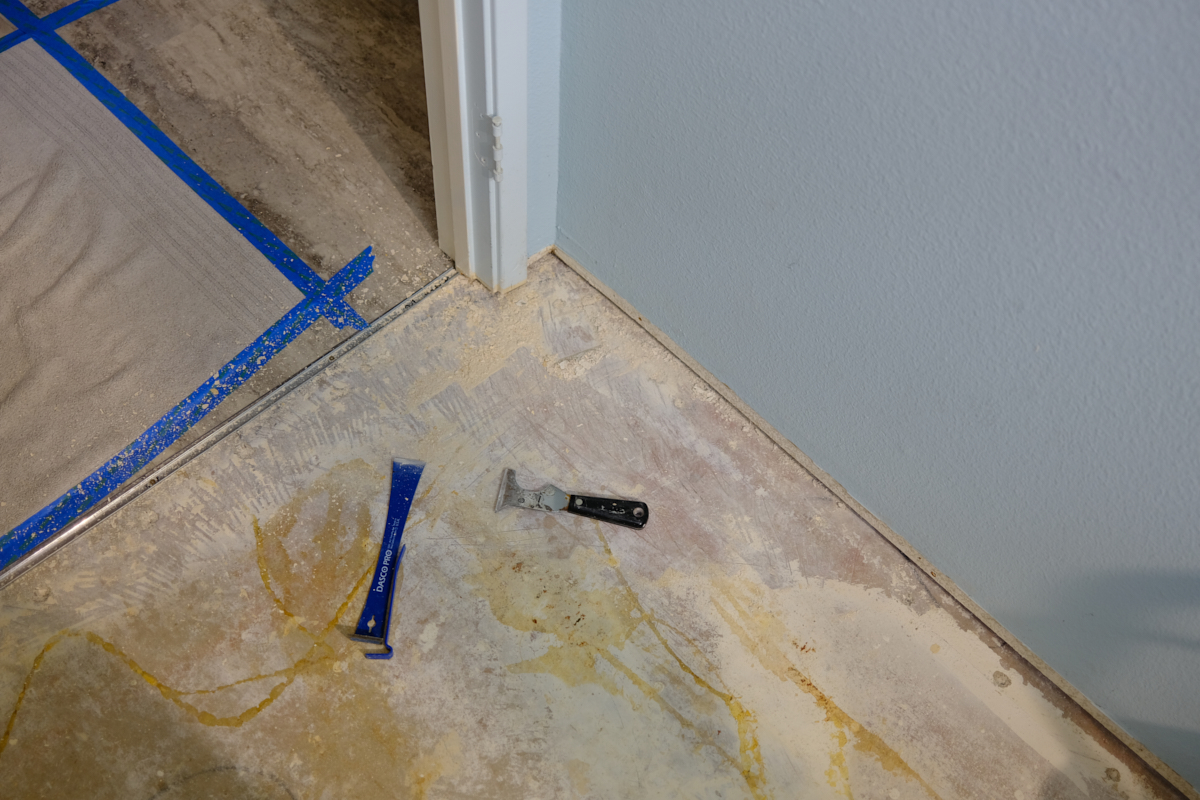
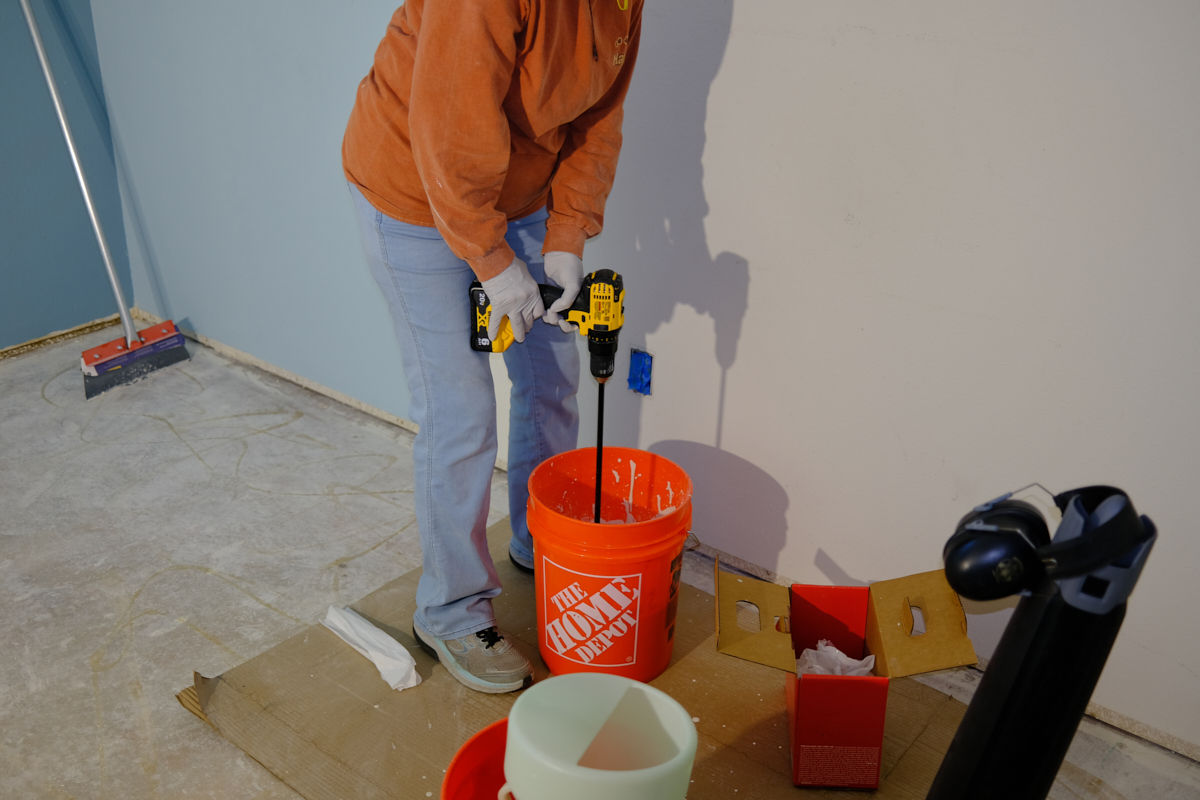
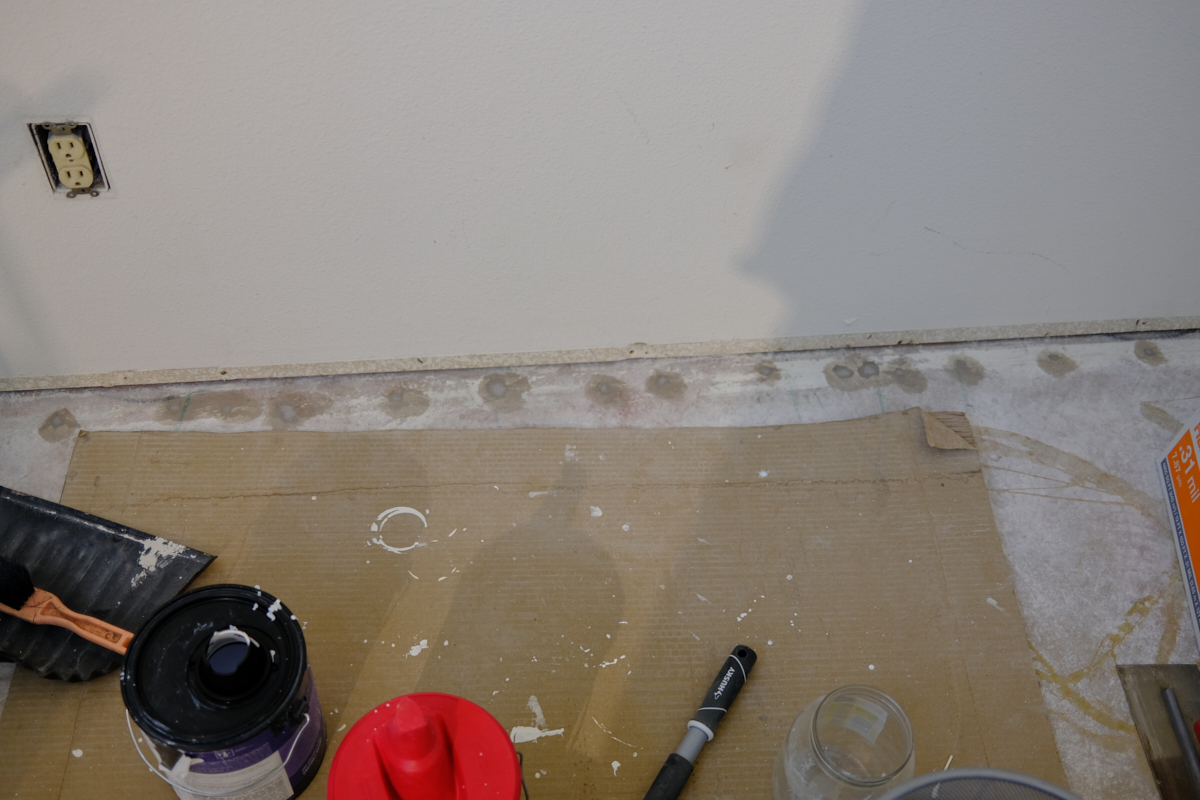
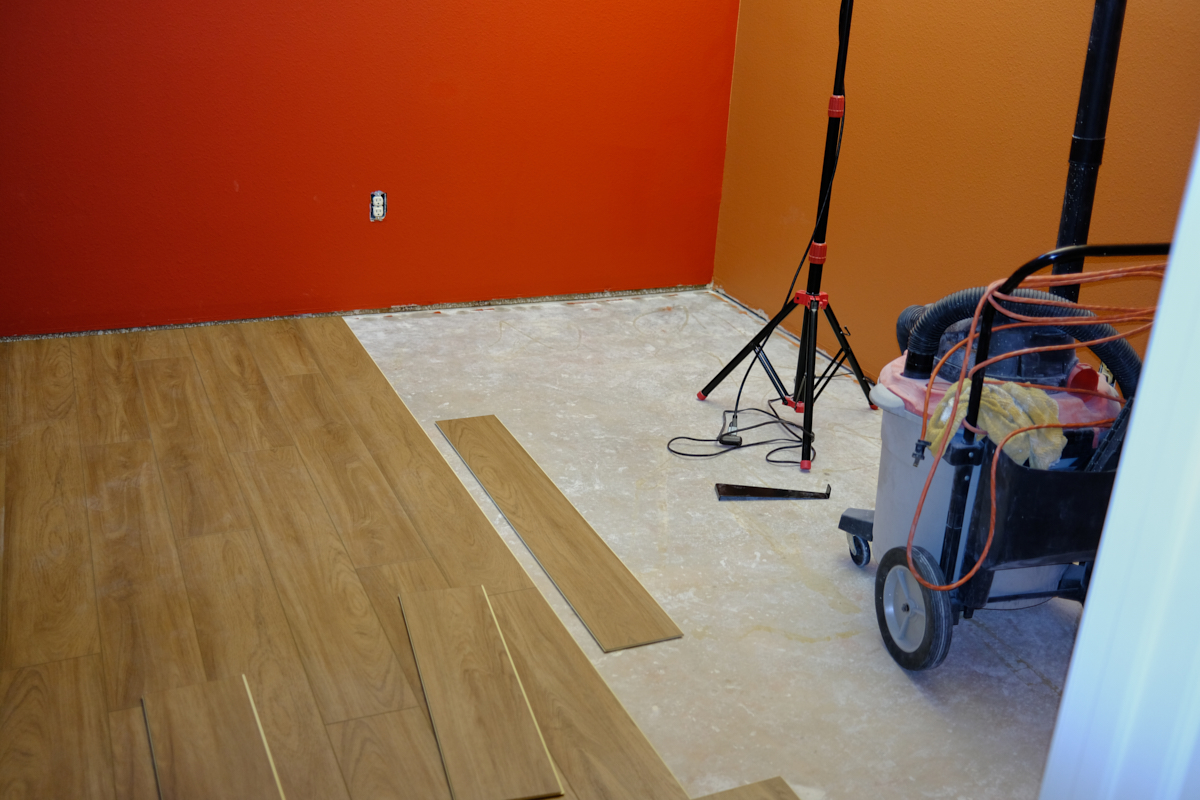
While
the cavity painting was in progress, I hand-scraped the
floor. There was plenty of scraping debris produced and
while it took the better part of a day, the results were
good. After the scraping was complete, the holes in the
slab were filled with concrete patching compound.
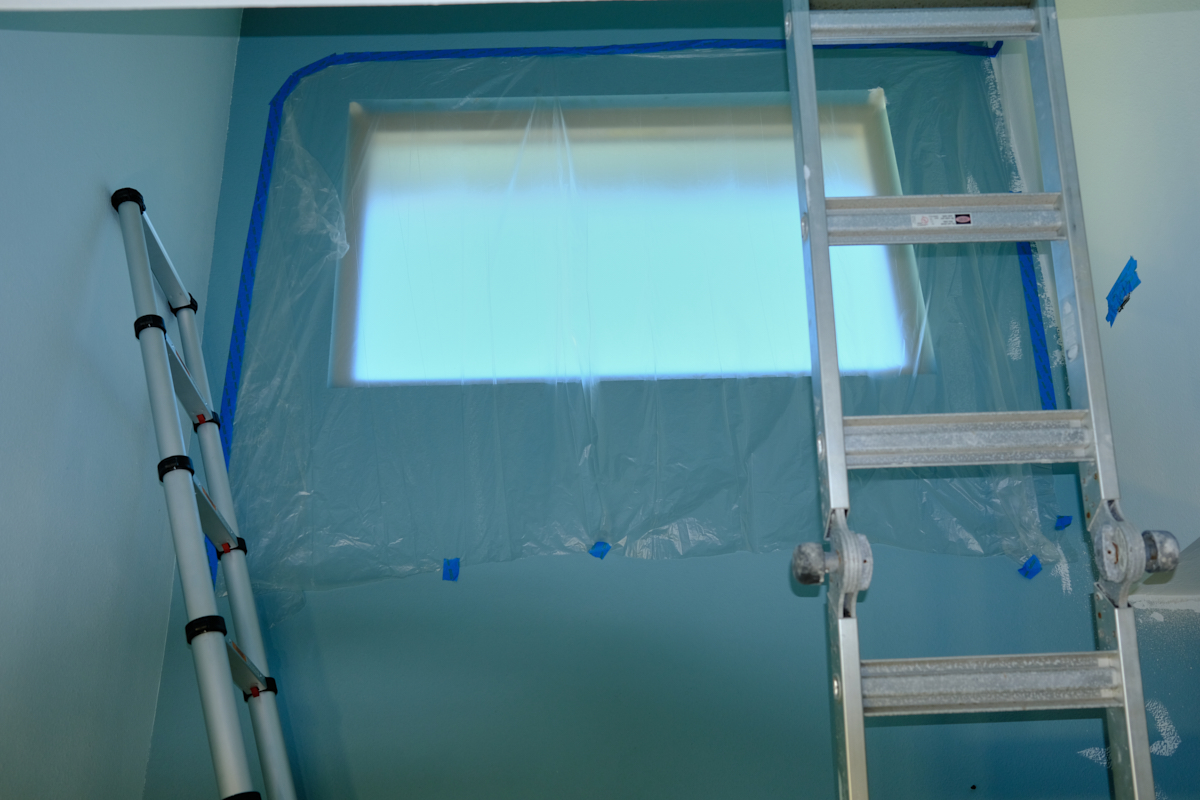
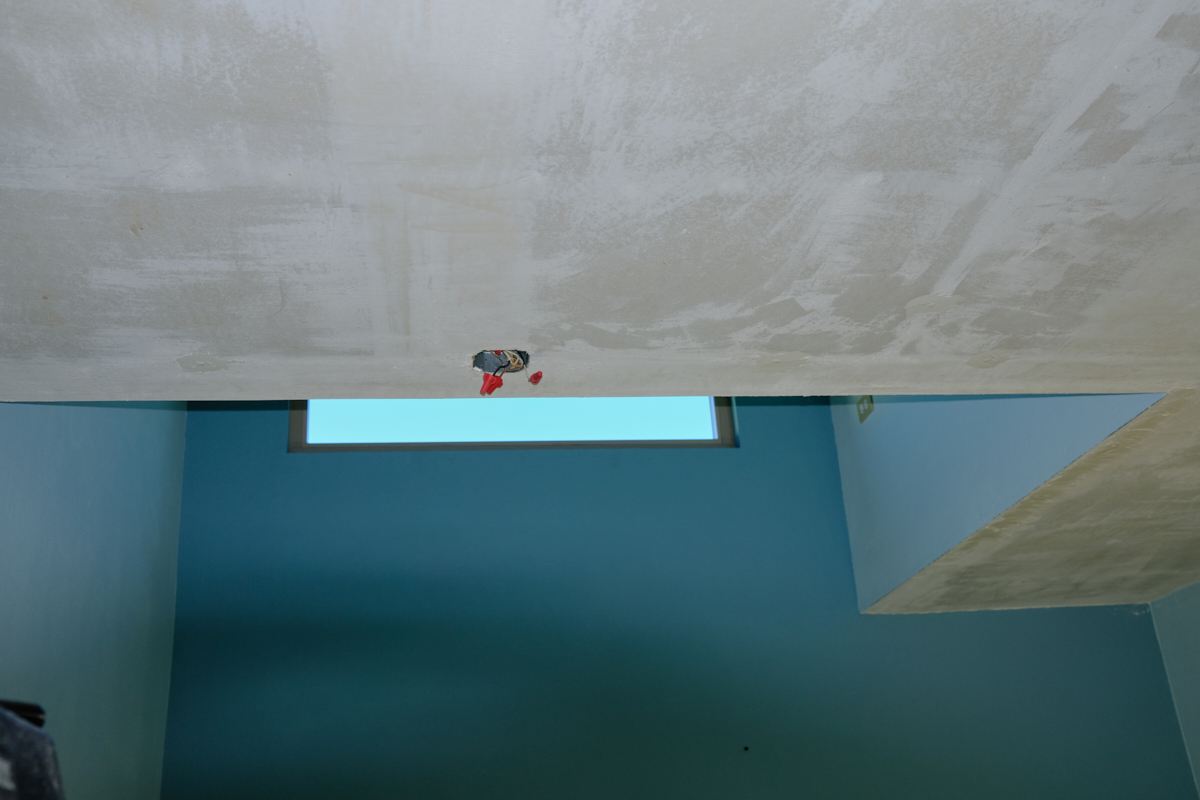
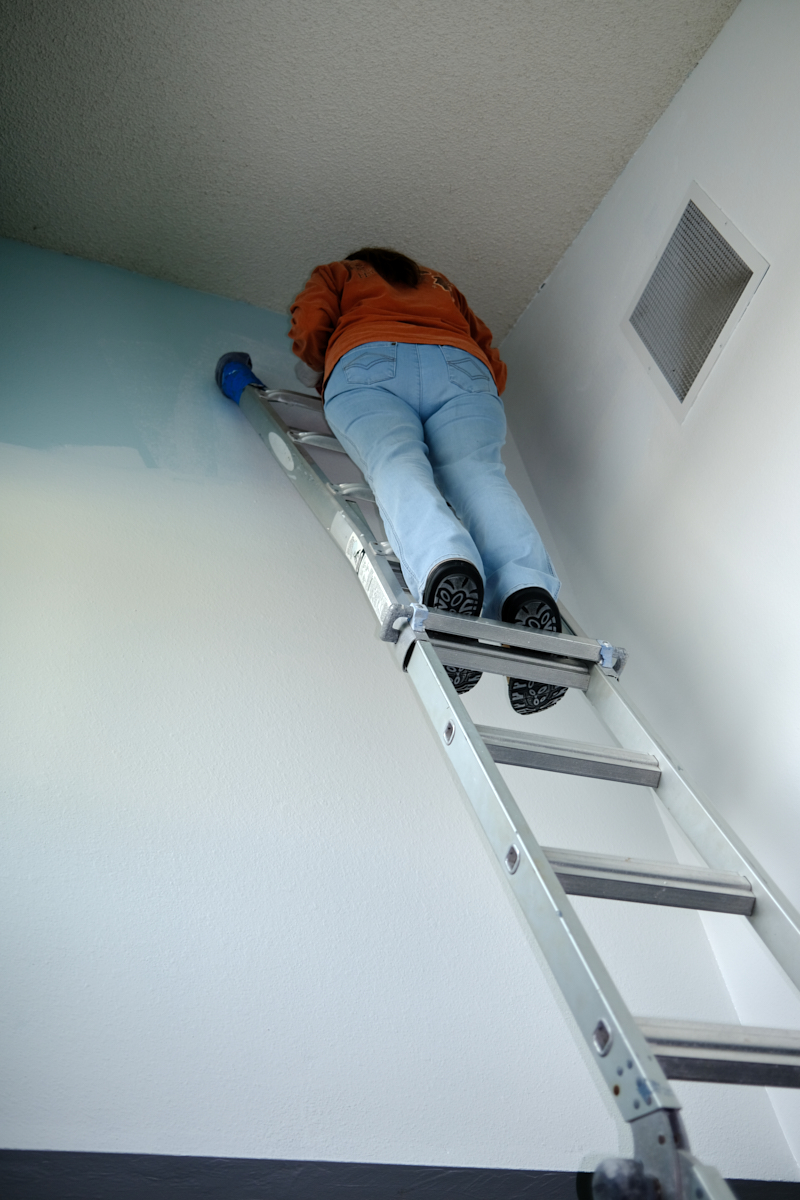
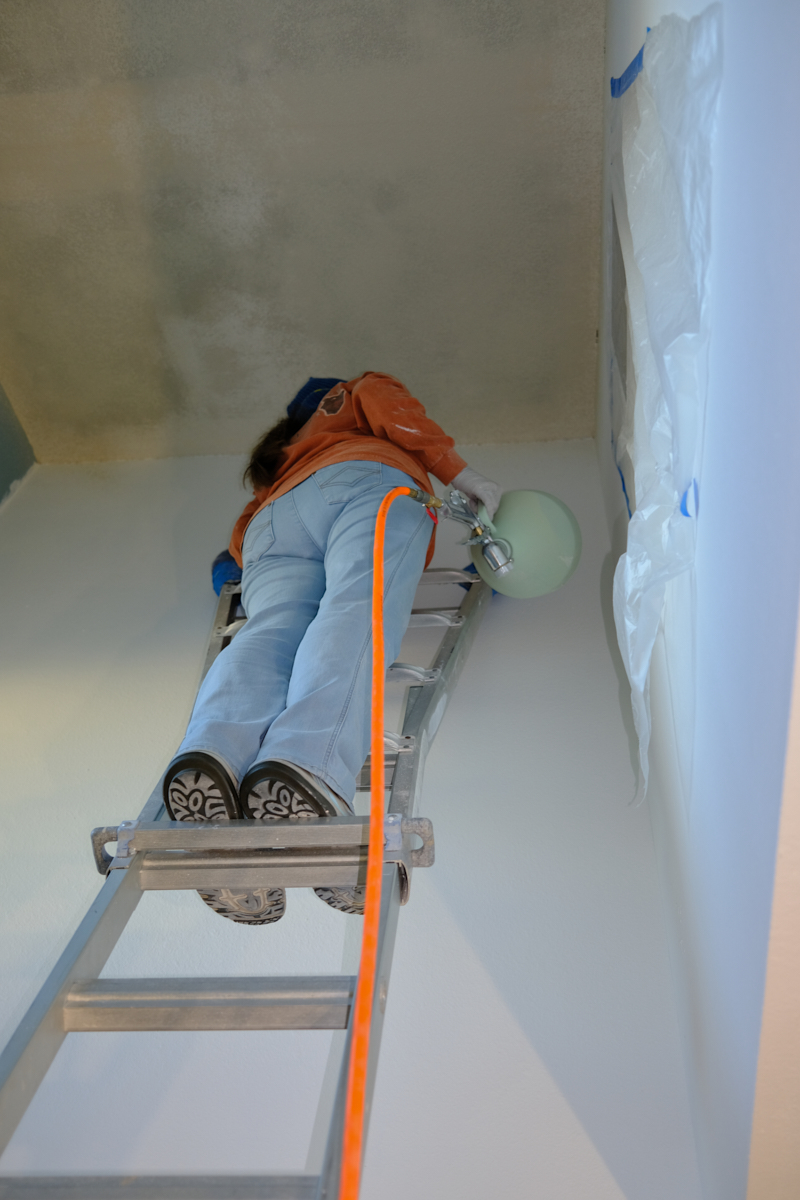
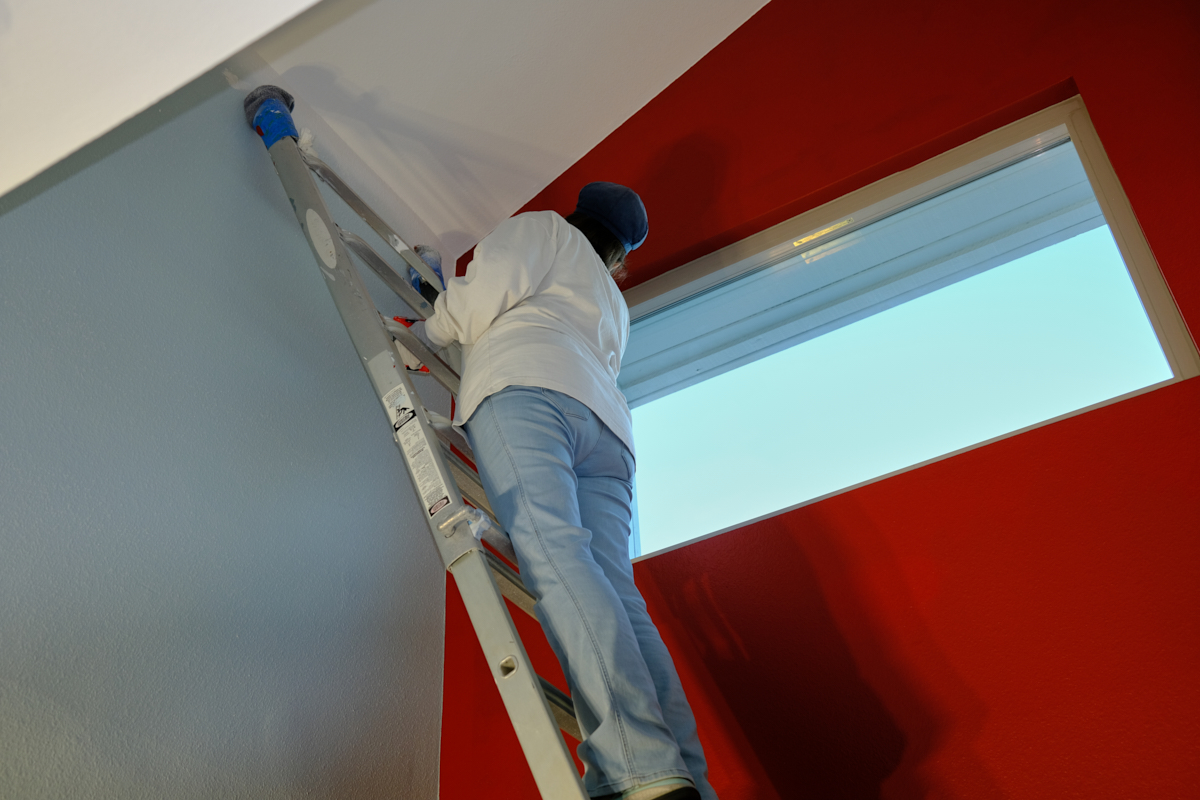
Before
the popcorn removal could begin a full drape of the window was
needed to protect it from the slime that is produced by the
scraping. Tall ladders and flexible shoulders were
required to access the top of the cavity.
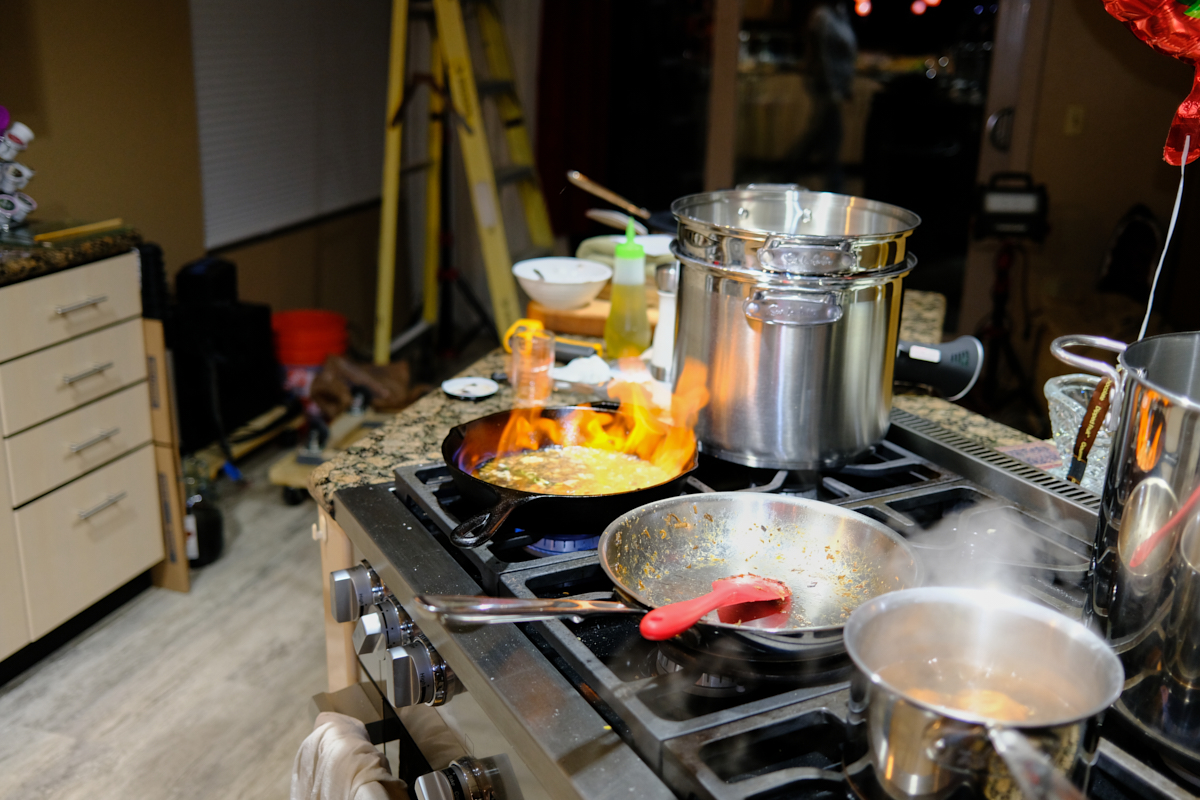
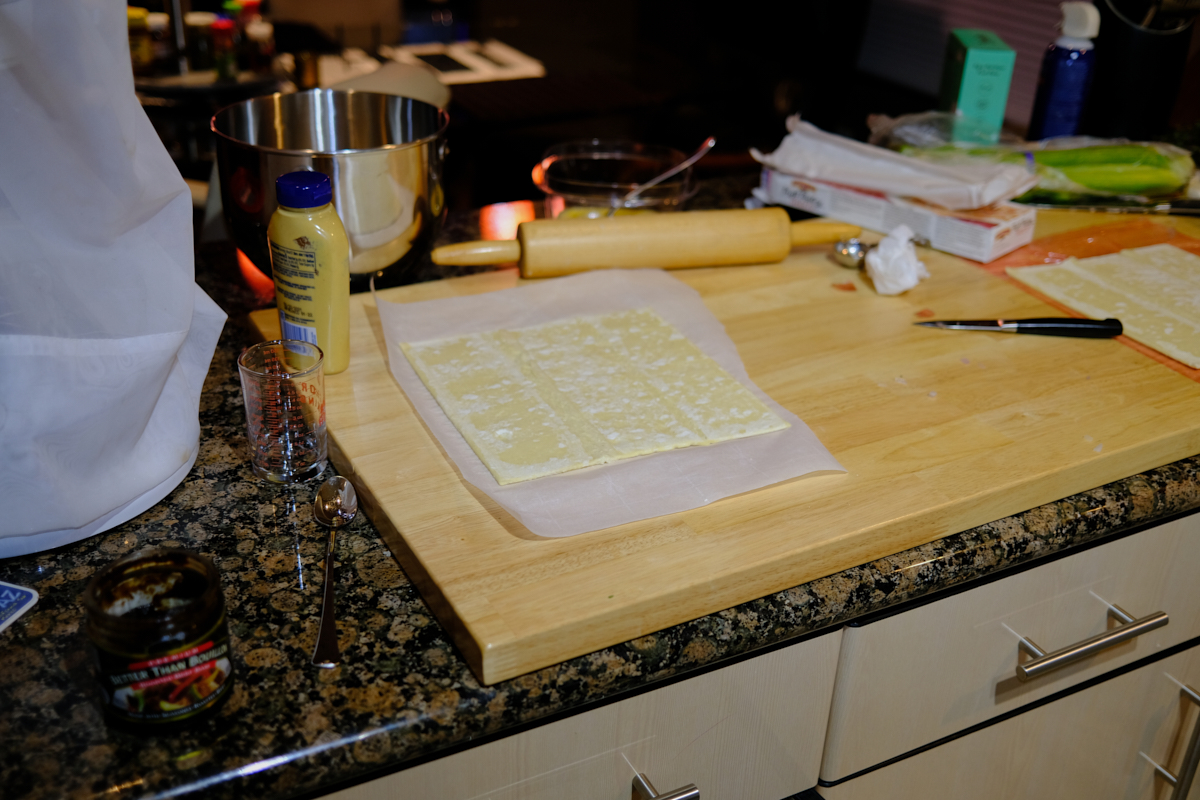
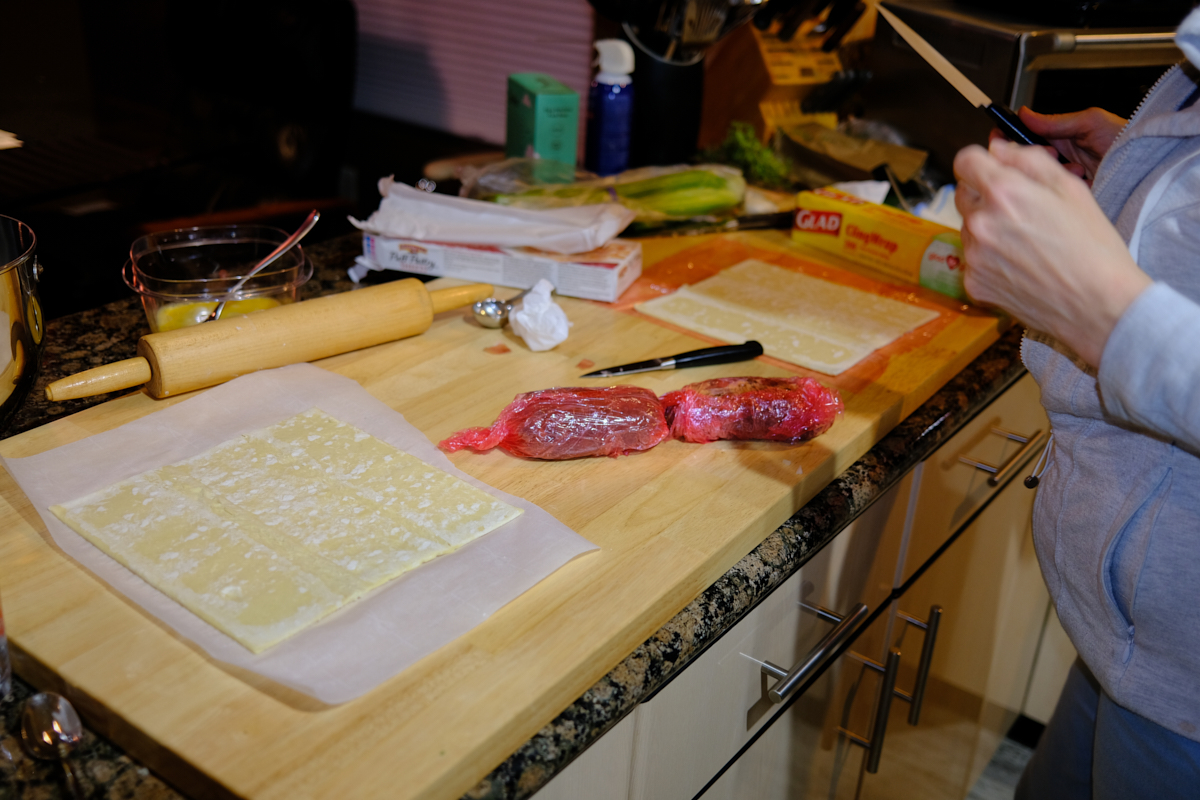
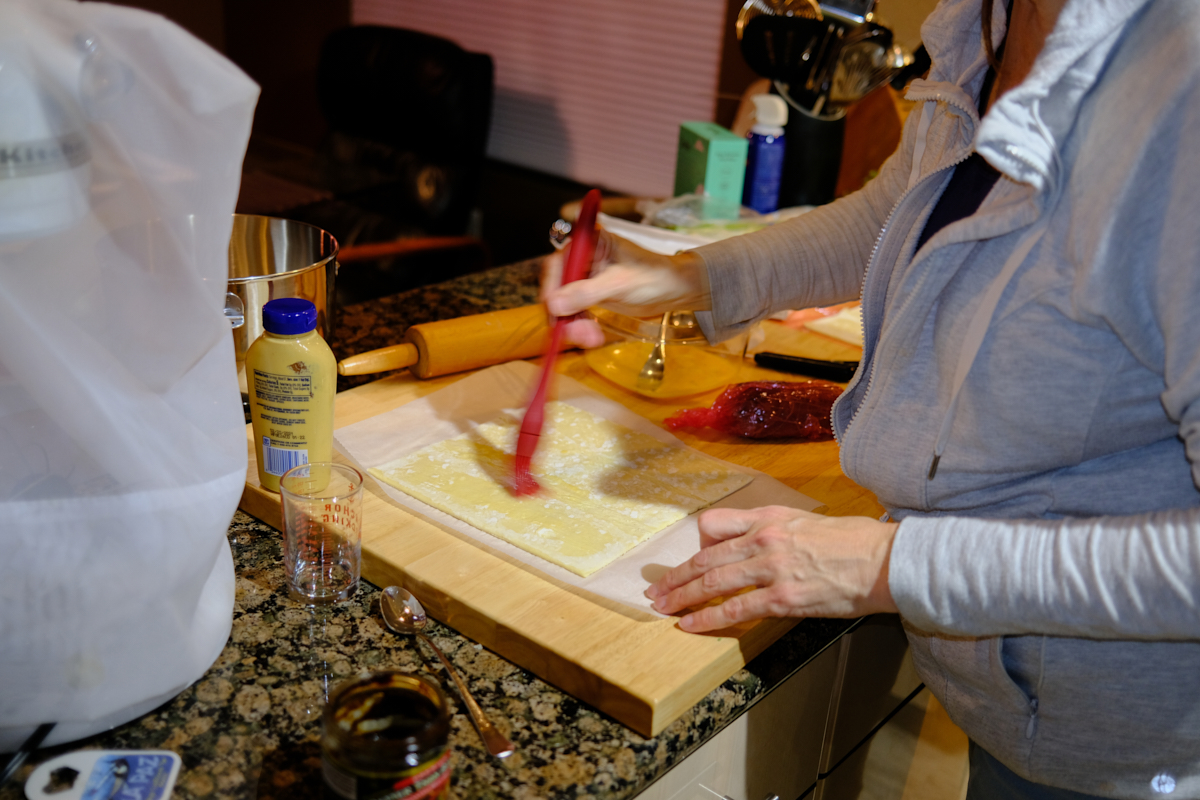
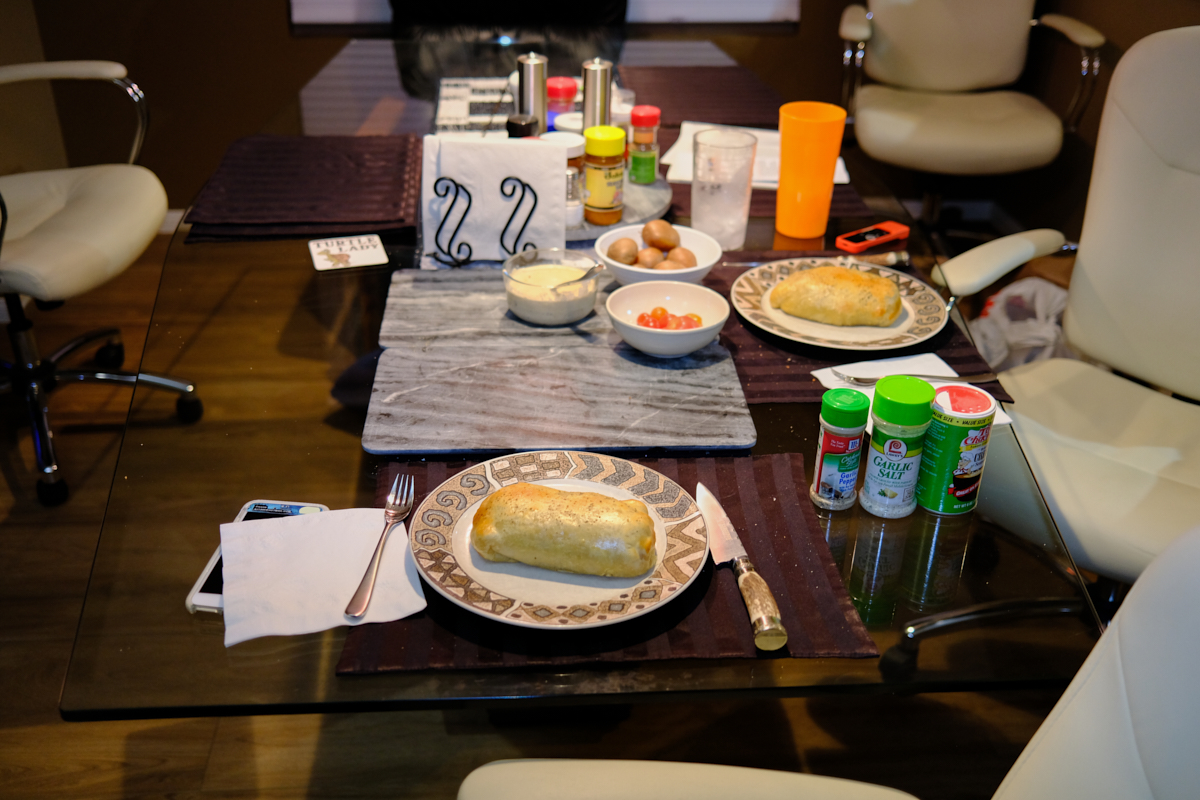
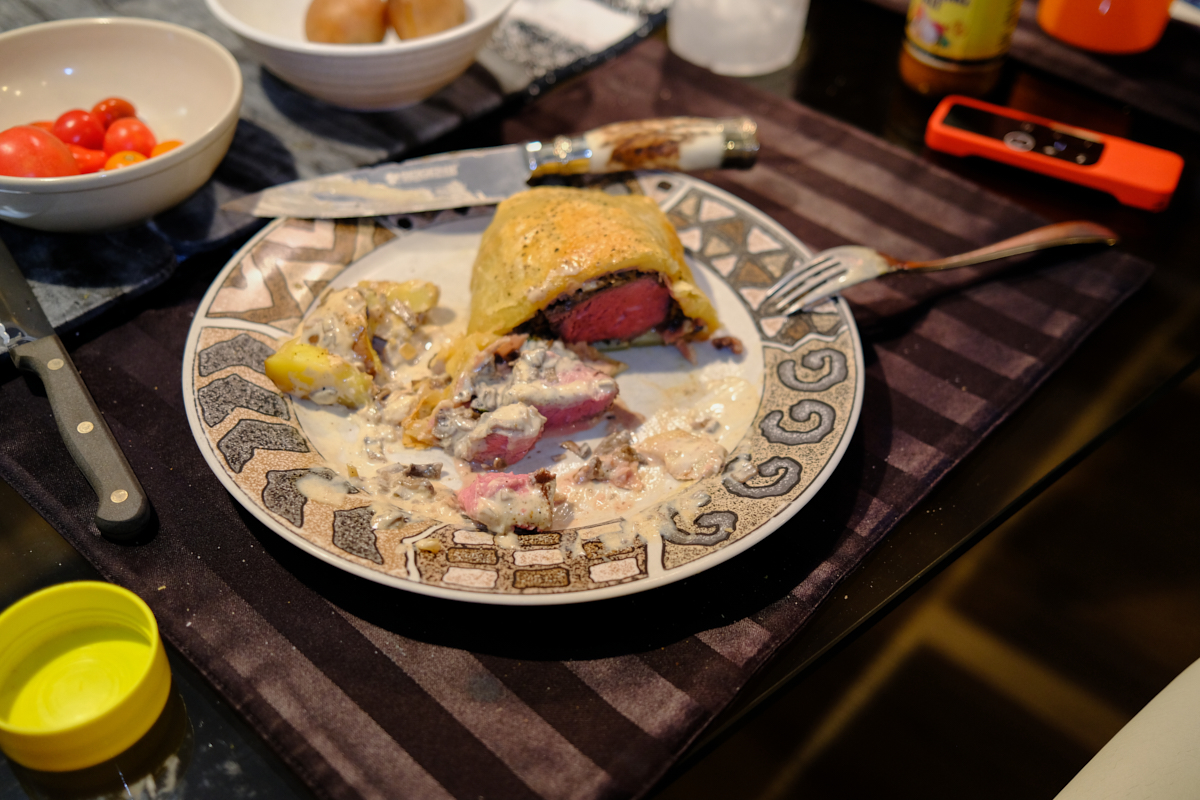
This
dish was a feast for both eyes and stomach. The sous vide
insured that the meat was correctly cooked and resulted in an
excellent outcome. The wellington was served with a
brandy-flambe-ed mushroom cream sauce
| Previous Adventure | ||
| Trip Home Page |
Photos and Text Copyright Bill Caid 2020, all rights
reserved.
For your enjoyment only, not for commercial use.