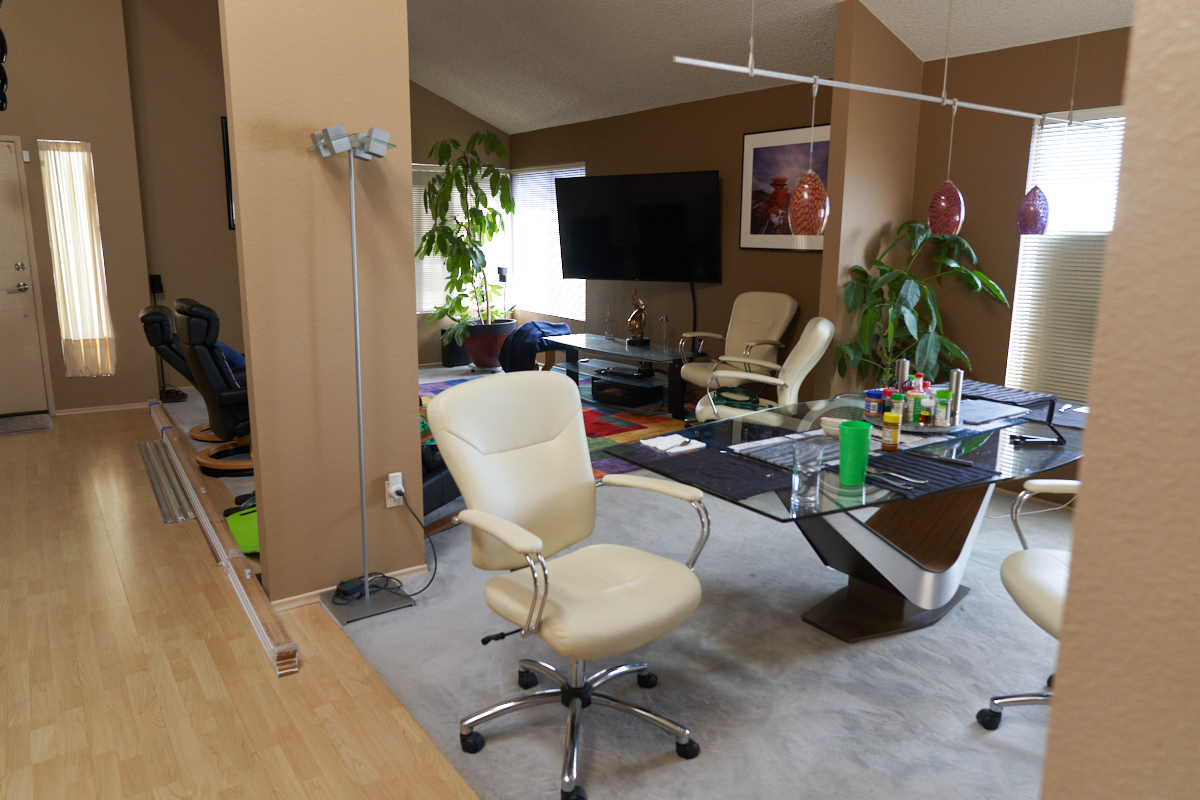
The photos below are what we saw.
The
"before" photo. Materials have started arriving and had to
store them in the living area due to their length. Above,
you can see the synthetic-wood flooring and the carpet.
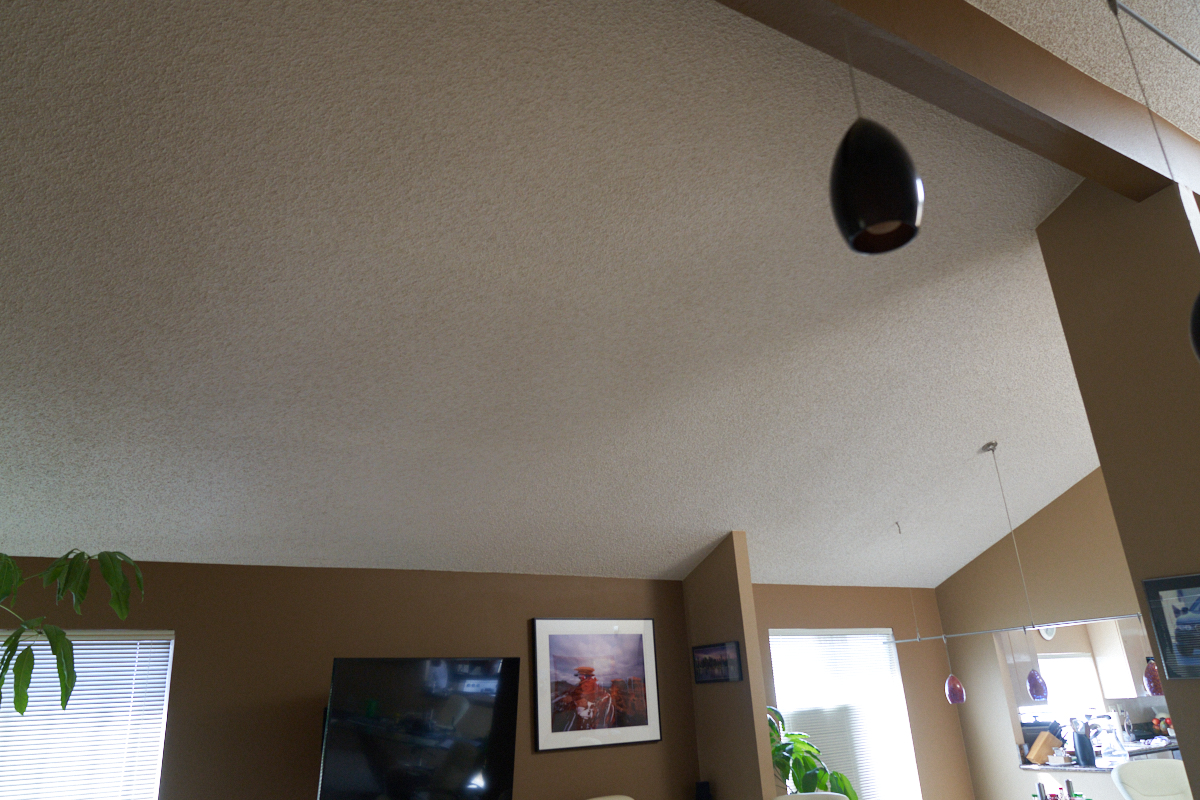
Also on
our list was removal of the acoustic ceiling material (AKA "popcorn").
The popcorn ceilings are nearly impossible to clean, actively
attract dust and spider webs so we finalized our approach to scraping
it off and made a plan.
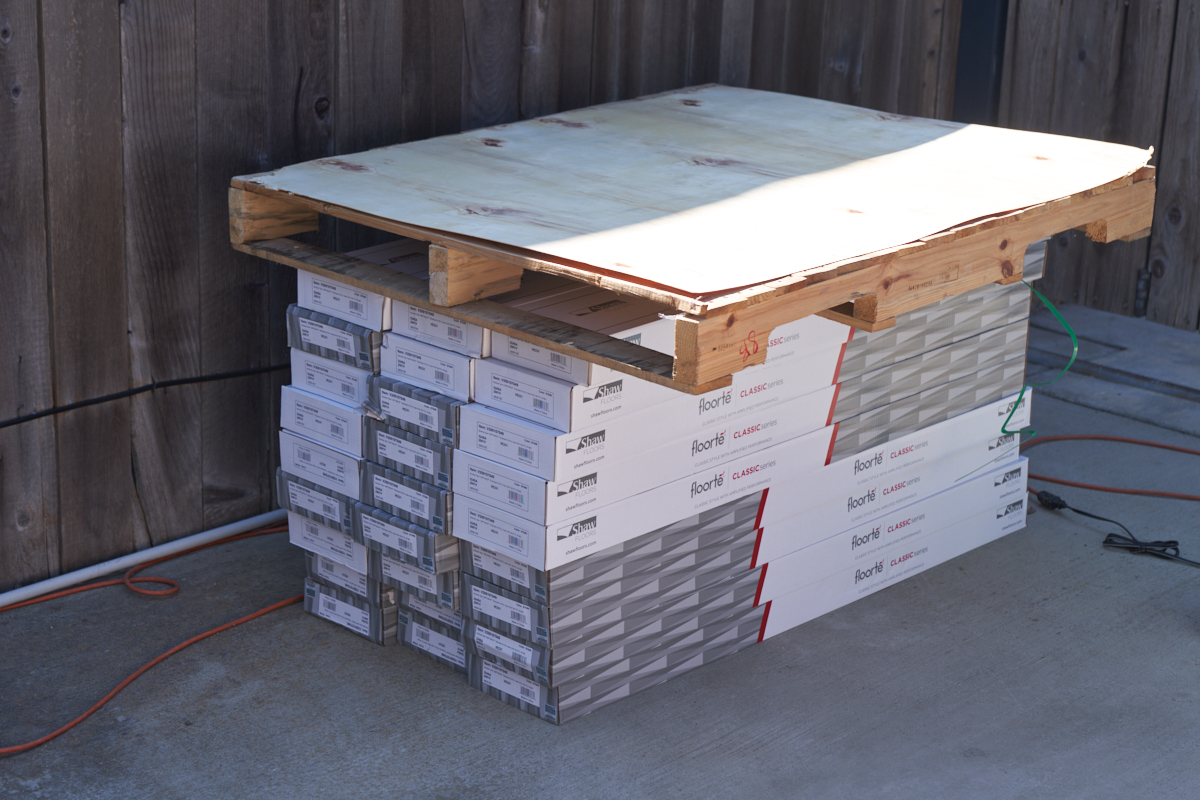
After an
extended, covid-caused delivery time, our tile finally
arrived. Replacing the flooring was trivial, but the
actions leading up to the replacement were anything but trivial.
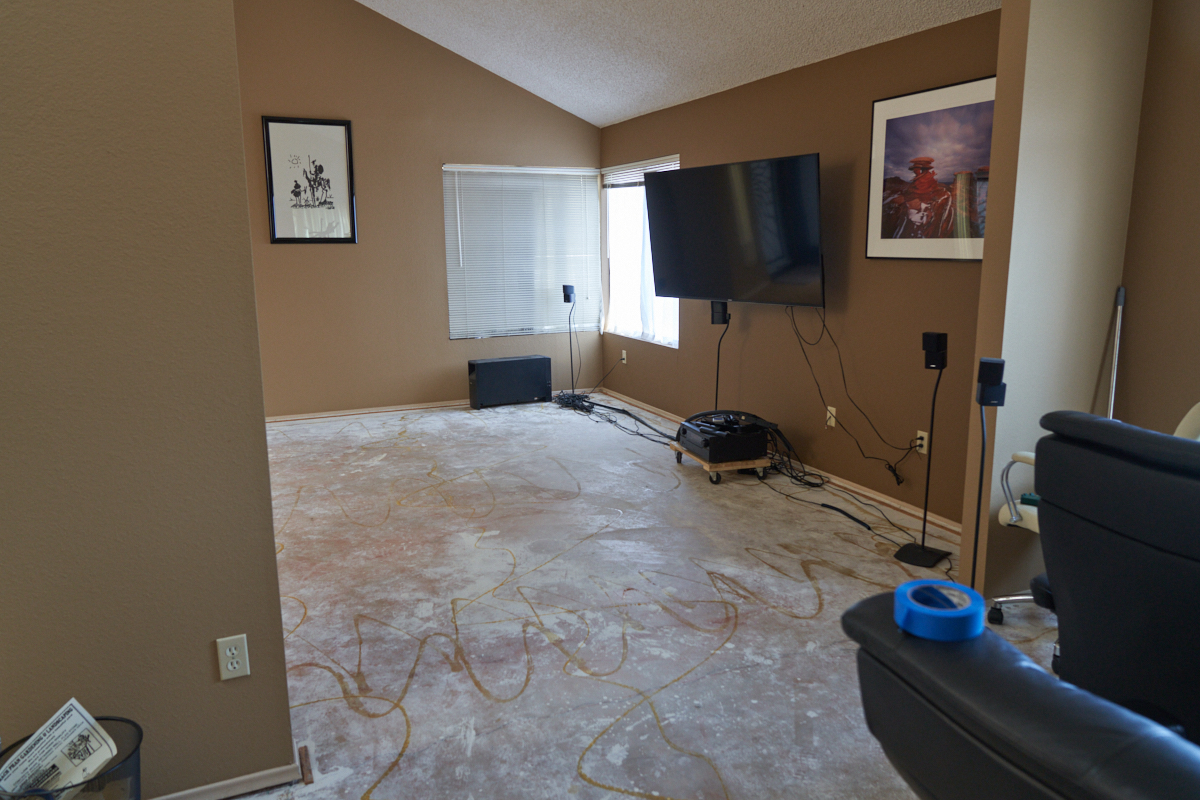
Before
we could scrape the popcorn, we demo'ed the flooring.
Removal of the carpet and wood took a total of perhaps 3 hours
for Kathleen and I. Of course, the actual removal is
simple, but we discovered that there were just a FEW more things
that were needed. For instance, the wavy lines on the slab
are glue from that was used to prevent the carpet padding from
sliding under foot. That had to be scraped off and after
24 years of being there, it became a "hands and knees"
job. Sure, we purchased stand-up scrapers, but they did
not work that well. In the end, we put on the knee pads
and took a 2" scraper and went over every square inch of the
floor.
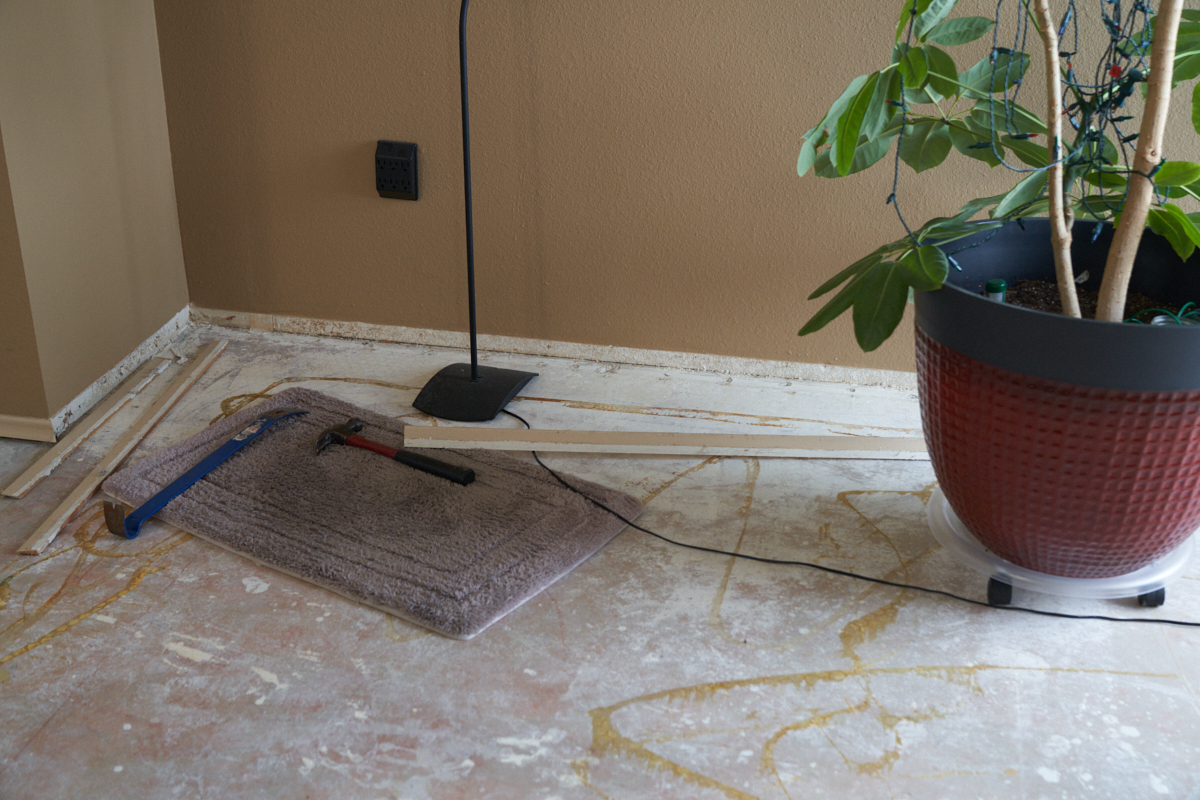
The
baseboards needed to be removed if for no other reason that they
were at the wrong height for the new tile. We elected to
use taller baseboard hoping to remove the need for a full room
re-paint in addition to our other actions. That decision
was a good one.
"Slippery-slope
logic": "If I am going to replace the flooring, I should scrape
the ceiling. If I am going to scrape the ceiling and have
to re-texture, might as well add a ceiling fan. If I am
going to install a ceiling fan, I might as well add electrical
outlets and cable passages in the entertainment area too."
Excusing the pun, but we were able to pull-the-plug on this
recursive logic and stop at the electrical enhancement.
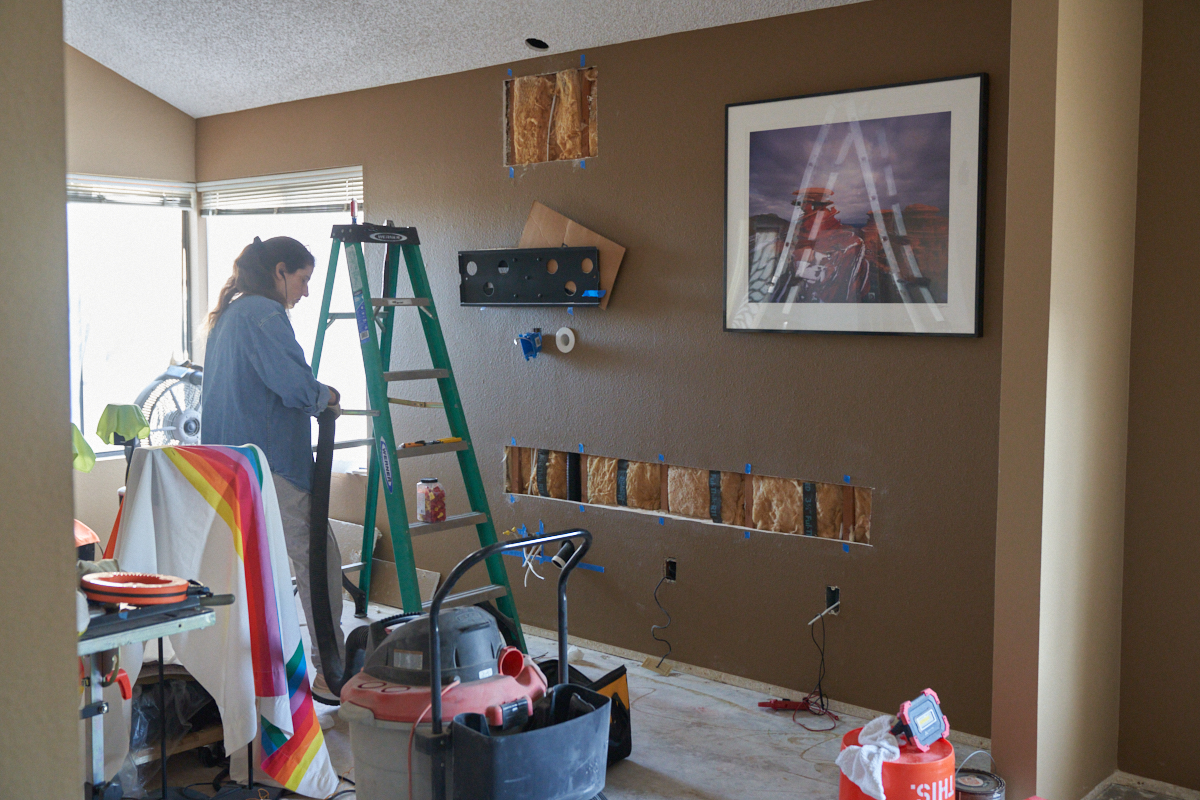
Here, we have the wall torn open to run new lines, add a 4-plex
outlet for the electronics, a 2-plex outlet for the TV and an
additional feed line to the ceiling fan.
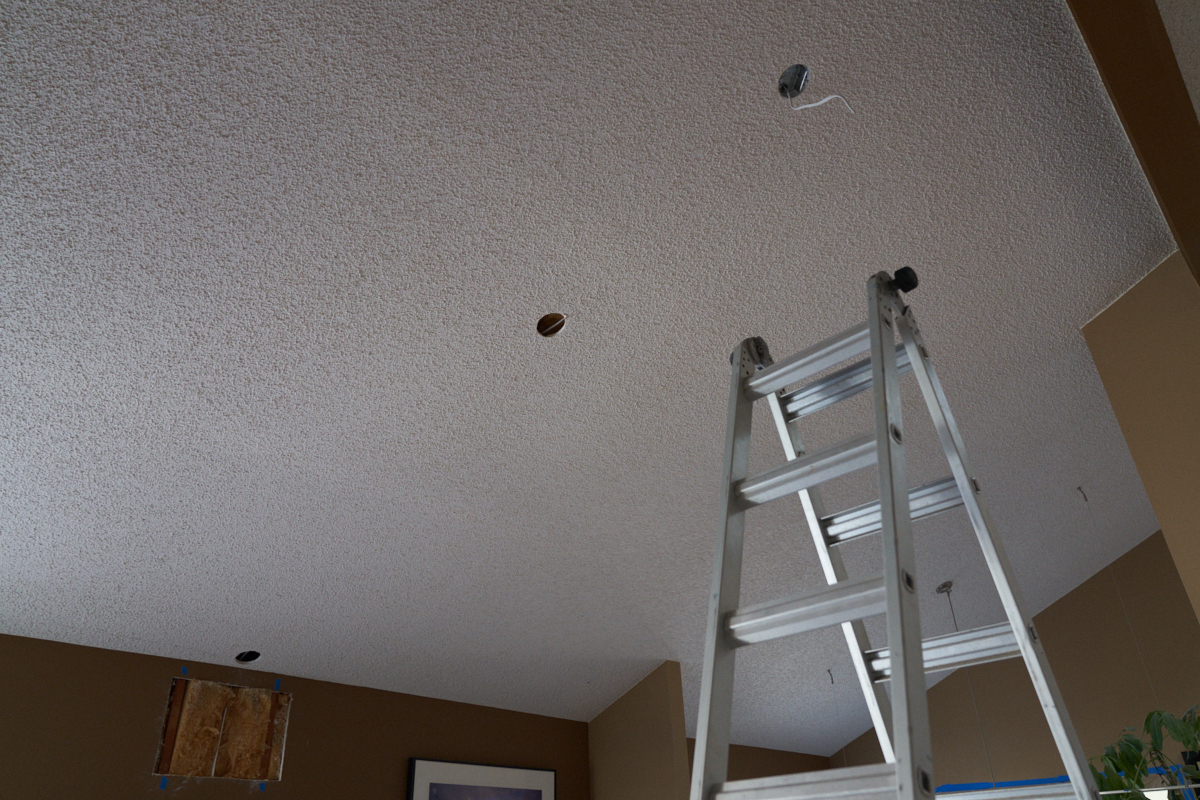
A series
of additional holes in the ceiling drywall were needed to run
the electrical cable. We discovered a brace board right in
the cable path which confounded our efforts for an hour or
so. The fish tape went through easily, but when we
attempted to pull the cable, it would not go. The 3rd hole
in the center allowed us access to the brace and the ability to
drill a hole through the board.
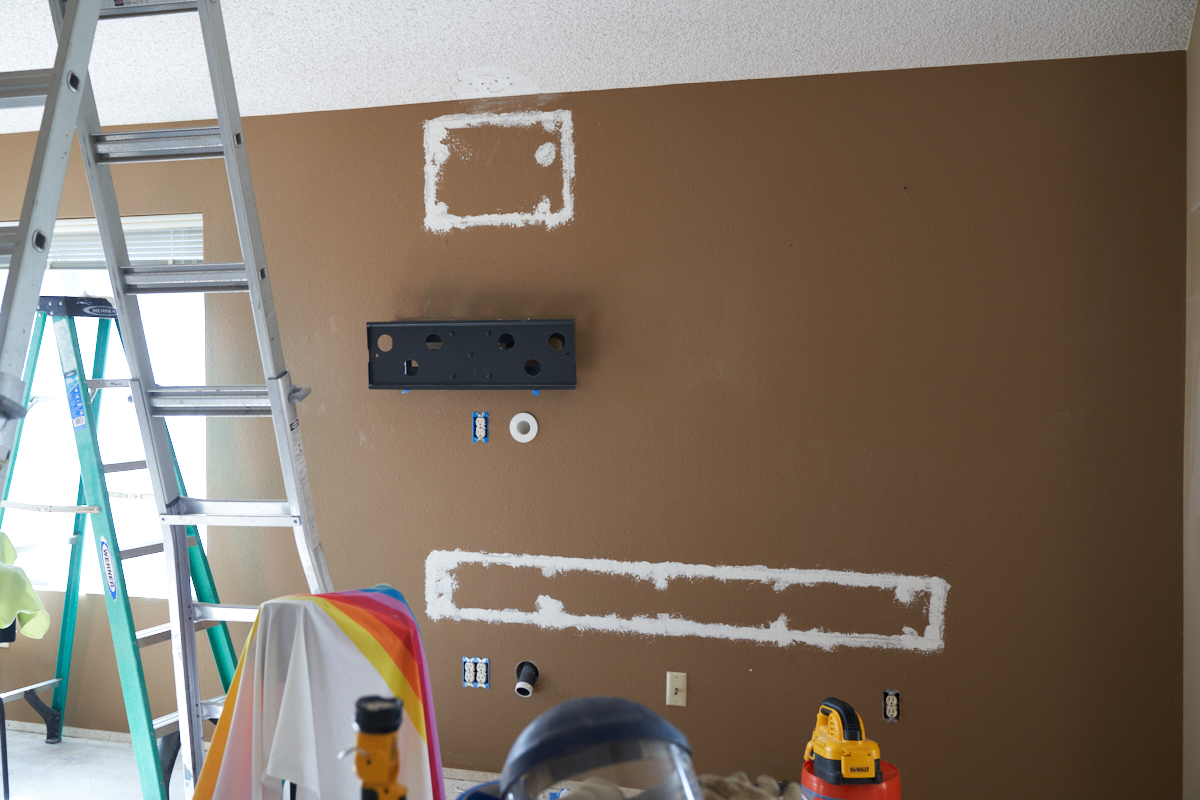
Ready to
eat some dust. The drywall was replaced and
repaired. I should note that I purchased an application
for my phone that had a metal detector that allowed us to locate
the drywall nails and pull them out with minimal damage to the
drywall as a whole. Who knew the phone had a metal
detector sensor? In the photo above, the nail positions
can be easily seen. The old drywall was preserved and
re-installed when the wiring was completed.
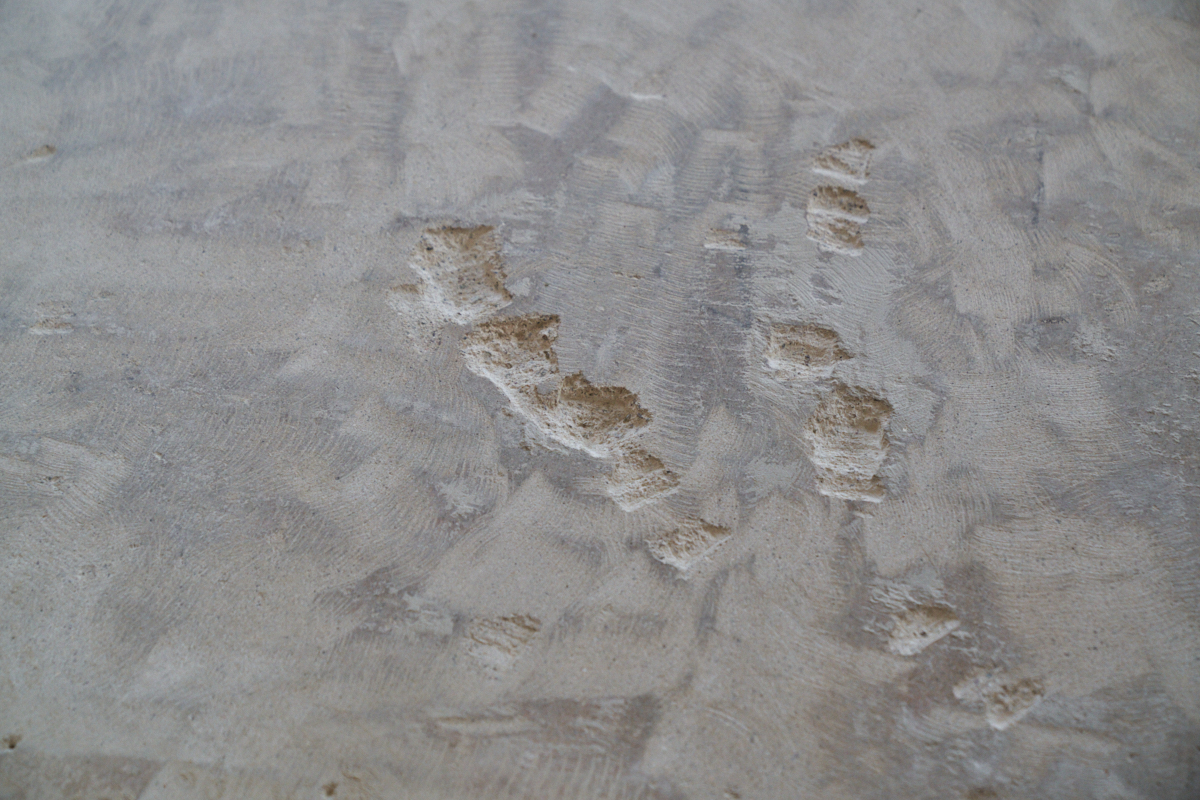
An
unexpected surprise. When we removed the wood flooring, we
discovered that the flooring installers were lazy. The
house originally came with a small tile entry way, but it was
small, cheap and cheesy so the original owners had it removed
and replaced it with carpet. They left big chunks of grout
in place and their jack hammer gouged troughs out of the
slab. Our remodel guys just laid the wood over the grout
mountains. When we removed the flooring, this was revealed
in all its glory. Our response was to get a diamond
grinding wheel for my angle grinder and remove the remaining
grout raising huge clouds of grout dust along the way. The
holes were too big to bridge with the tile as they would "print
through", so a patch job was needed. This photos shows the
gouges remaining after I ground down the grout mountains.
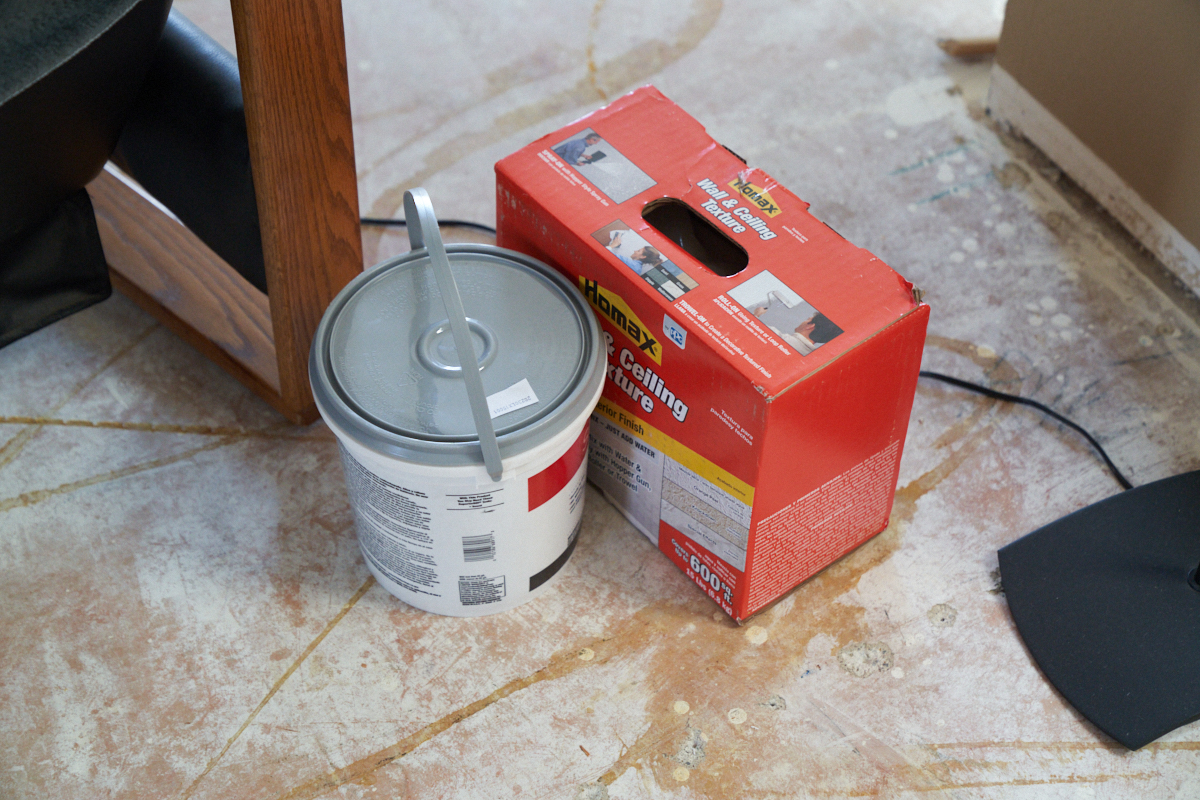
Like it
or not, if you do a project you WILL end up at the home
improvement store: Ace, Lowe's, True Value or Home Depot.
A trip to HD got us concrete patch and spray-on drywall mud.
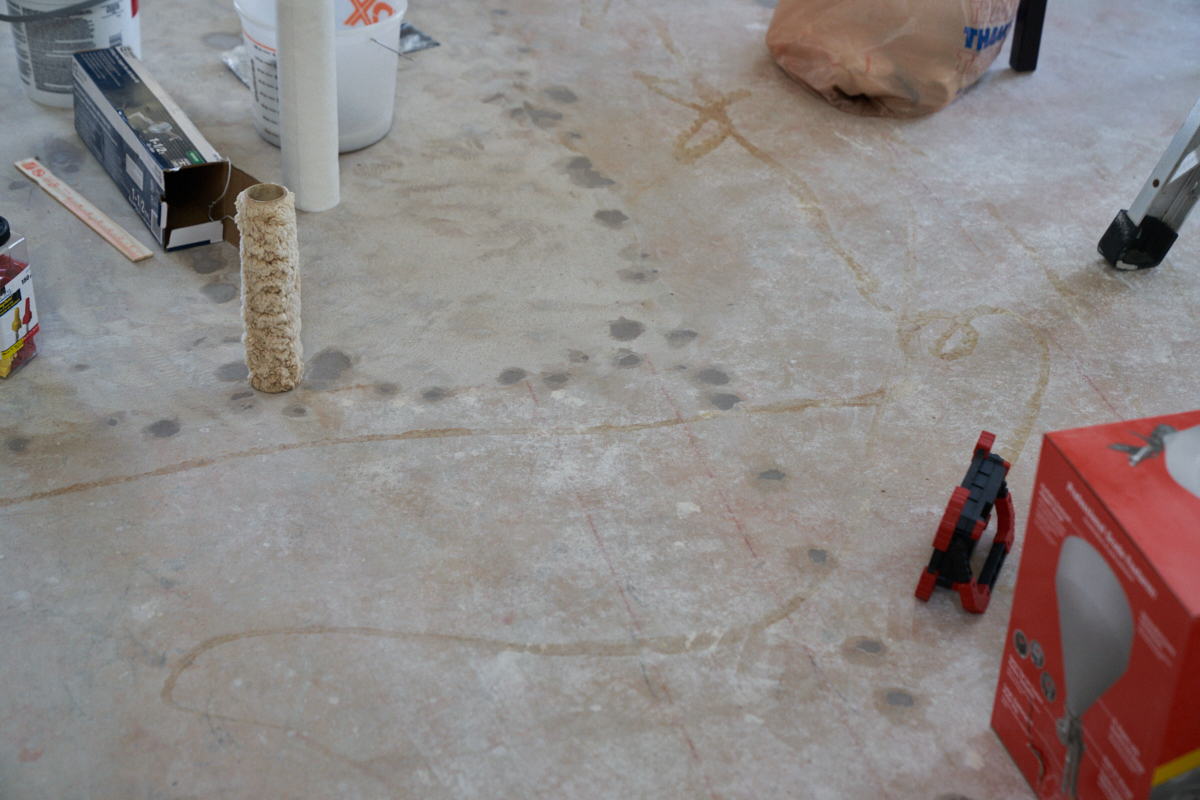
We had to remove the tack
strips for the carpeting and each nail left a divot in the
slab. We use the concrete patch to fill those holes.
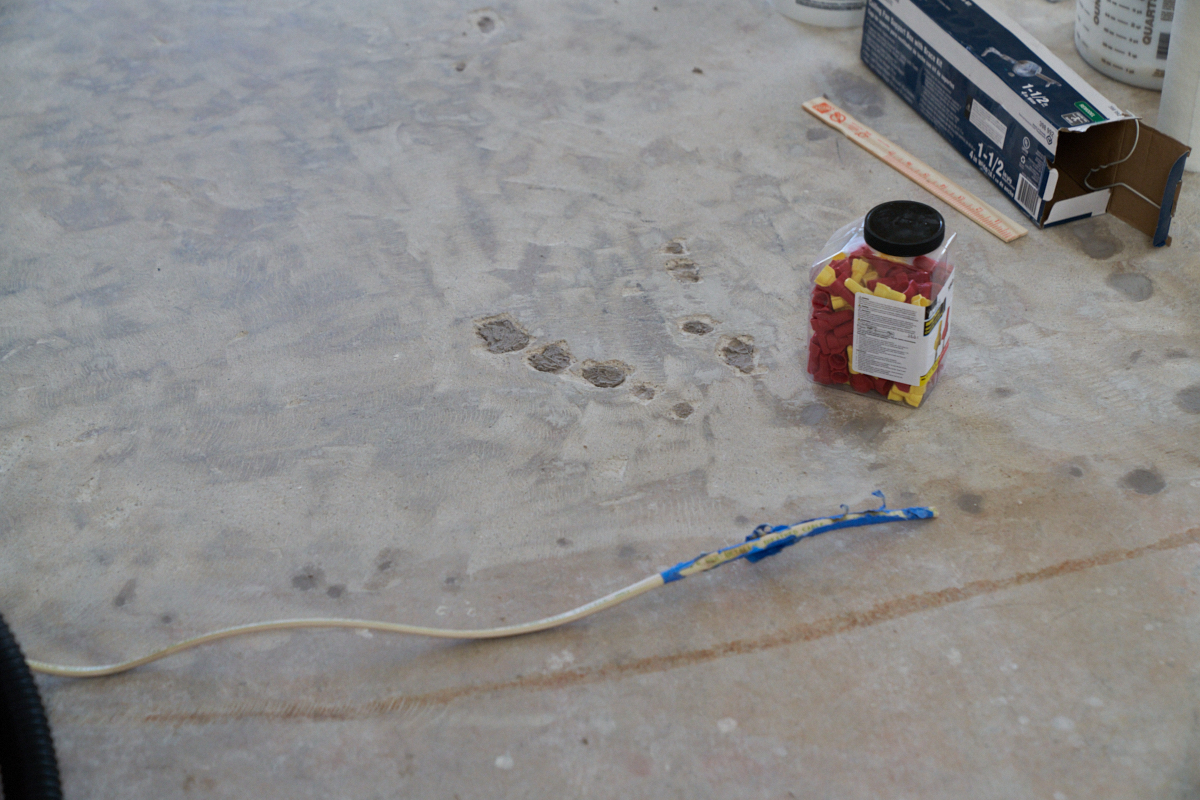
The
concrete patch was also used to fill the huge gouges where the
ceramic tile was located. The holes were deep enough to
require a multi-pass patch to allow it to fully dry. Above
is a photo of an earlier patching iteration prior to the final
filling.
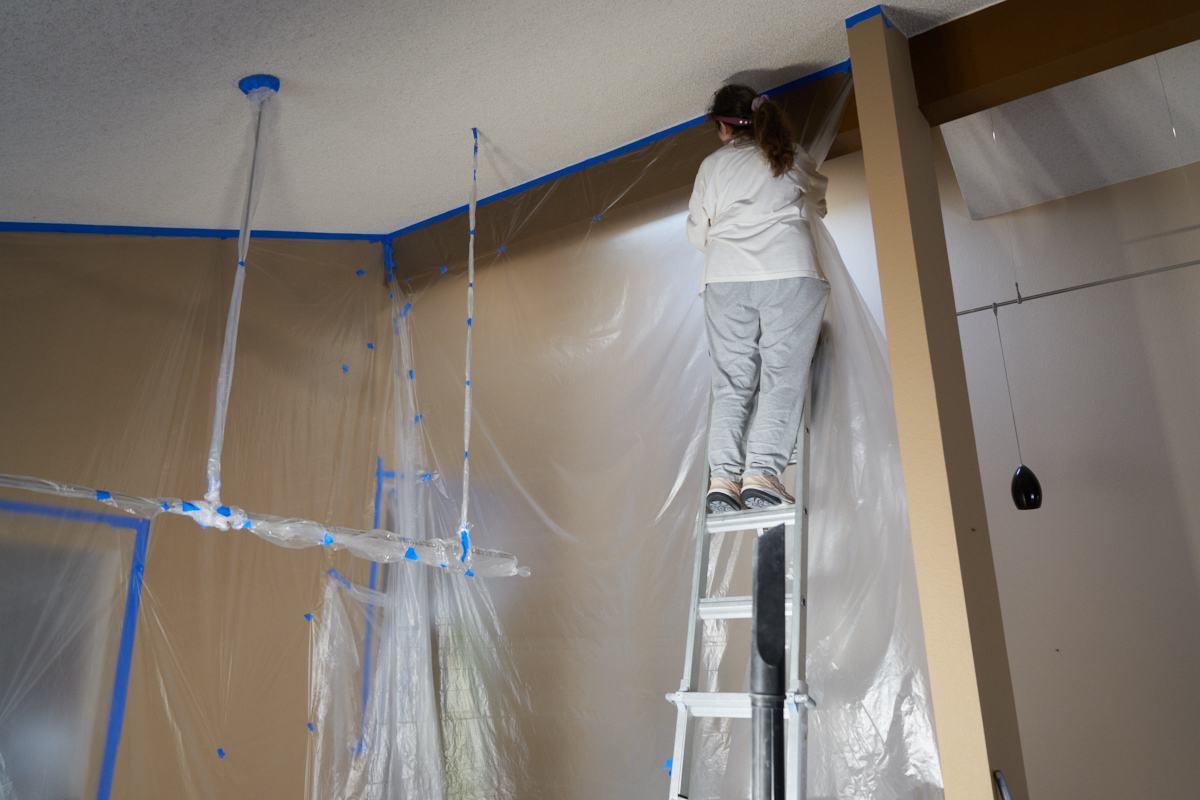
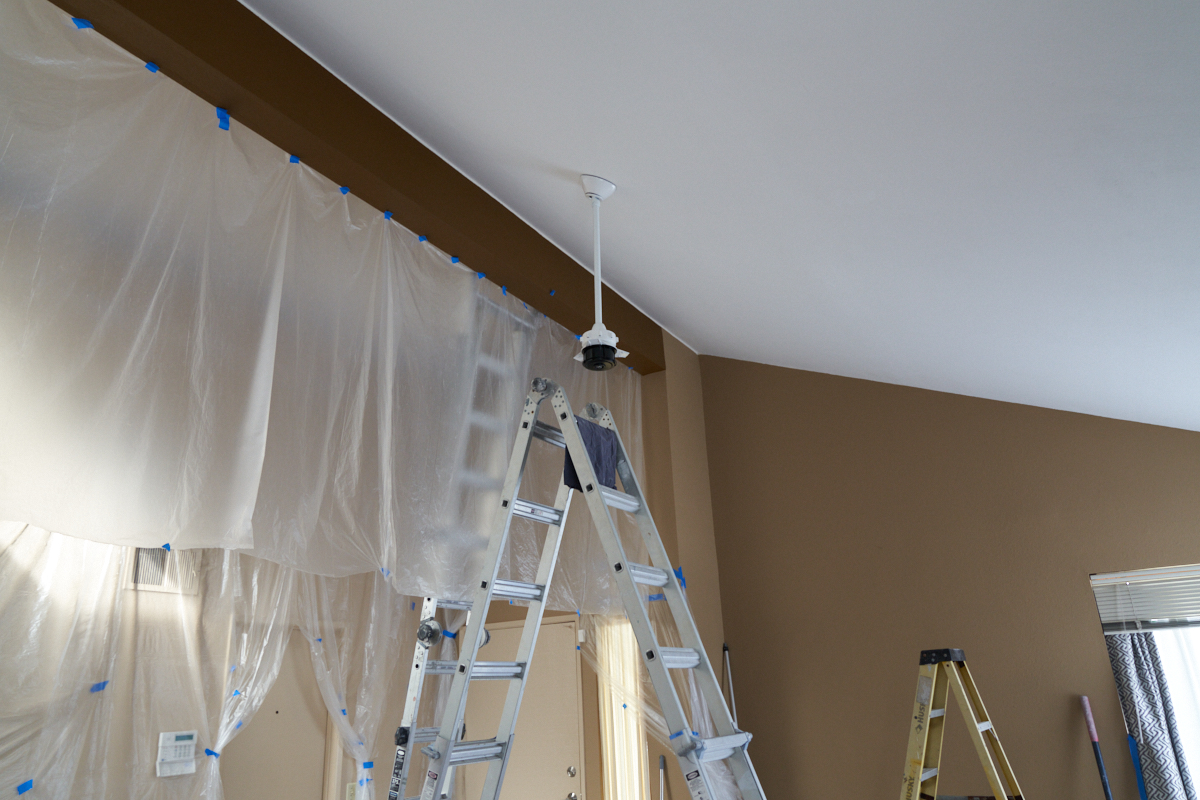
We had
spoken to enough folks to know that the popcorn removal would be
a first-class mess and create a ton of debris. So, to
protect the walls from the debris and texture spraying, we
cloaked every wall with painter's plastic. As can be seen
above, we have vaulted ceilings so being high on the ladder was
scary.

Once
everything was draped and masked, we were ready to start the
popcorn removal. As predicted, it created a world-class
mess with about 100 pounds of material scraped off. To
remove the popcorn, you spray it with warm water and wait 5
minutes. Then you scrape with any reasonable tool like a
putty knife or a wide scraper. The wet slop will rain on
your head and shoulders, coating every horizontal surface.
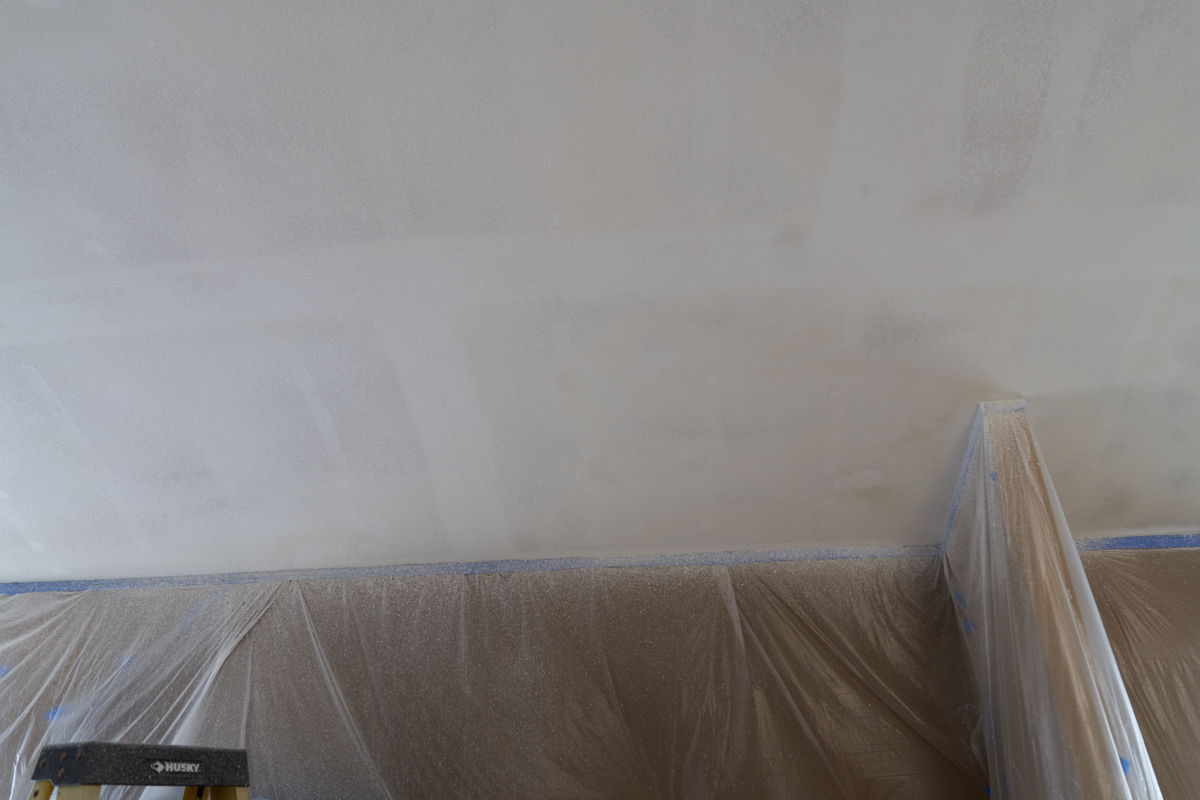
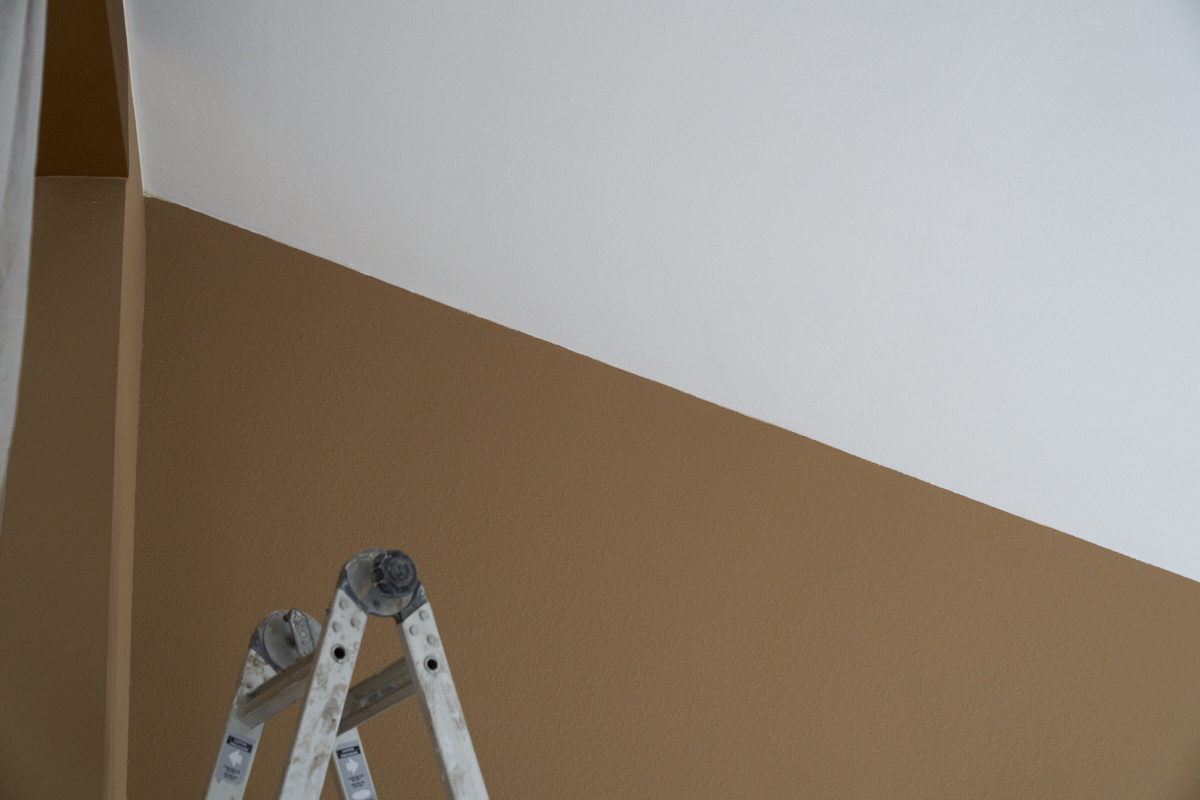
Once the scraping was completed and the material removed, we
were ready to apply the drywall texture. Above, the bare
drywall ceiling can be seen.
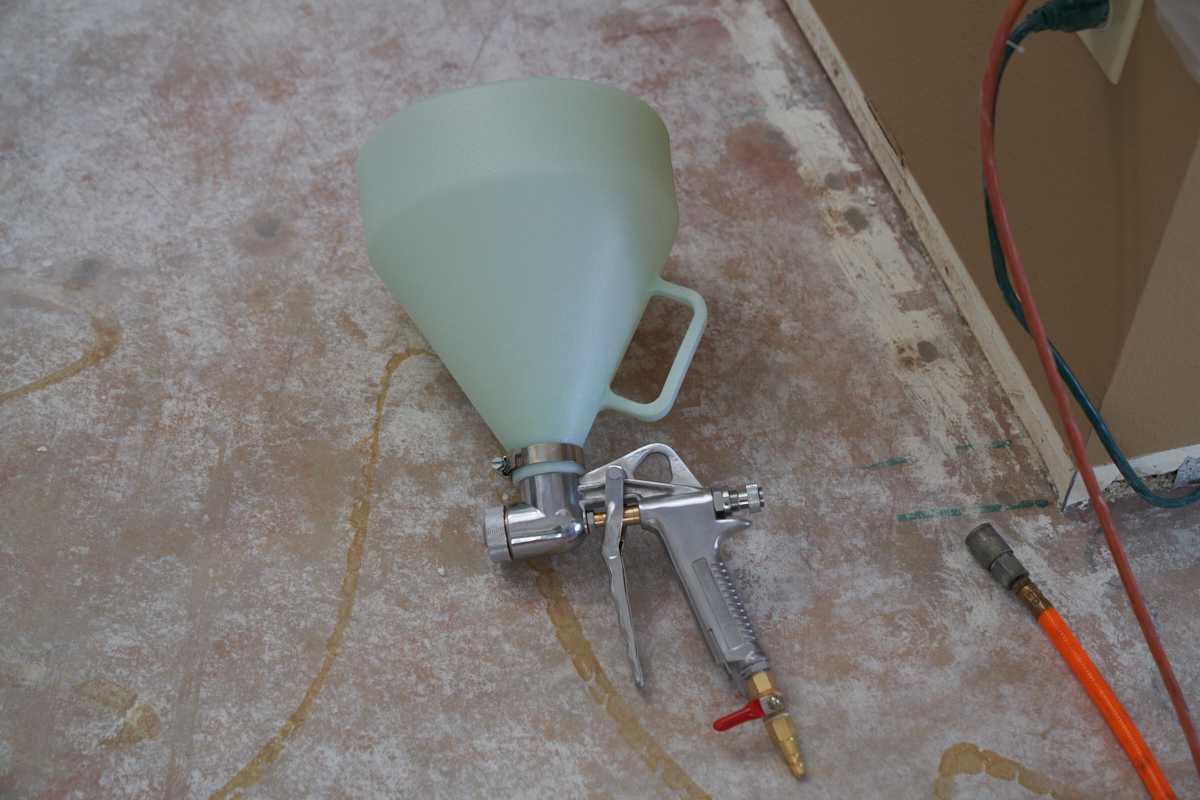
We
already had a heavy-duty air compressor with 100' of hose, so
the only thing that we needed for the texture process was a
spray gun, a bucket and the mud. The mud gets mixed,
poured into the hopper and then you climb the ladder and spray
away. The mud in the hopper is heavy, so there is an
additional handle on the hopper to help control the direction of
the spray.
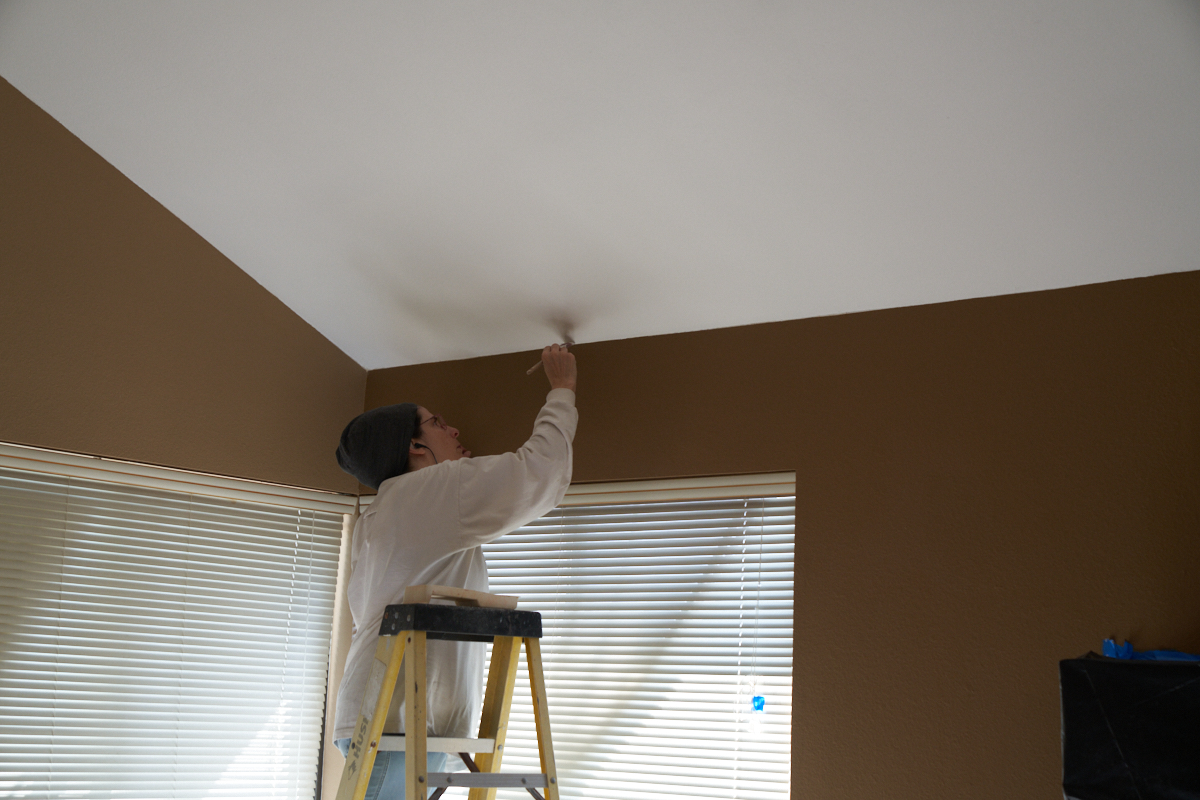
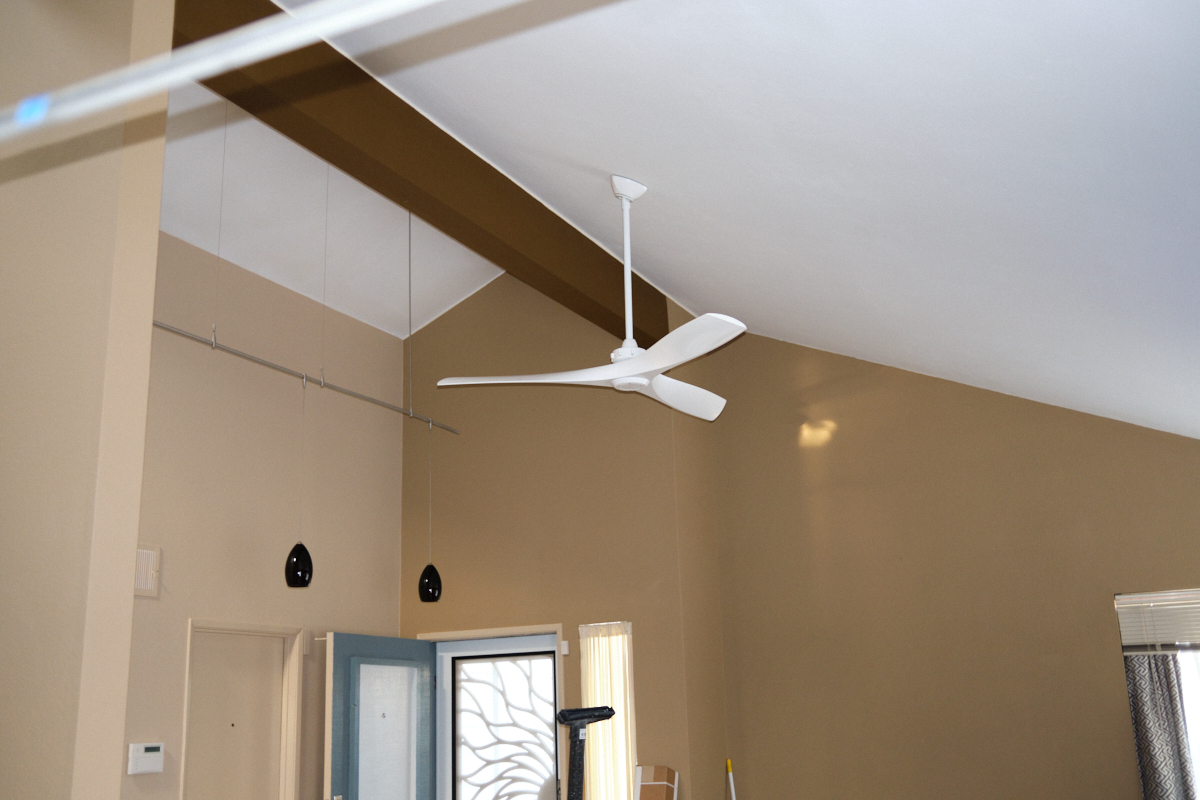
We ended
up doing 2 spray passes with the mud, this is after pass 1.
| Previous Adventure | ||
| Trip Home Page |
Photos and Text Copyright Bill Caid 2020, all rights
reserved.
For your enjoyment only, not for commercial use without attribution.