As fate would have it, our
brake failure
happened on the 4th of July. I had been in contact
with Rob, but he was out of the state and was not planning
on returning until
the 6th and had customers scheduled on the 7th. But he stated
that he would be available to assist us on the 8th. So,
we cooled our heels in Golden for a few days and then
prepared for his arrival. Our friends Bob and
Kitty from Tennessee happened to be in Denver, so
they came to assist us. But, to no
avail. Nothing that we tried helped the
situation, but we did have several nice meals
together.
Based on my
diagnostic information and our collective knowledge
of the failed system, Rob, Bob and I agreed that the
issue was likely in the air booster. But,
since the master cylinder had just been serviced, we
could not rule out an in issue with it either.
So, Rob brought a whole assembly from another 1017A
that he had at his shop.
The photos below are what we saw.
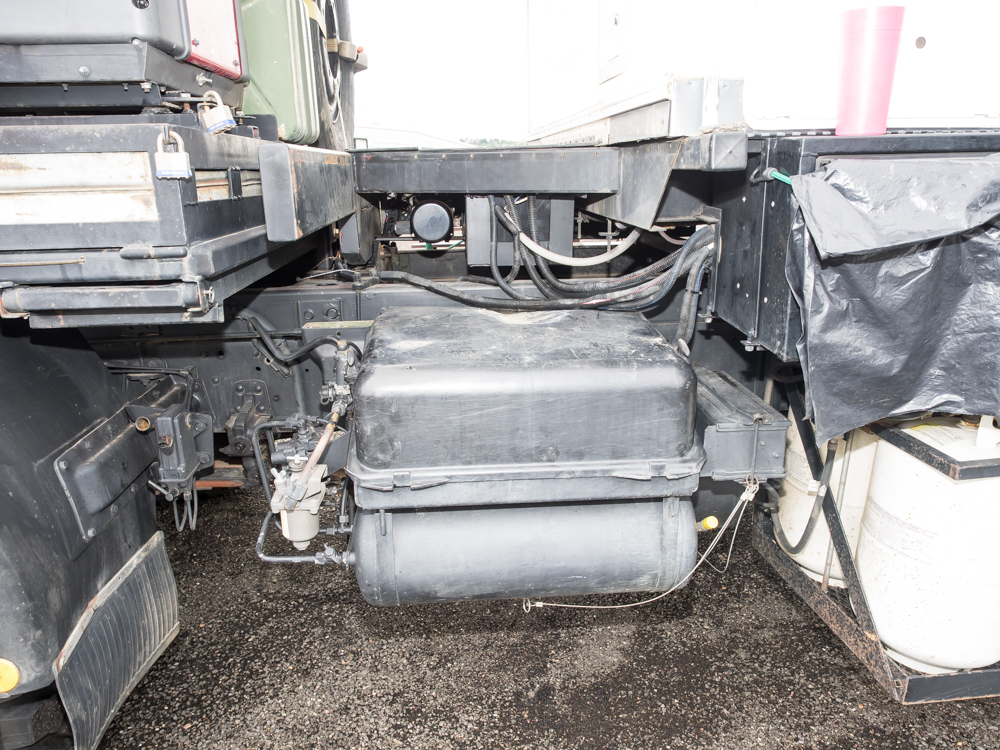
In preparation for his
arrival, he requested that we removed our cargo basket and the
batteries from the battery box. When the basket is
removed, there is reasonably good access to the brake
compartment.
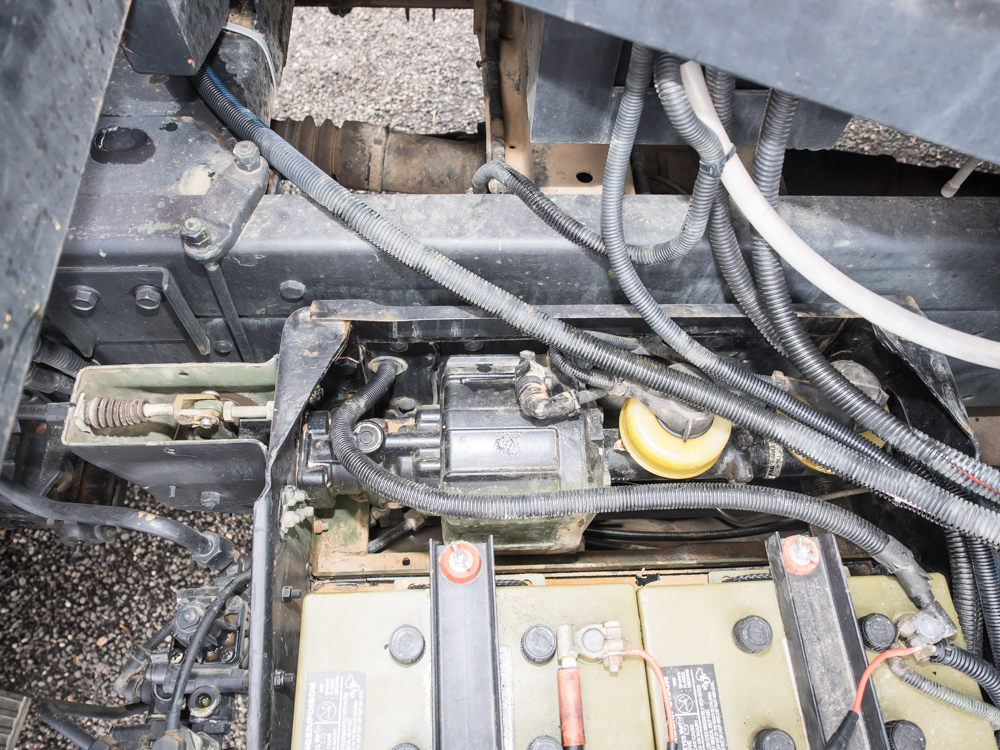
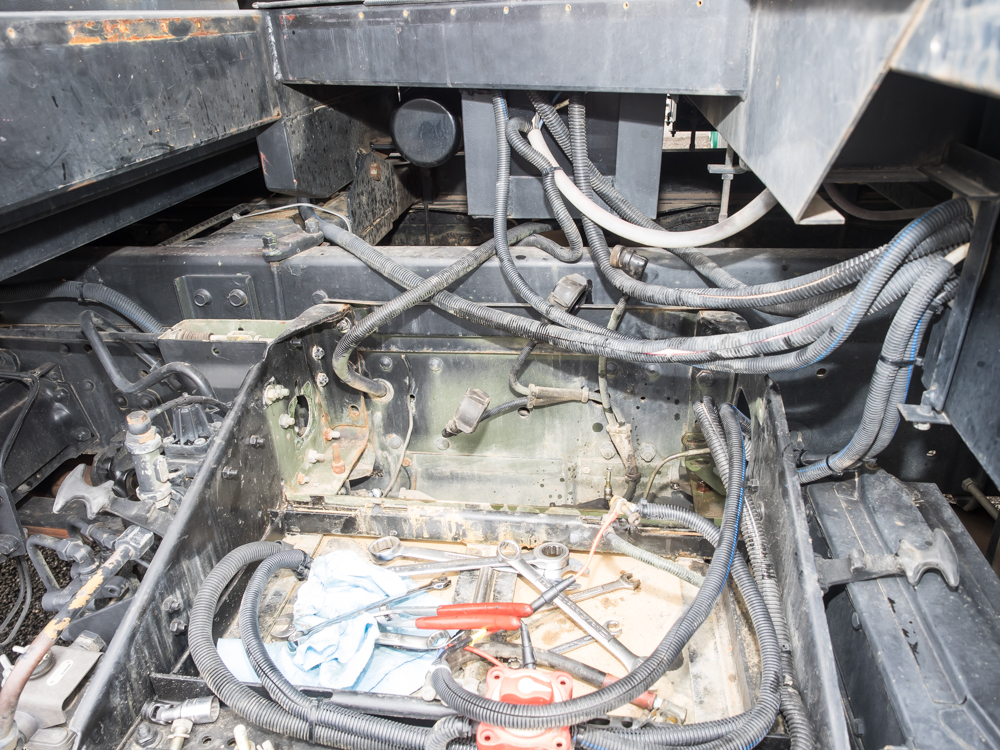
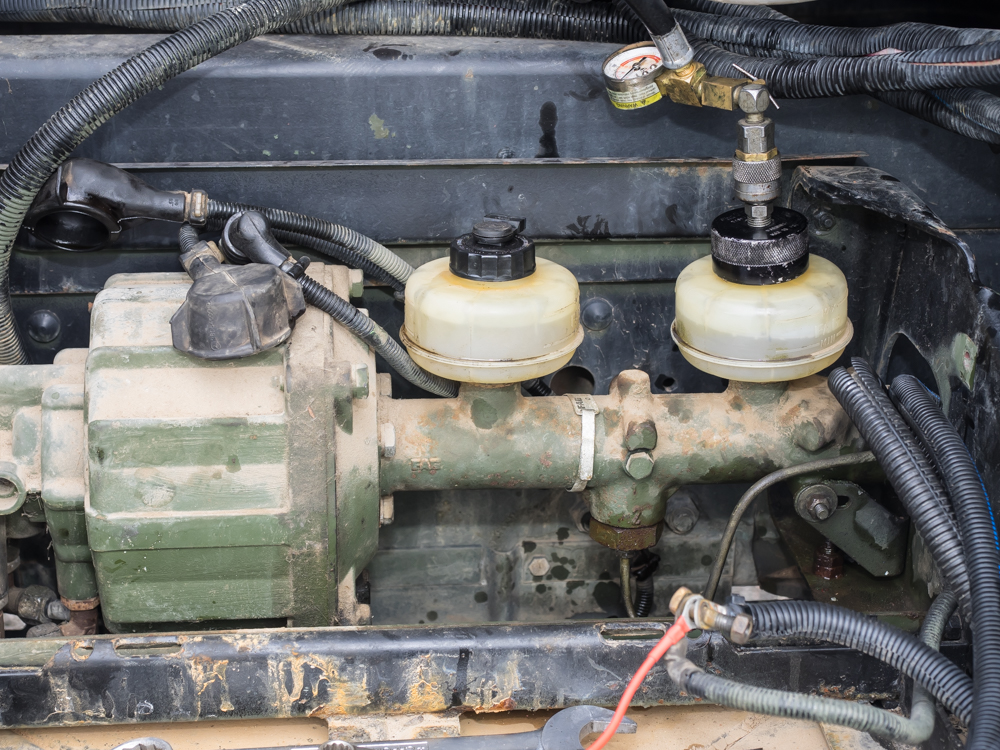
The top view of the brake
compartment shows the actuator cable on the left (with the
rubber boot) connected to the actuator lever. The air
booster is in the center of the photo with a piston that hooks
the actuator lever to the control point of the booster.
At the right of the booster cylinder is the hydraulic master
cylinder and two reservoirs for the two brake circuits.
The various wire looms supply current to the tire crane, winch
and the cab of the truck.
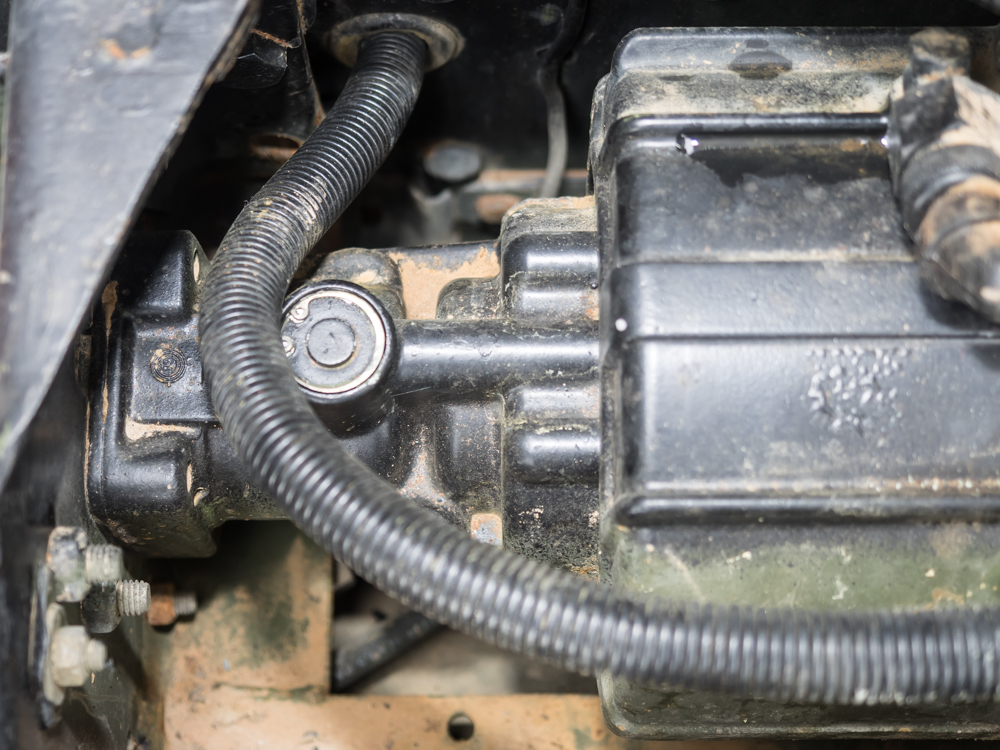
The top of the booster
controller has a snap ring port that allows inspection of a
portion of the mechanism. We also discovered that it
will vent air pressure allowing clearing of any debris that is
in the system. Bob assisted me and operated the brake
pedal. With the snap ring and port cover removed, he
cycled the brakes and my hand was sand blasted with rust
chunks. We cycled the system a number of times and while
the amount of particles reduced with each cycle, it never went
to zero. This seemed to point to a piece of rust blocking
an exhaust port preventing the hydraulic portion of the assembly
from moving past the reservoir port. But nothing we
tried allowed us to build hydraulic pressure. Little did
we know that the pistons were stuck in the master cylinder!

Rob arrived as planned
with spare parts in hand. He went right to work removing
brake lines and reservoirs in anticipation of removing the
whole assembly.
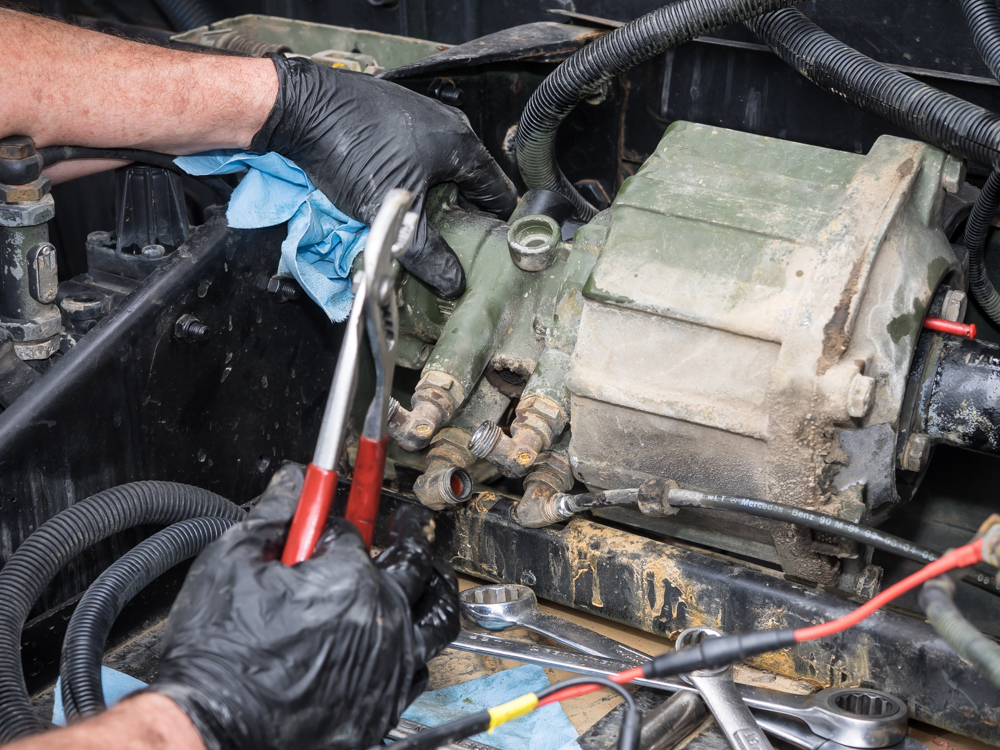
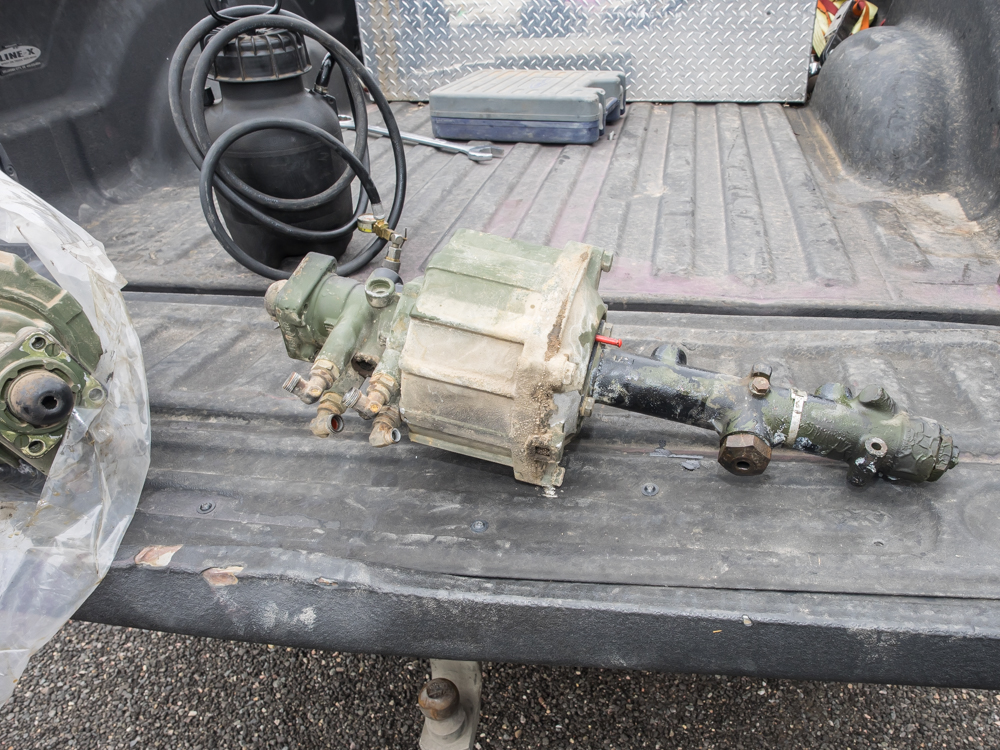
This show shows the size
of the booster assembly. Once it was unbolted, it was slid
rearward and then rotated to allow access to the air
lines. The exact configuration of the air lines is a bit
mysterious, but we surmise that there are 2 feed lines (one
from each tank) and 2 exit lines for trailer brake control.
The whole assembly was out
in only a few minutes leaving a huge cavity at the side of the
truck.
The old assembly was put
into Rob's truck for a trip back to the shop.
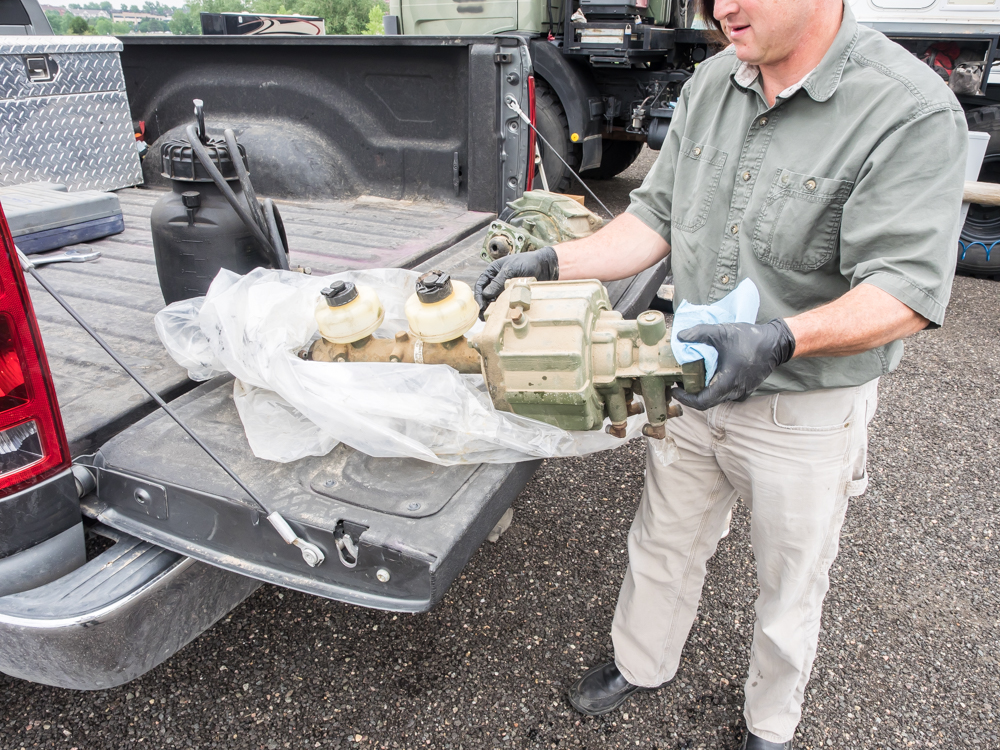
The "new" brake assembly
was brought from Rob's 1017A at his shop in La Junta.
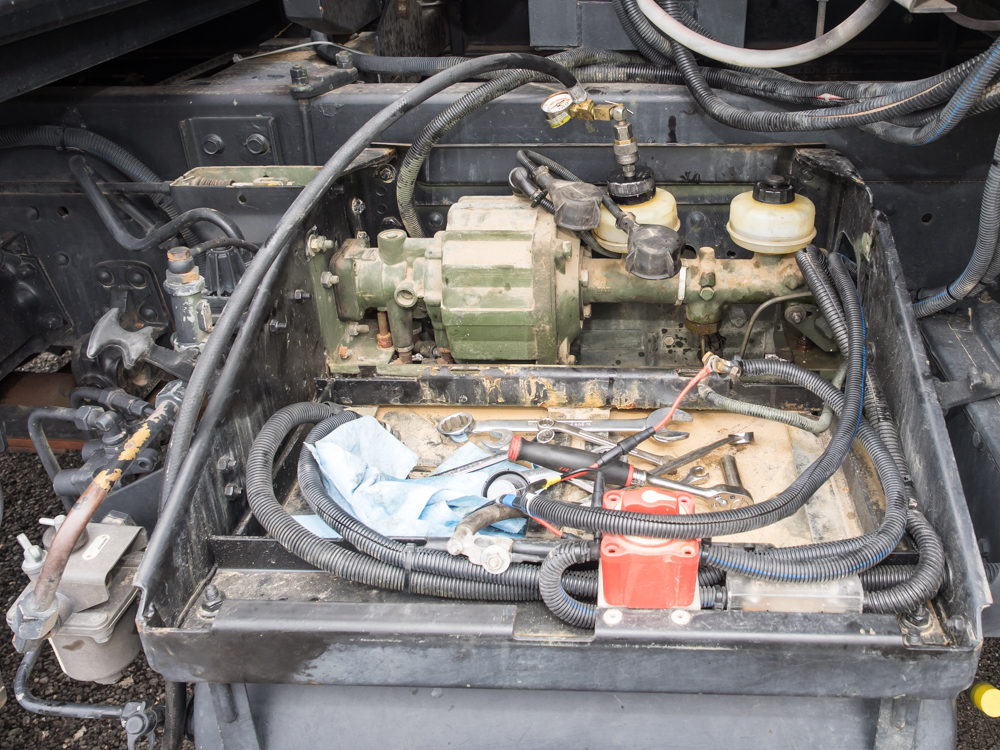
The installation of the
new assembly was reasonably straightforward and was accomplished in short
order. Next, the power bleeder was used to eliminate air from the brake
lines. Note the power bleeder line on the front
fluid reservoir.
As it turns out, the front
reservoir is actually the rear circuit. After the rear circuit
was bled, the front circuit got the treatment.

Once we demonstrated that the
brake system was functional, we broke camp and headed
directly back to Rob's shop in La Junta. We stayed in
Thor inside his shop. Next morning, we attacked the
air tanks. Since we had seen rust during the flushing
operation, we decided to remove, wash and rust treat the
inside of the tanks to prevent further issues. When
the tanks were removed, we found a large pile of rust in the
small (outboard) tank. Fittings were removed and plugs
installed. Then the tanks were filled with hot detergent
solution and left to soak for about 15 minutes. Then
they were rinsed with hot water until all the rust particles
were removed and left to dry in the sun.
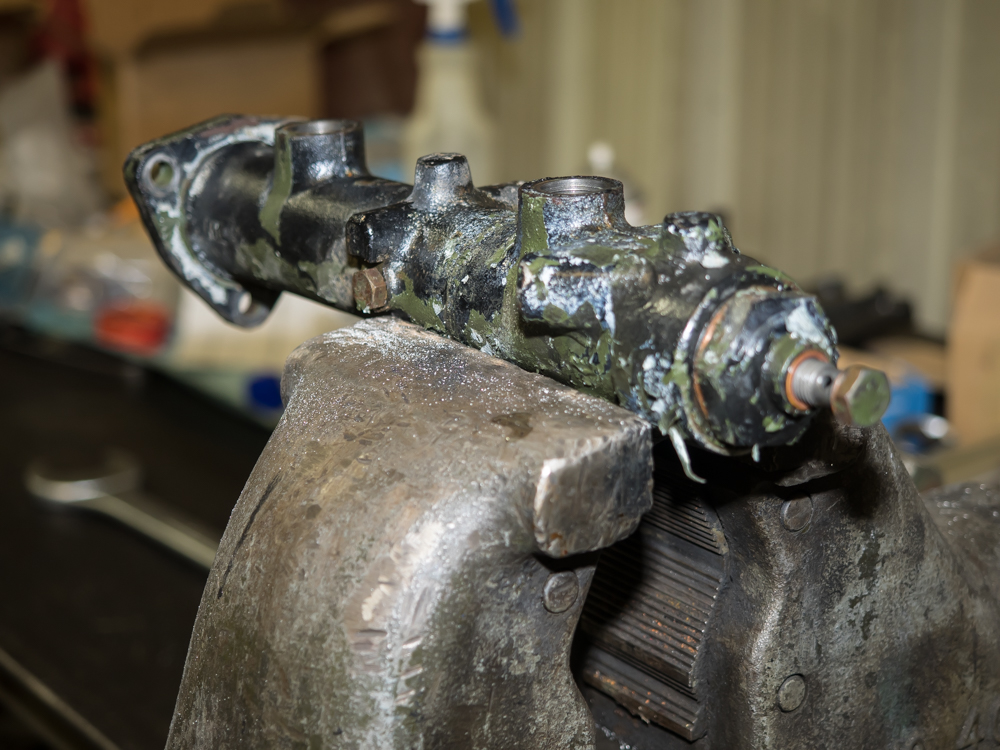
While the tanks were
drying, Rob dismantled the master cylinder. It did not
come apart as expected. I, personally, expected that one
of the rubber seals was twisted and preventing the pistons
from moving, but that was not the case.
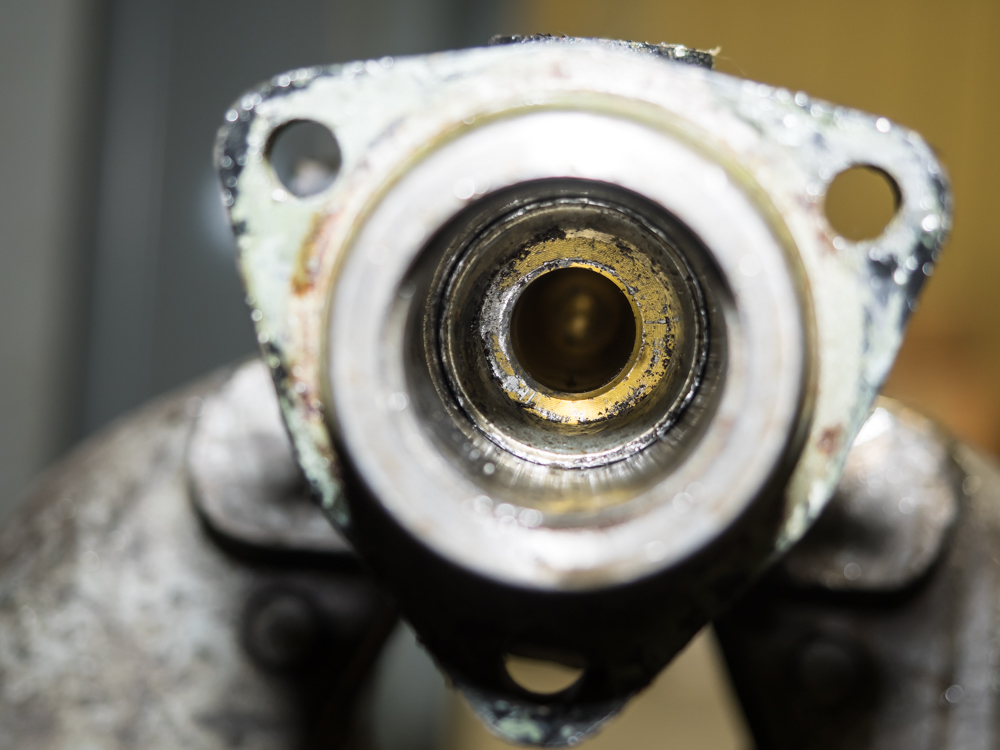
We discovered the culprit:
a washer was jammed in the bore of the cylinder preventing
movement of the pistons. The question was how did that
happen? A new rebuild kit was installed just days
before.
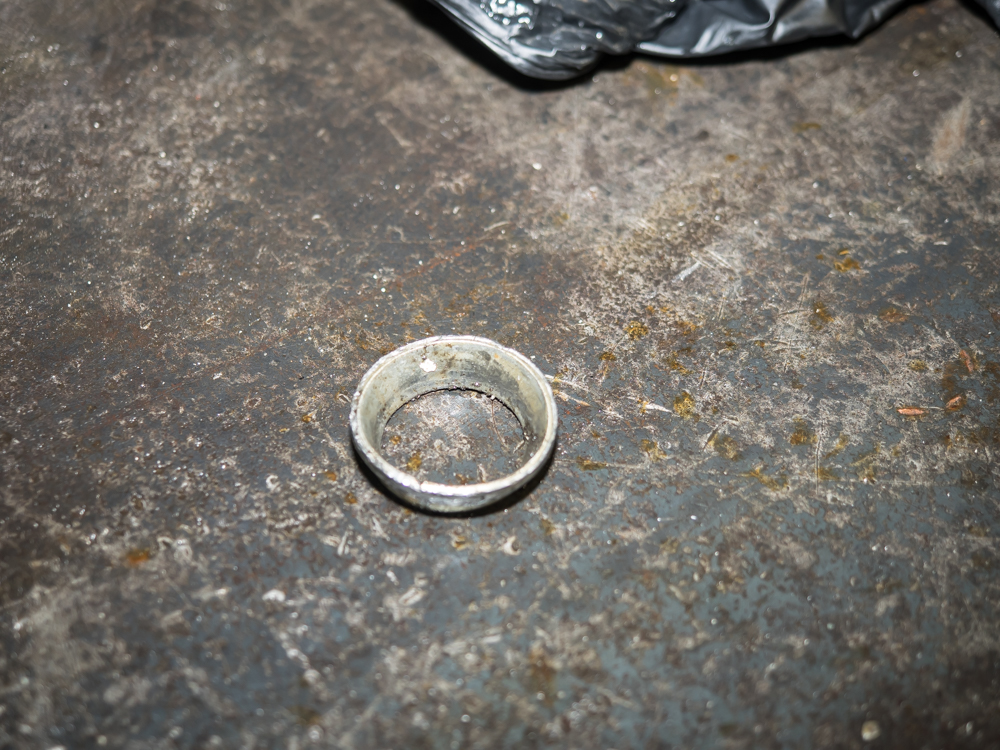
The flat washer was deformed into
a cone and the cone had become press-fit into the bore of
the cylinder.
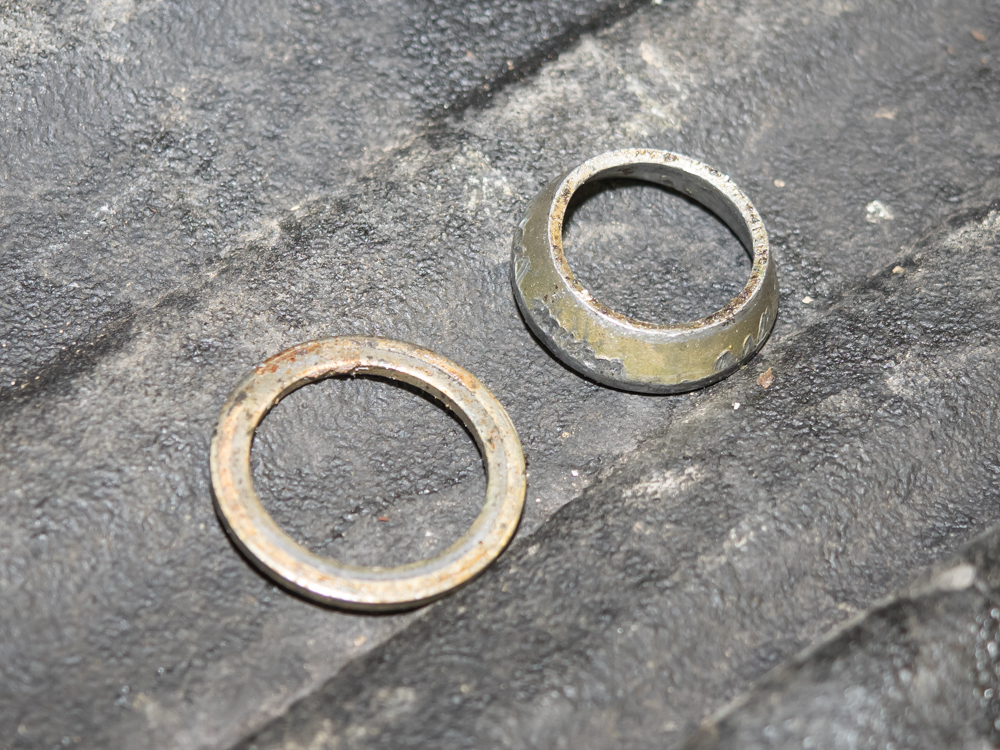
The washer on the left was
the original washer from the cylinder prior to the rebuild.
The one on the right is the new washer (after being deformed).
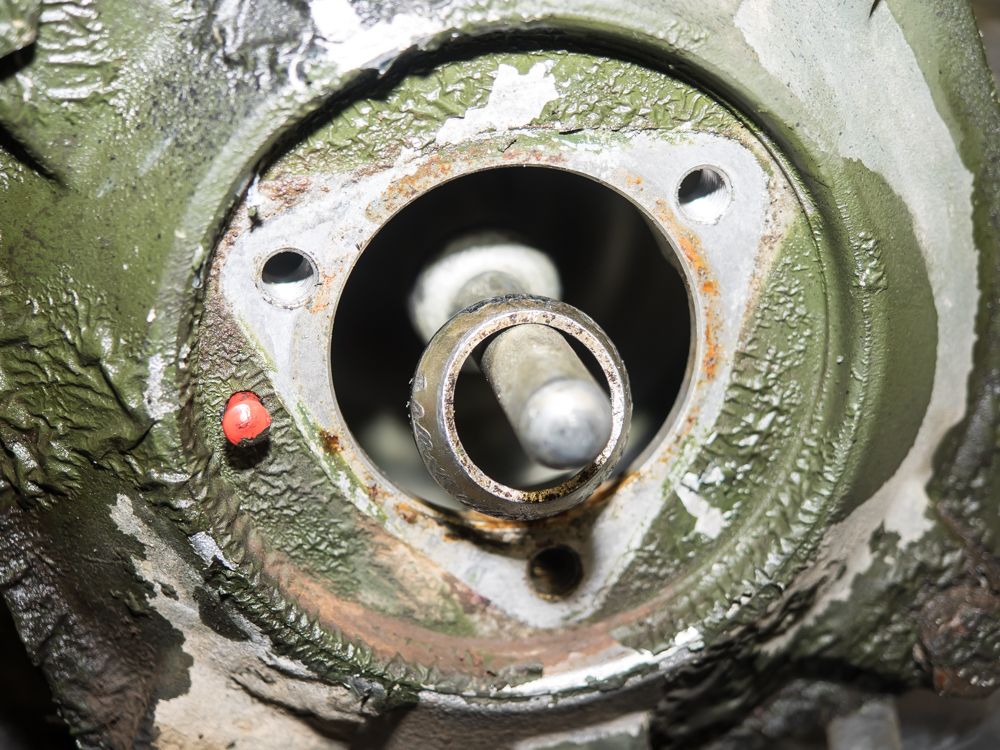
Note the base of the piston
inside the bore of the booster. The base is a cone and
the shape matches the deformation of the washer. The
root-cause of the issues were that the incorrect rebuild kit
was used. As it turns out, there are THREE kits
specified for my truck; only one is right, but the MB
electronic catalog gave no clear indication of which was
correct. Last year, I purchased a master cylinder
rebuild kit, but it was incorrect as well (but that mismatch
was obvious -- the bore of the cylinder did not match the
piston. This mismatch was more insidious in that the
piston fit the bore and only the washer was different.
Thor has the "heavy duty" brakes which have the conical base
on the booster to improve the robustness of the booster piston.
The inside diameter of the rebuild washer fit over the piston
but was too small to fit over the cone, causing an
interference. Delivering about 6,000 pounds of force,
the booster won that battle and deformed the washer.
After several hundred cycles on the service brakes, the washer
bound up in the bore of the master cylinder and the game was
over. No amount of action on our part could have
resolved this failure once it happened. We were, as they
say, "well and truly screwed".
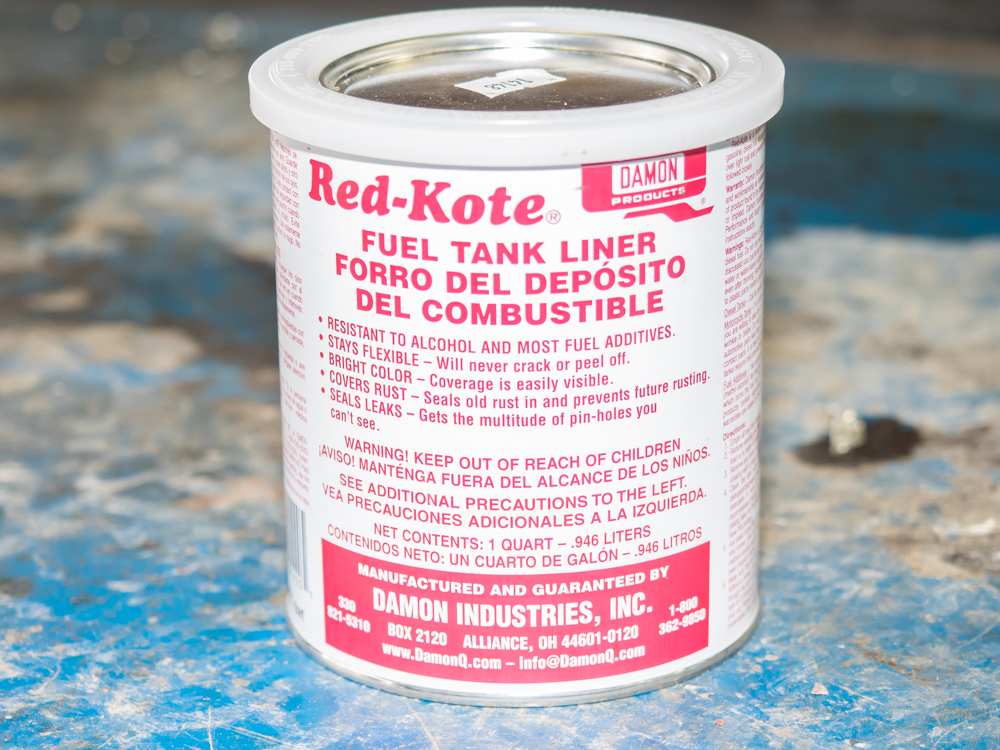
The air tanks were treated
with Red-Kote polymer liner. This is poured into the
tanks and then sloshed around and poured out. The
solution is the viscosity of maple syrup. Once it dries,
it leaves a polymer coating on the inside of the tanks.
Oh, the fumes from the drying are very noxious.
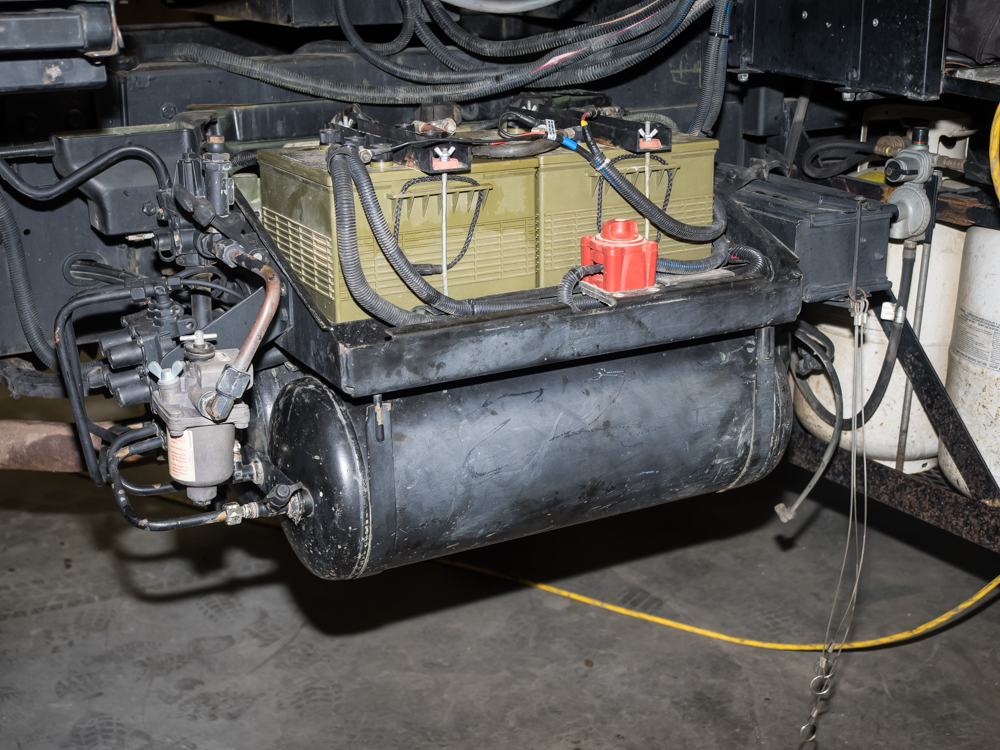
Once the tanks were dry,
they were reinstalled back in place under the battery box.
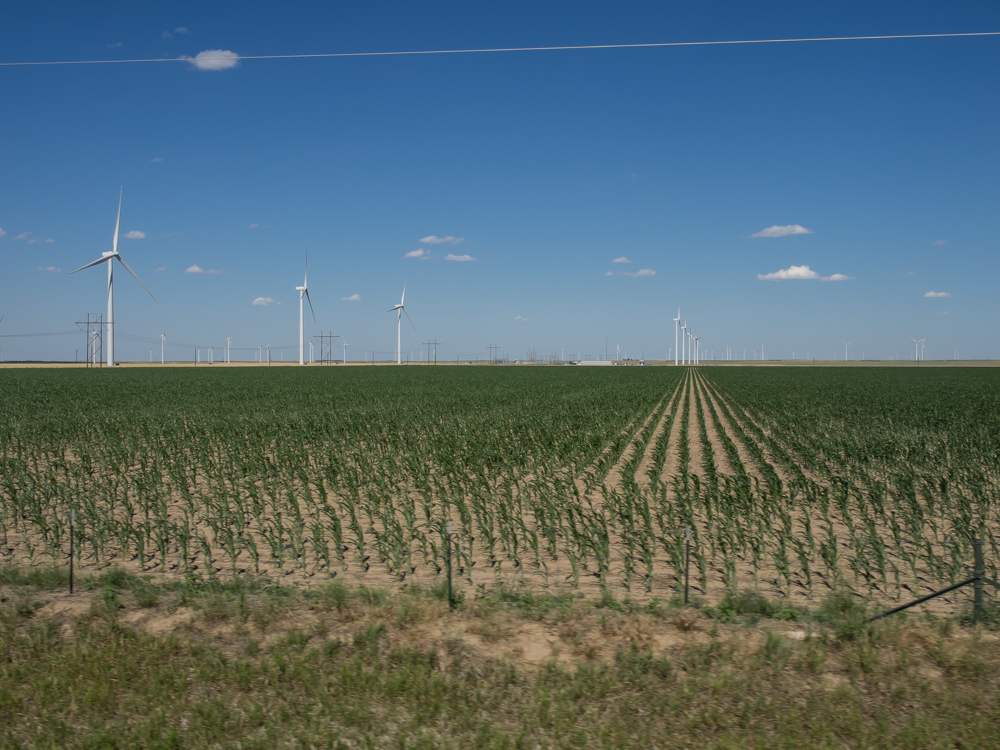
Once we were done in La
Junta, we headed north to Limon then continued on to Brush,
CO. Along the route we passed some large corn fields
with a substantial wind farm.
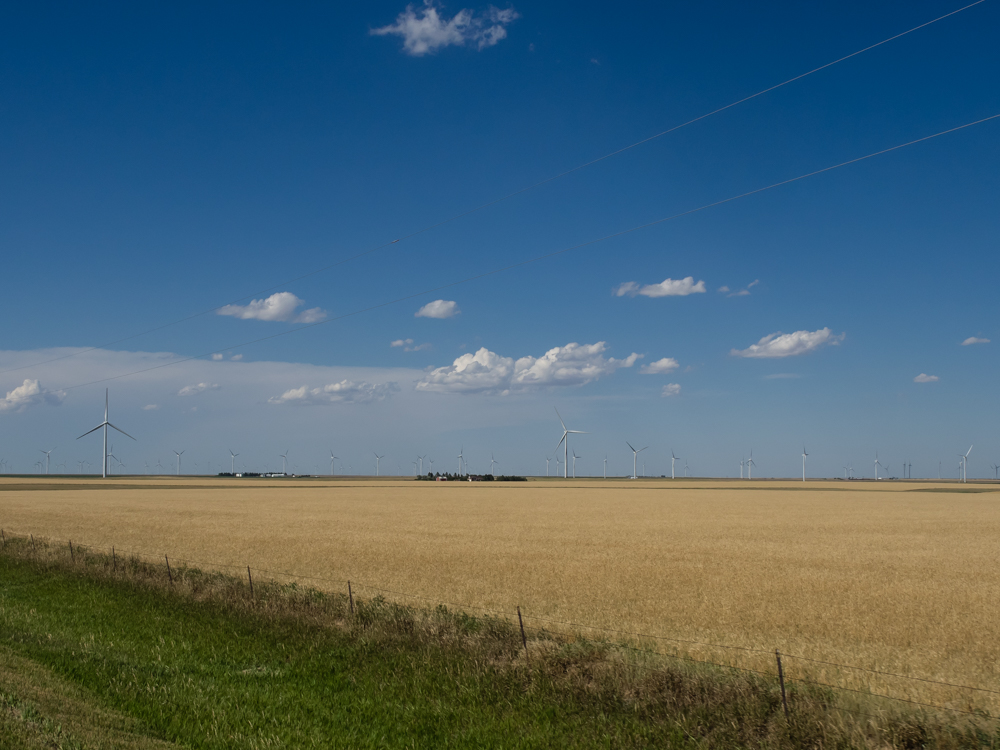
The wind farm stretched for miles and
spanned both corn and wheat fields.
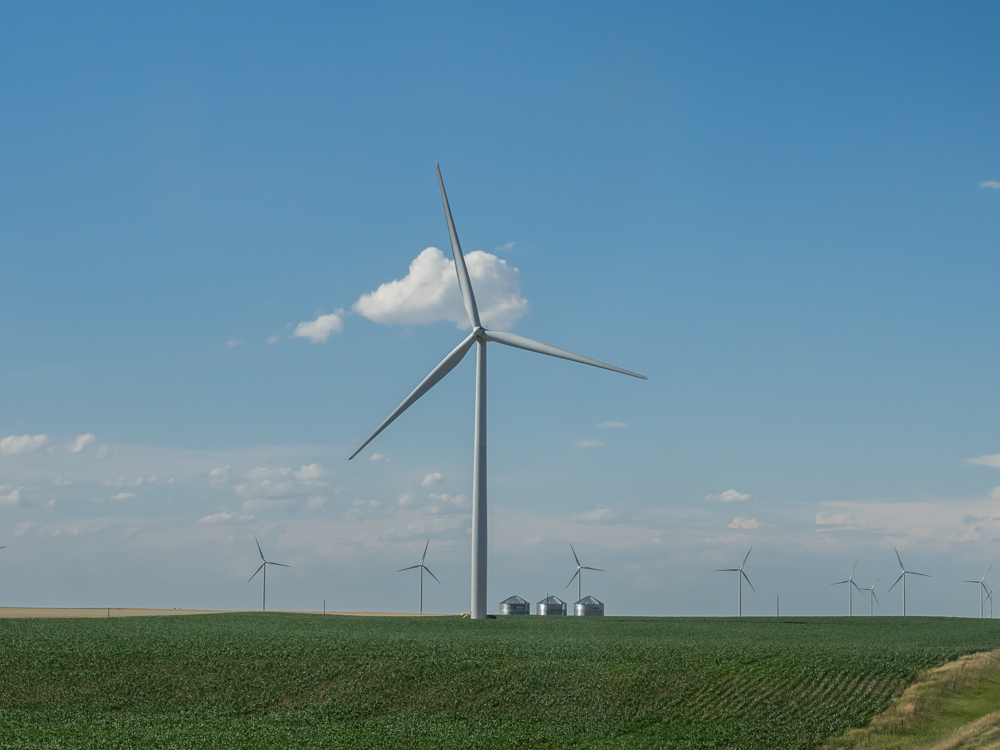
These are huge turbines
that are perhaps 100' tall.
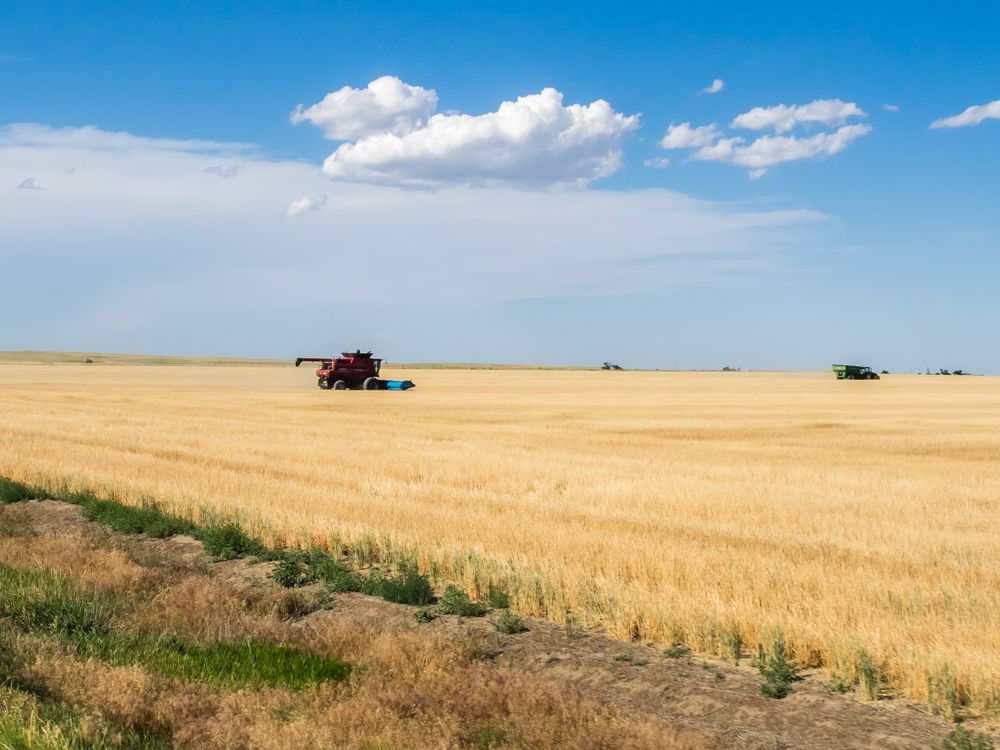
Further north we came upon
some wheat fields being harvested by large combines.
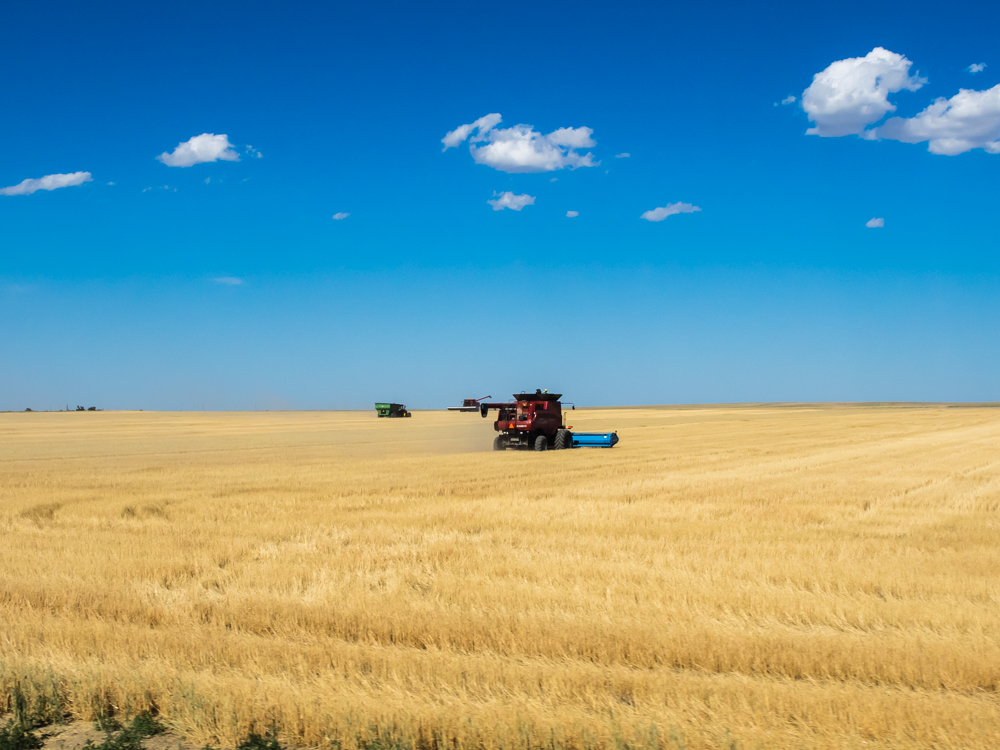
The combines process a
huge swath of grain and expel the harvest out the spout on the
rear into the open hopper trailers for transport to the grain
elevator.
| Previous Adventure | ||
| Trip Home Page |
Photos and Text Copyright Bill Caid 2014, all rights
reserved.
For your enjoyment only, not for commercial use.