
The photos below are what we saw.

After the frame articulation test
shown in Part 3, our plan was to remove the camper, and then complete
the sub-frame fabrication. Above, Rob positions the fork lift to
raise the camper.

The camper was then placed on jack
stands for sub-frame modifications and other actions.

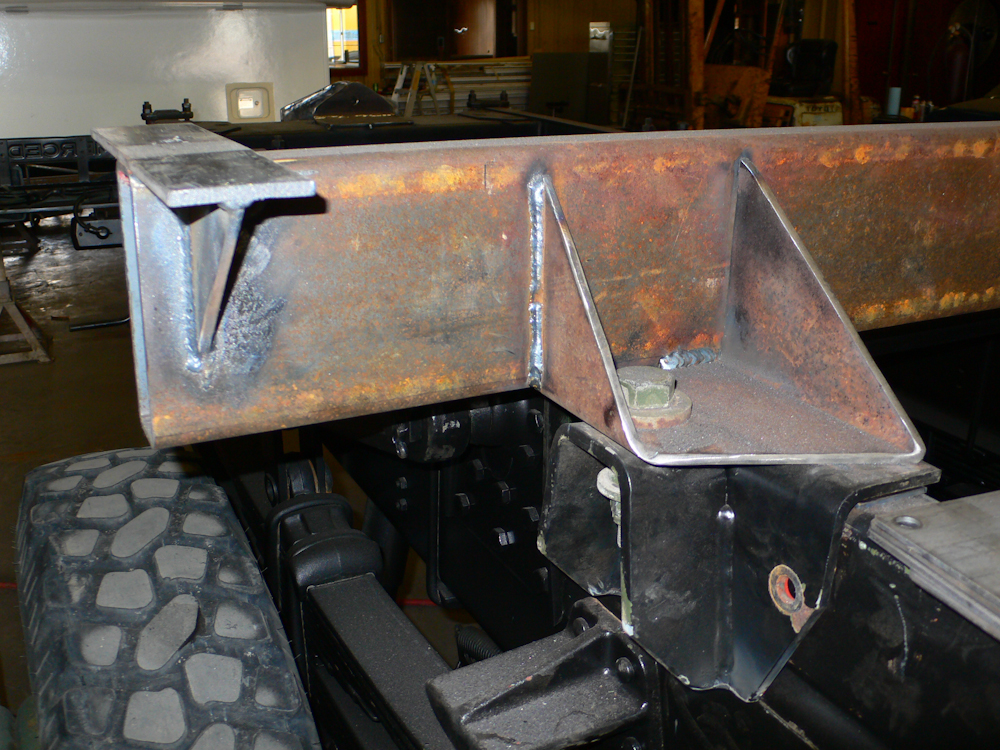
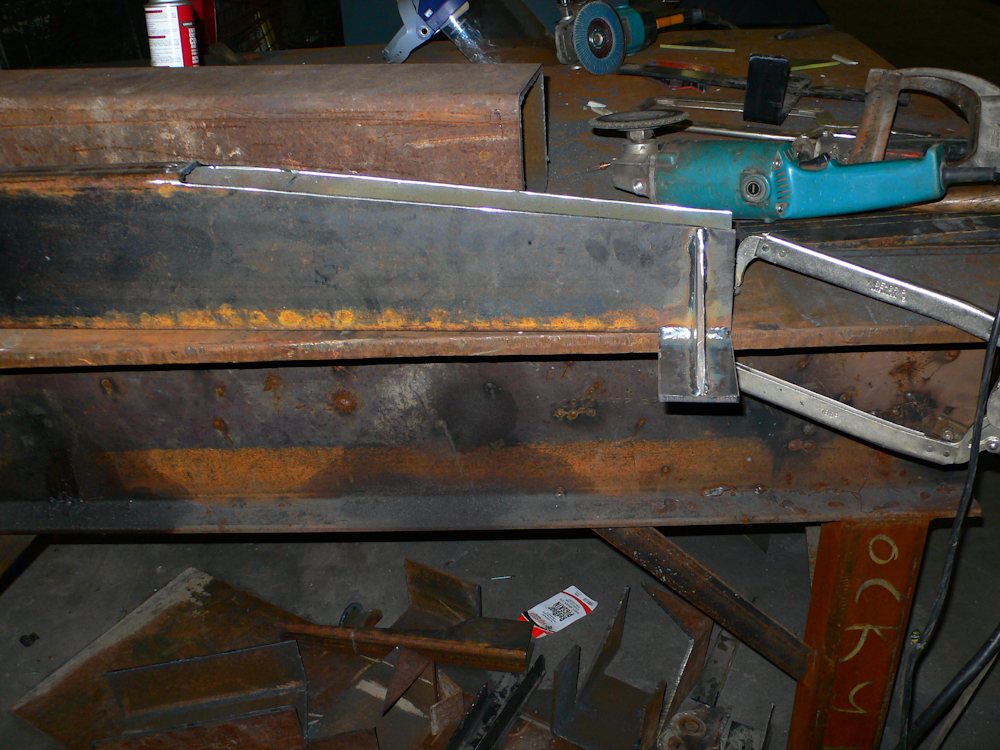
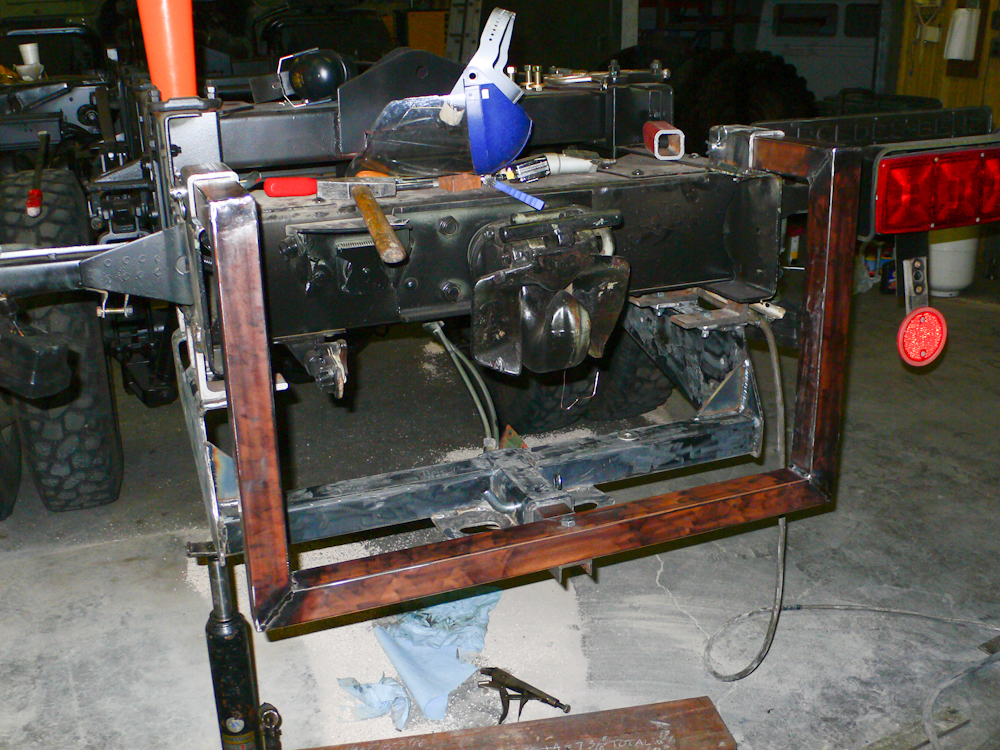
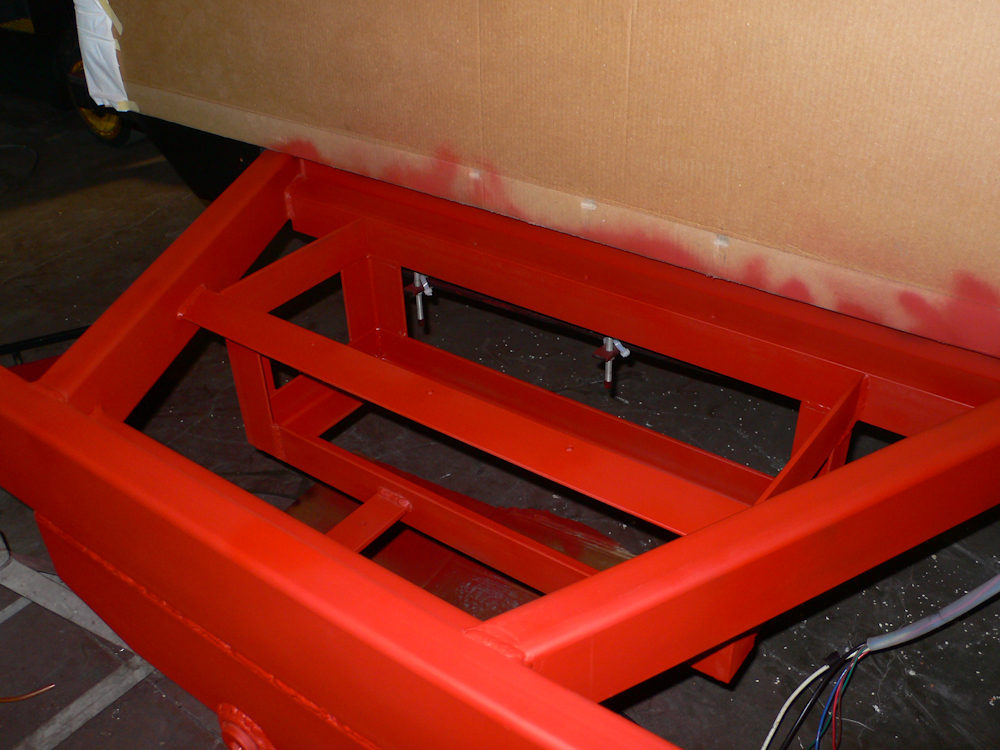
The articulation test showed that
a mechanical interference was likely under extreme articulation.
So, rather than risk tweaking something, we decided to trim the
sub-frame to provide additional clearance. Above, the chalk lines
show where the plasma torch will cut the frame.
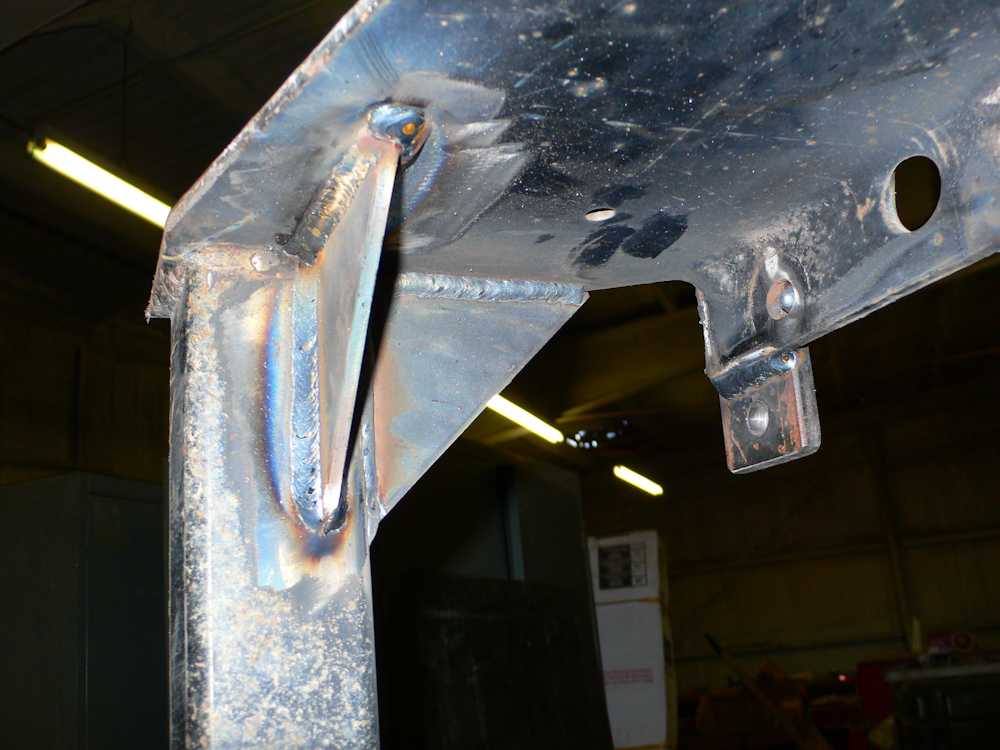
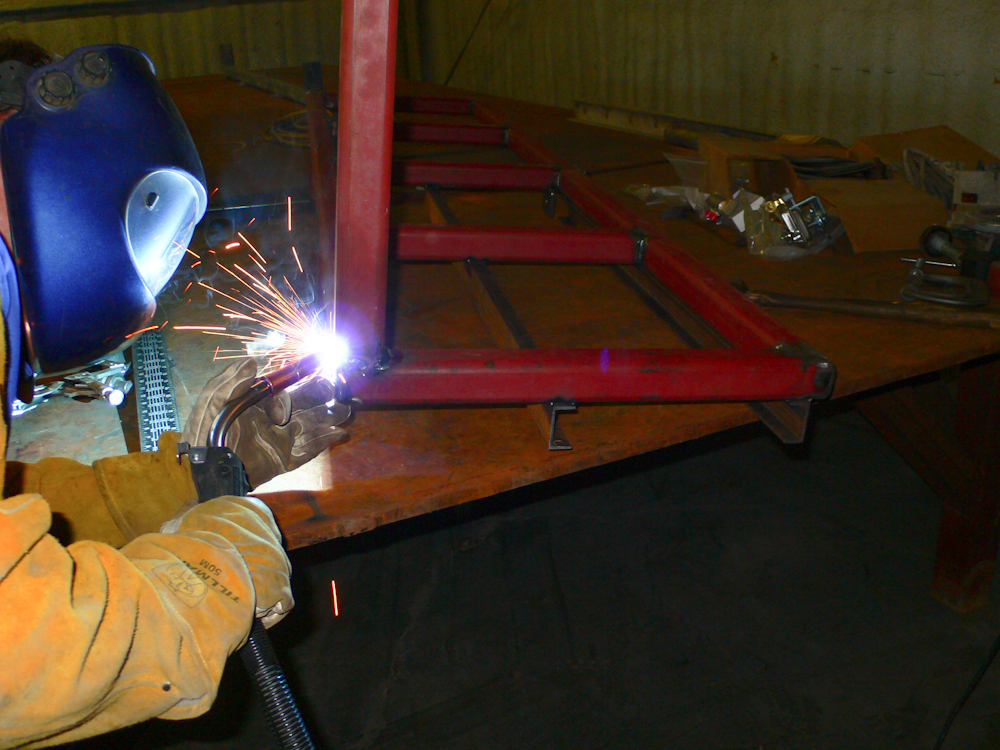
The center frame member needed a
bunch of additional welding done to complete the fabrication.
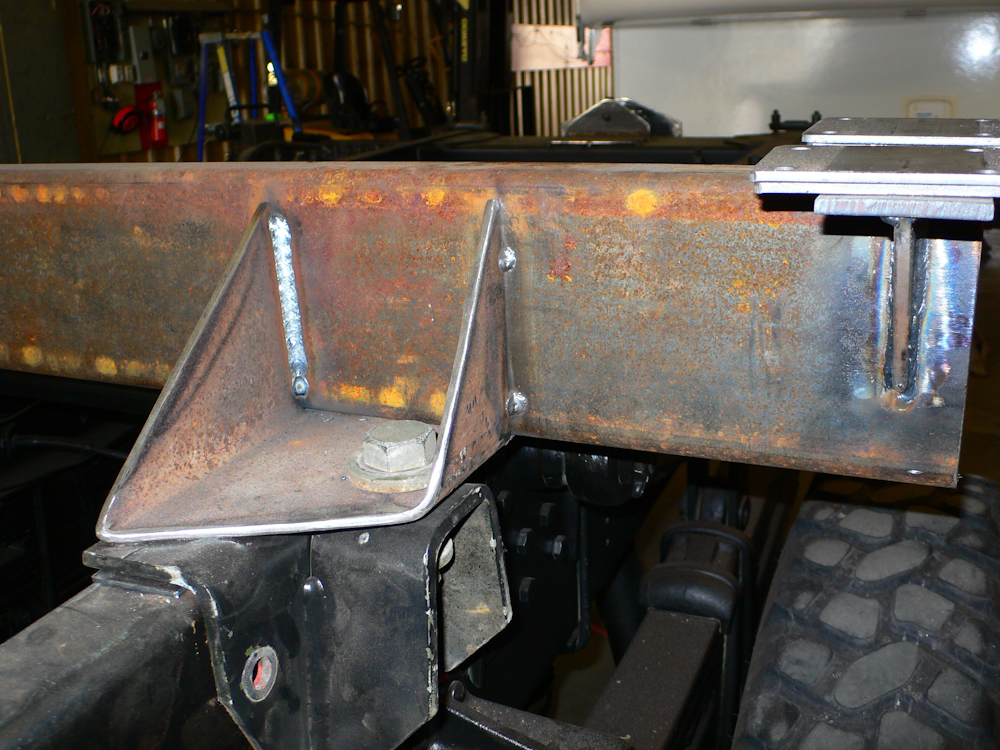
The tack welds on the center frame
member would have to be hard welded before priming and painting.

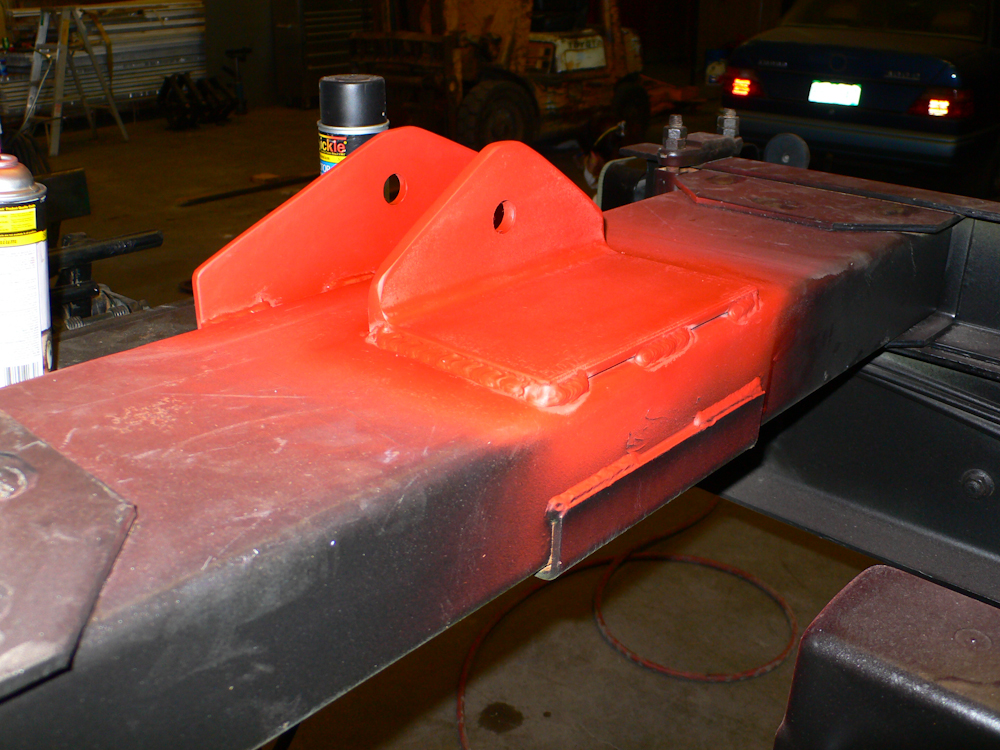
The truck frame attachments were
good as-is, so they were primed and painted.
The rear frame attachment was
primed and painted as well.
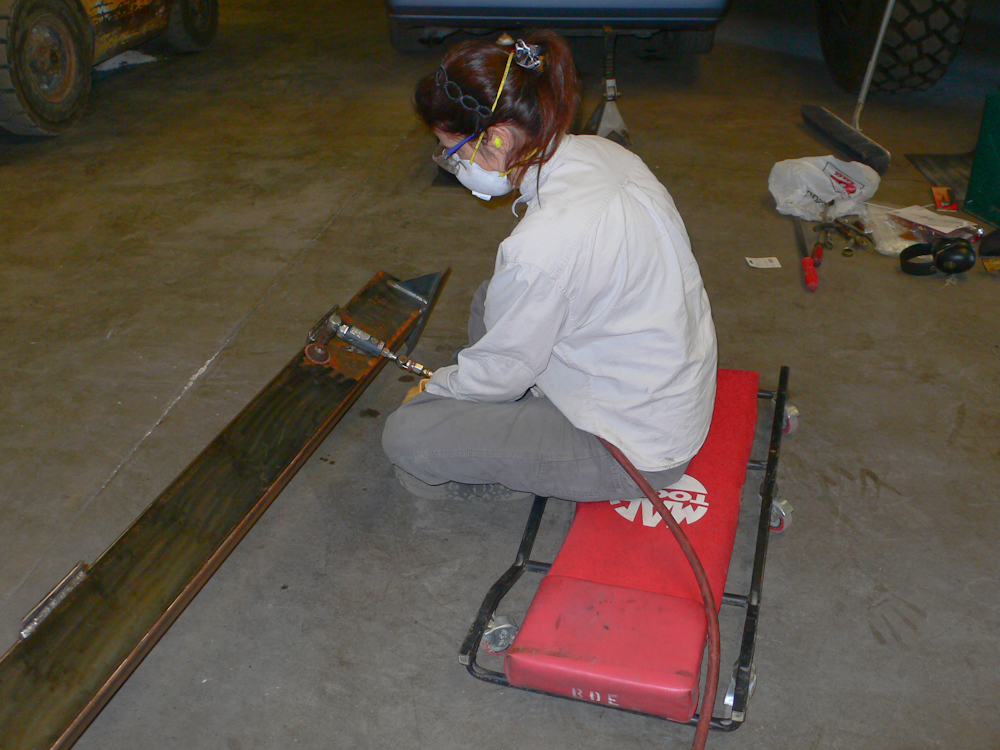
Kathleen used an air buffer to
remove surface rust and scale prior to priming the center frame member.
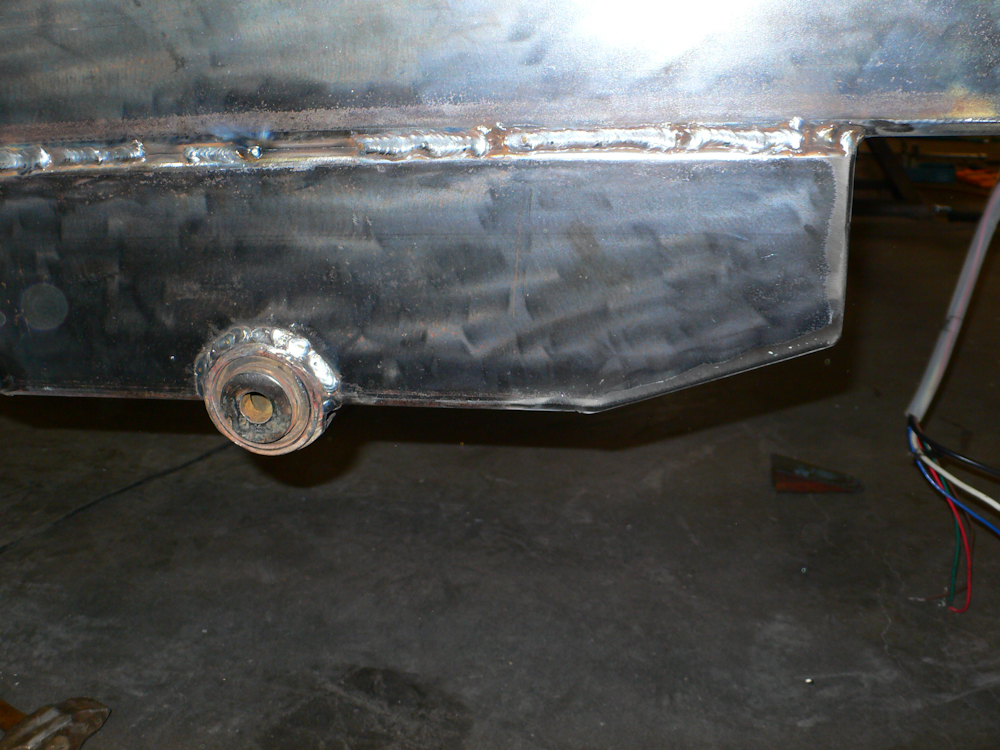
The rear member still needed some
welding done to box the frame.

The rear frame member was
left-right asymmetrical to provide clearance for the gray water
plumbing. It was boxed as well.

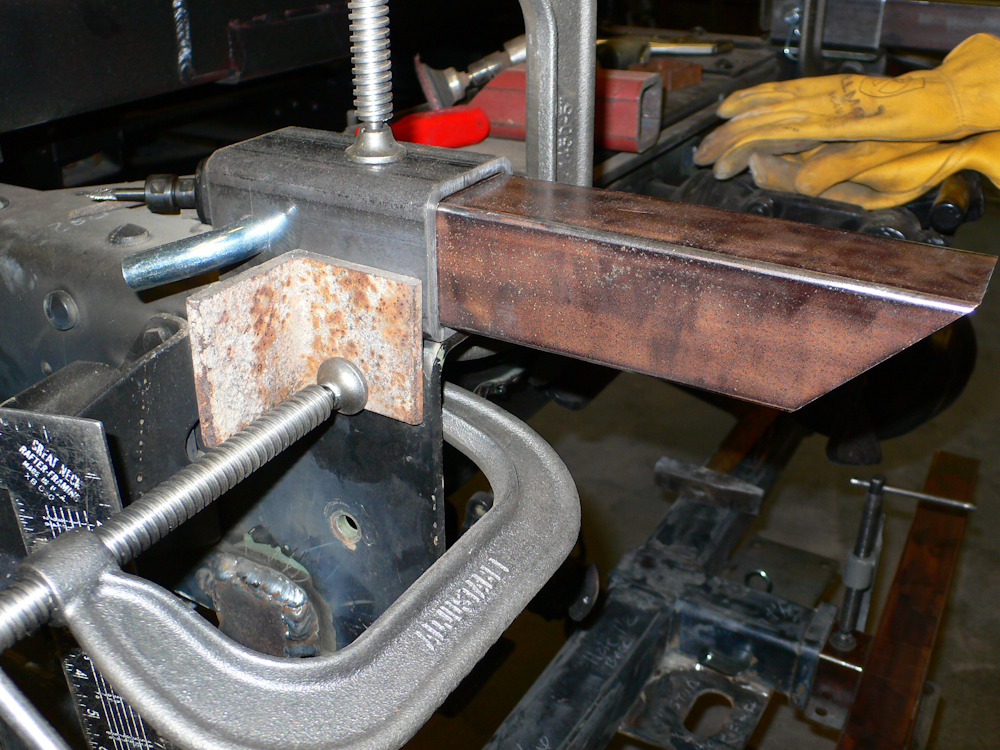
Rob found a spare Class III hitch
to mount on the truck. We used 3/8"x5" angle as the mounts.
The hitch was tweaked by use from
the previous owner, so we straightened it as best we could and then
welded in gussets to prevent further deformation. Once completed,
the hitch was attached with Grade 8 bolts and LocTite blue.
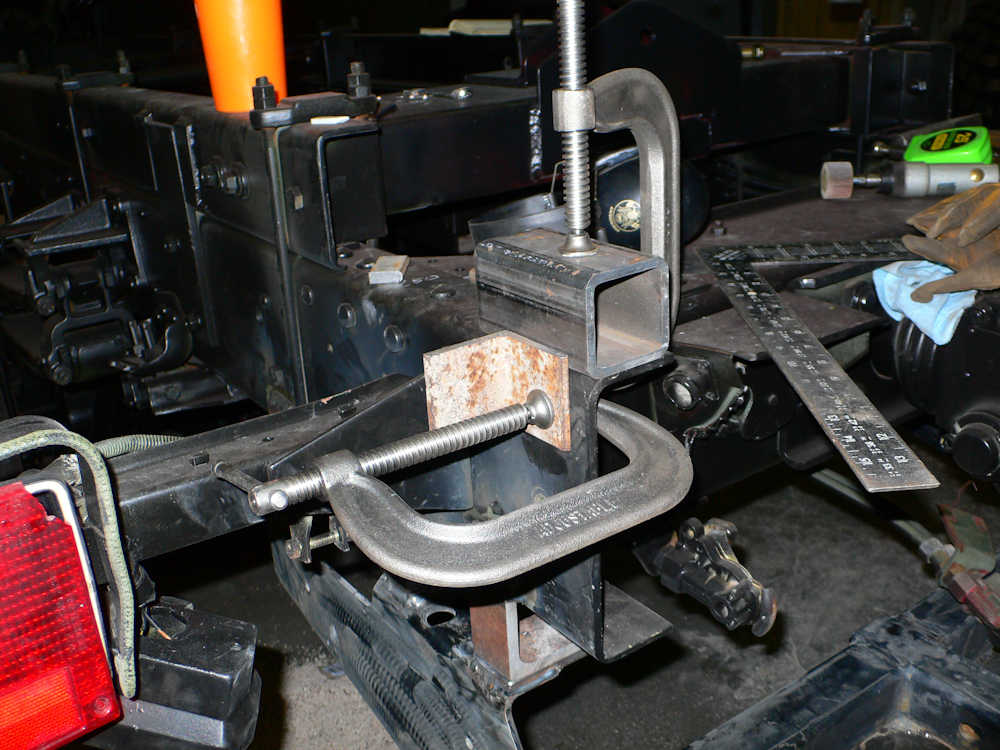
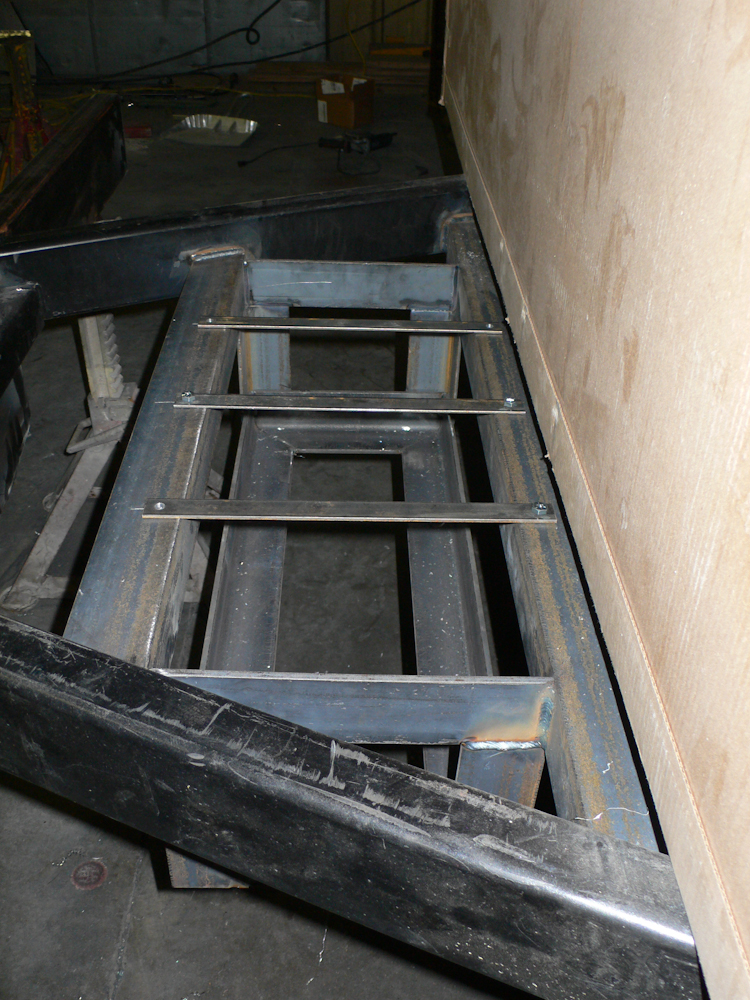
Next, Kathleen and I attacked the
removable cargo basket mount. The plan was to weld 2 trailer
receivers on the top of the frame members and then plug the frame into
them. The bottom of the frame would be supported by an insert
that goes into the main trailer receiver. Above, we get the
receivers true on the frame prior to tacking.
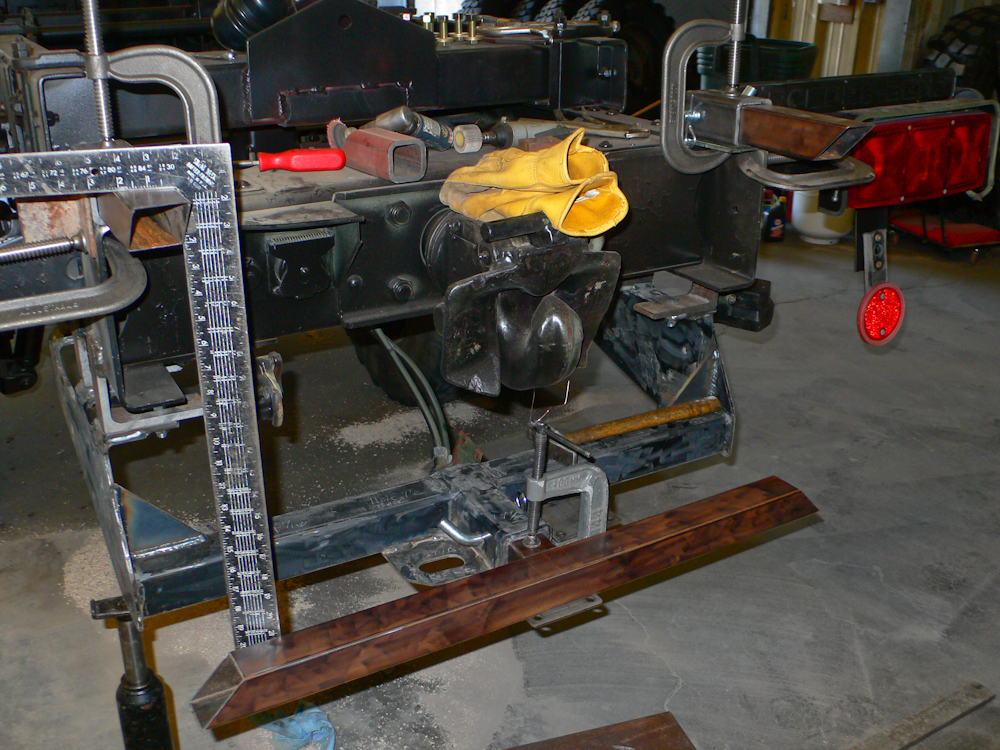
All corners on the basket frame
were mitered cuts, so careful layout and cutting were required to get
them to fit and be square. Above, you can see the lower member
bolted onto the trailer hitch receiver.
We measured and adjusted multiple
times until we were sure it was correct.
Our diligence paid
off; the frame was square and true on the first try.
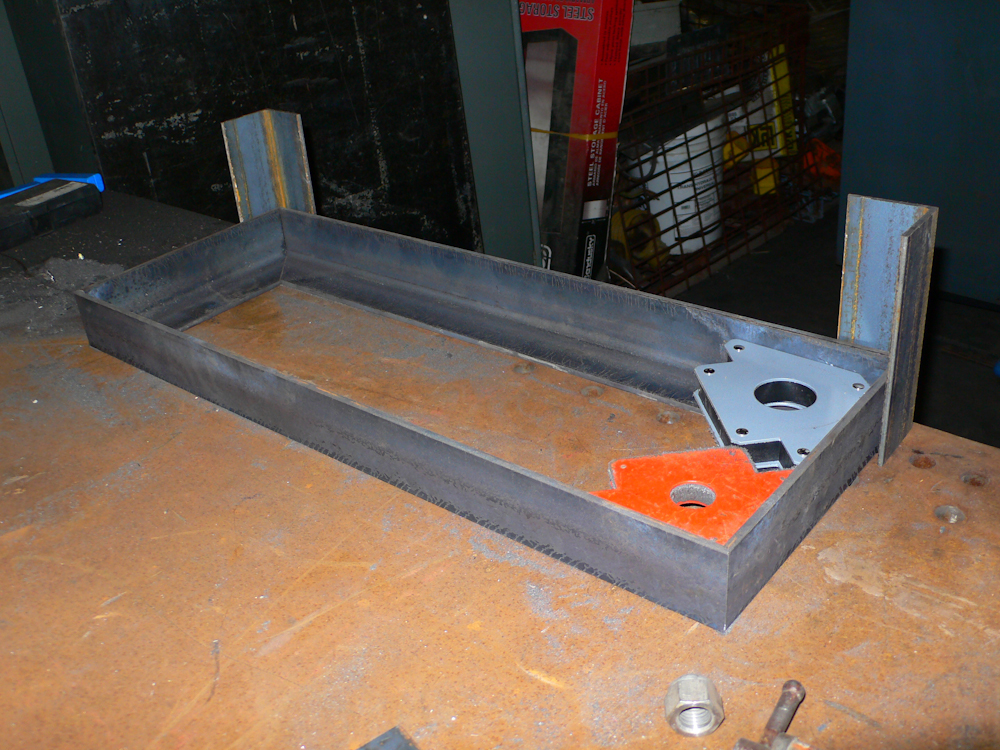
Rob started on the fabrication of
the house battery box. This box was constructed out of 3/16'
material and needed to hold nearly 300# of lead-acid batteries.
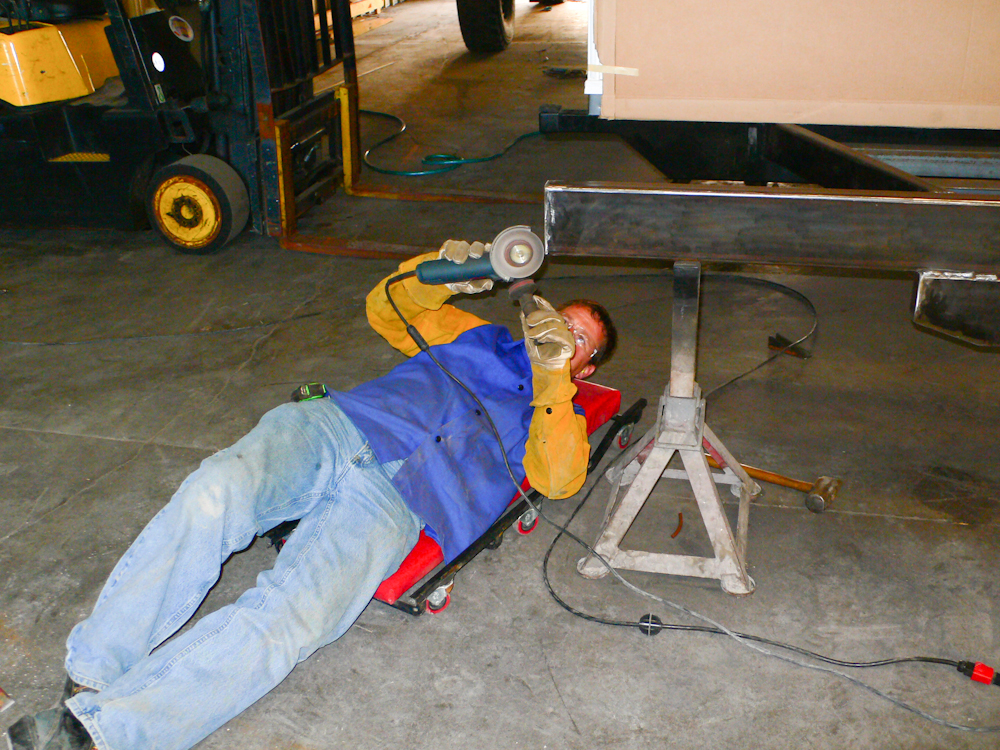
Above, Rob
completed grinding after boxing the frame.
The front pivot mount is completed.
To mount the propane, we decided
to co-opt existing holes in the frame.
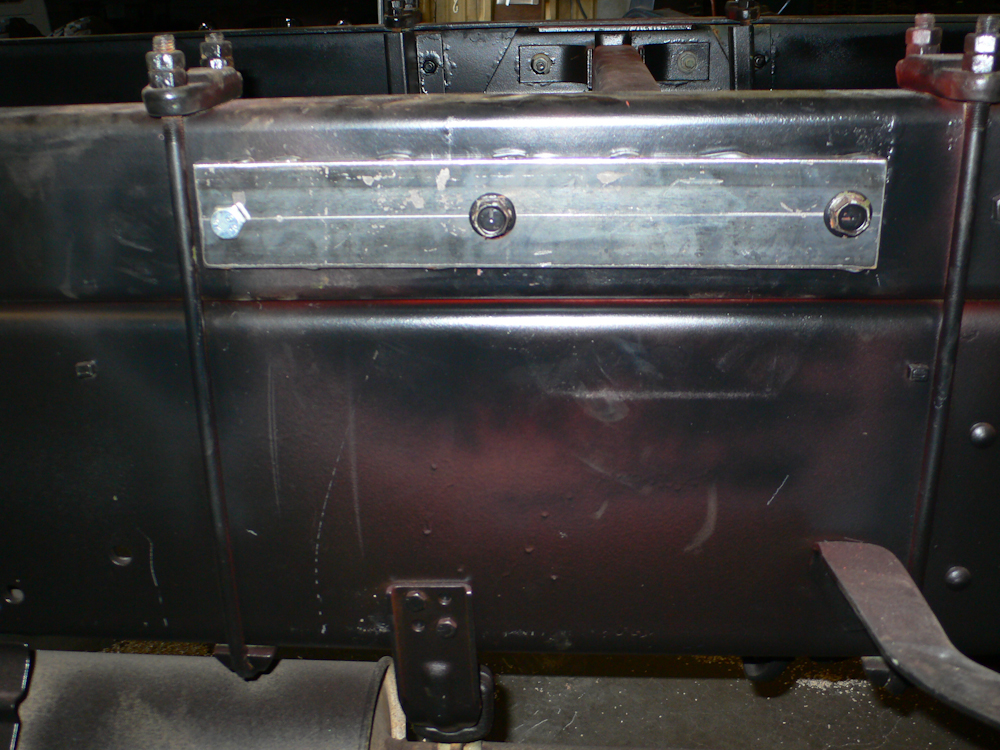
The battery box and battery
retainer straps were completed and awaiting painting.

The roof lift hydraulic pump was
moved to the wheel well of the trailer and the pressure and return
lines were moved to the new location.
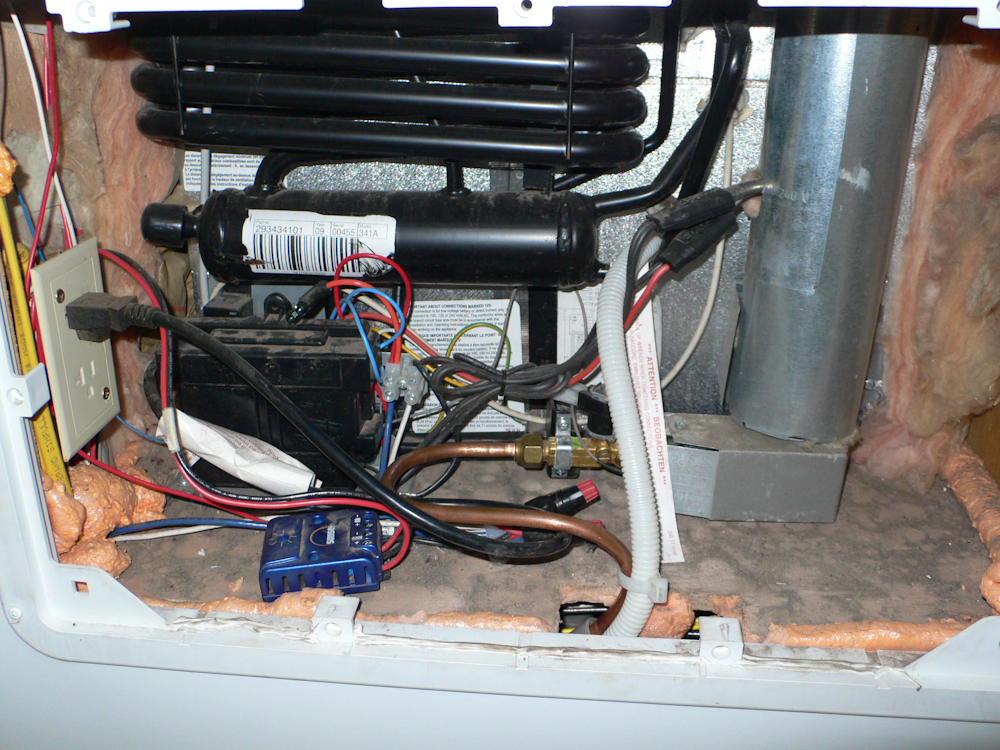
The propane feed lines were
modified and the lines to the refrigerator were moved. The drain
line from the refrigerator was moved as well.

Kathleen prepped, primed and
painted the front mount and battery box.
The extra strap on the battery box
is the mounting for the tire hydraulic pump.
When the battery box was
completed, Rob moved on to the tire mount/headboard.

I designed an access ladder and
fuel can rack to go on the driver's side of the headboard. On top
of the can rack, the generator will be mounted.
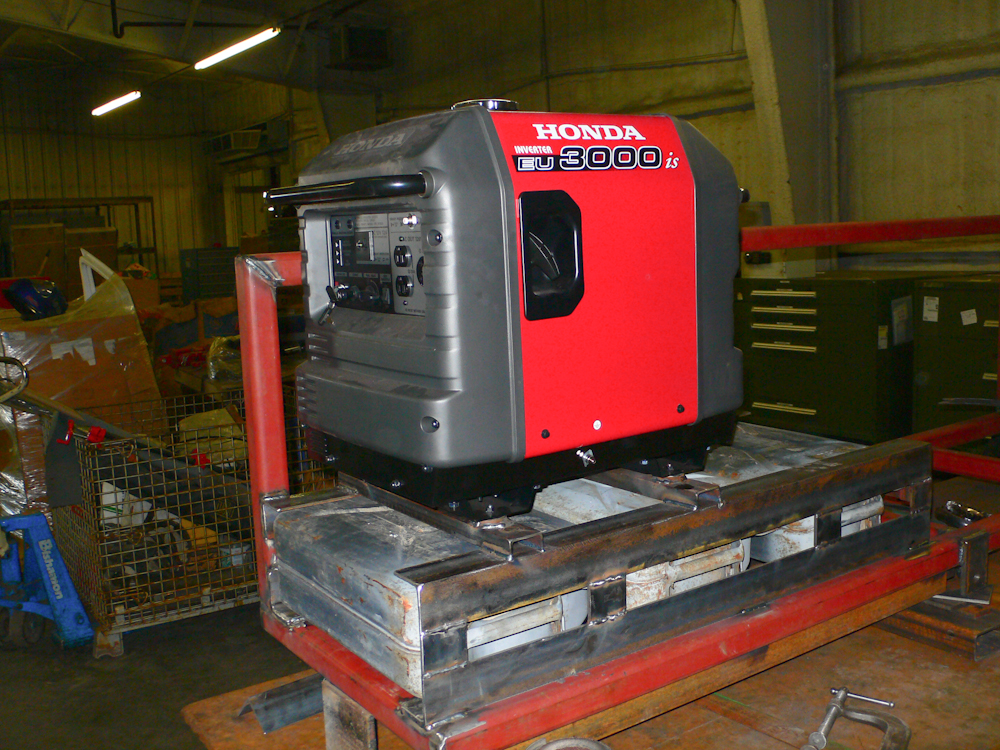
I purchased the generator on a day
trip to Pueblo. Above, you can see how the generator will sit on
the can rack.
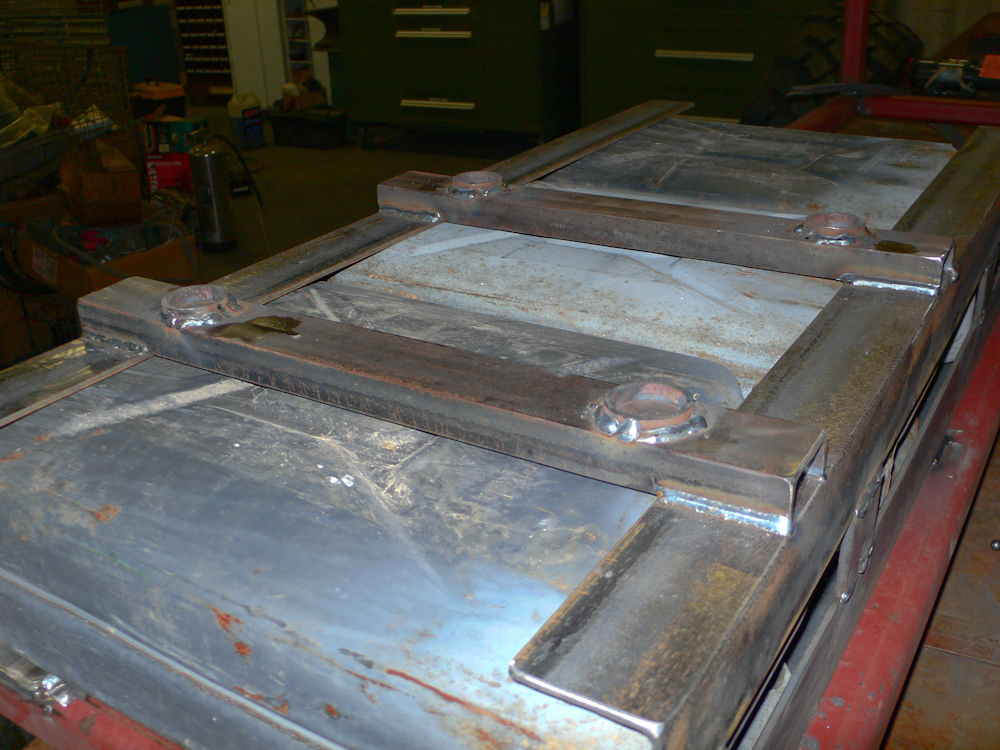
The rubber feet of the generator
sit in the circular cups.

The cargo basket rack was
cosmetically completed and painted.
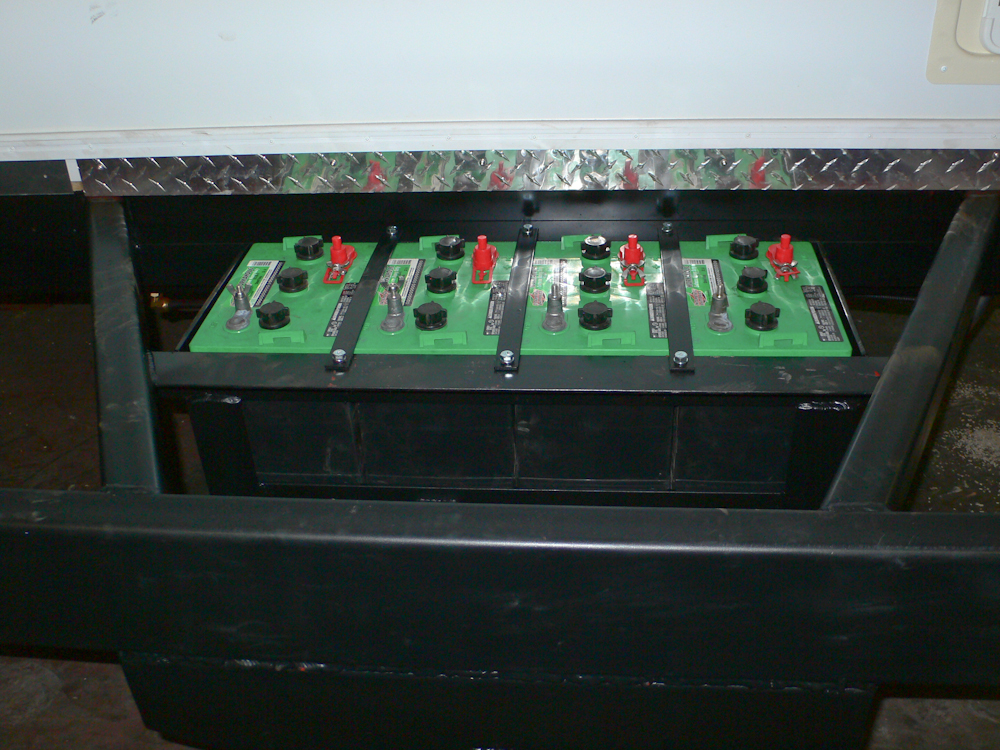
A view of the completed battery
box with 4 golf cart batteries installed awaiting wiring.
This was a lot of work that spanned many
days. We addressed some difficult geometry issues, but in the end
always came up with an adequate solution. Next, the camper will
be re-mounted on the truck for "final" attachment.
| Previous Adventure | ||
| Trip Home Page |
Photos and Text
Copyright Bill Caid 2010, all rights reserved.
For your enjoyment only, not for commercial use.