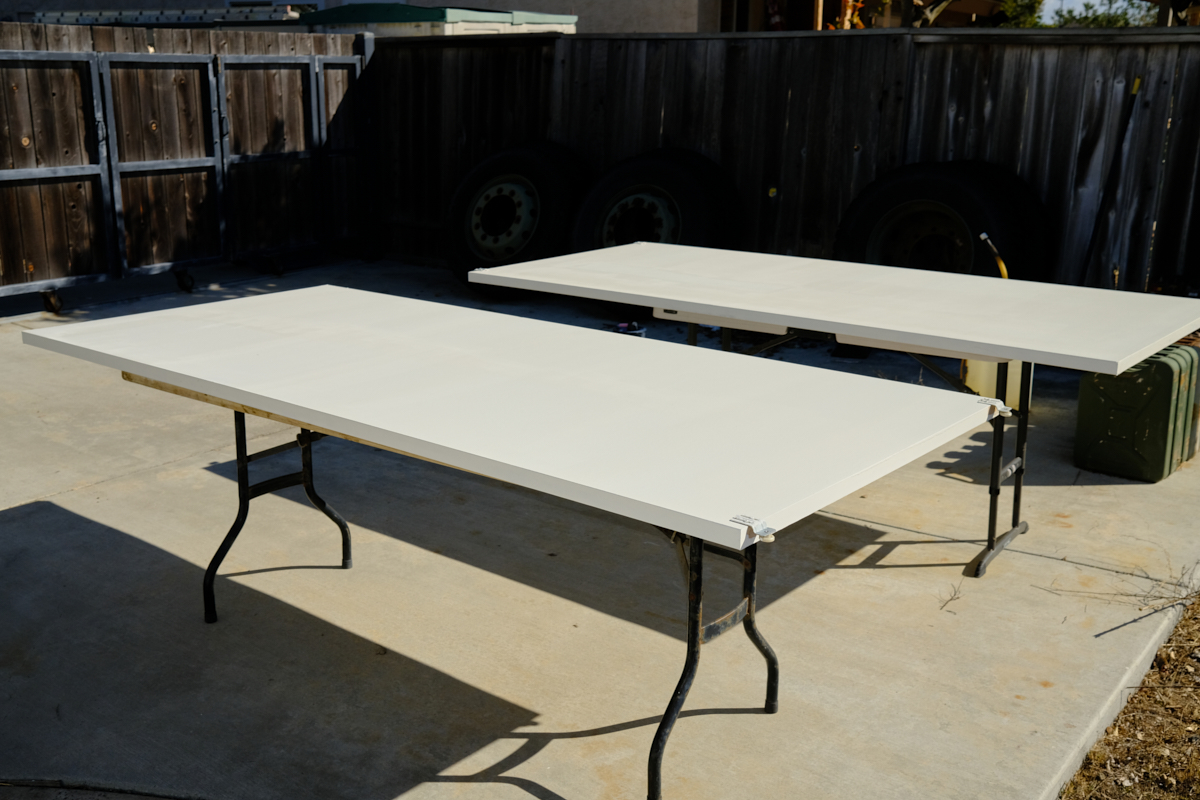
The
photos below are what we saw.
We
painted the closet doors; they really needed it. Several
coats were required to get acceptable color coverage.
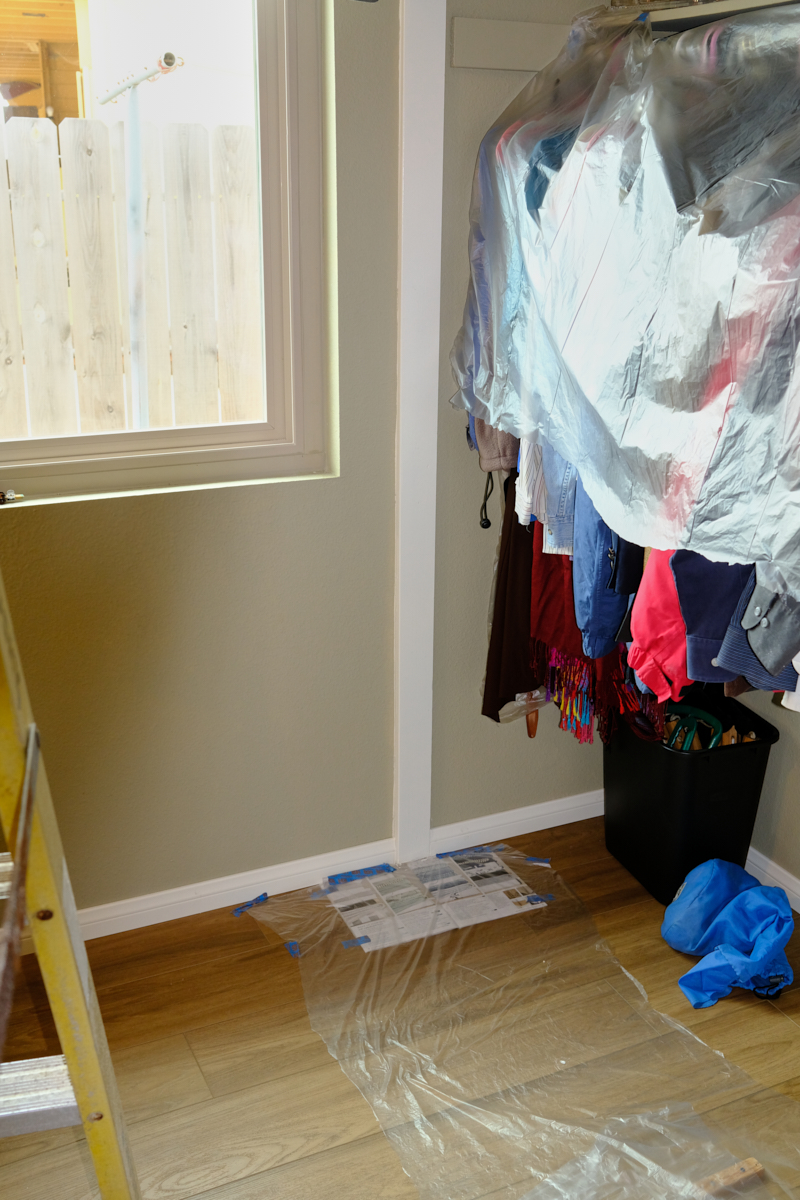
The
borders around the closet needed paint as well as the color did
not match the balance of the room.
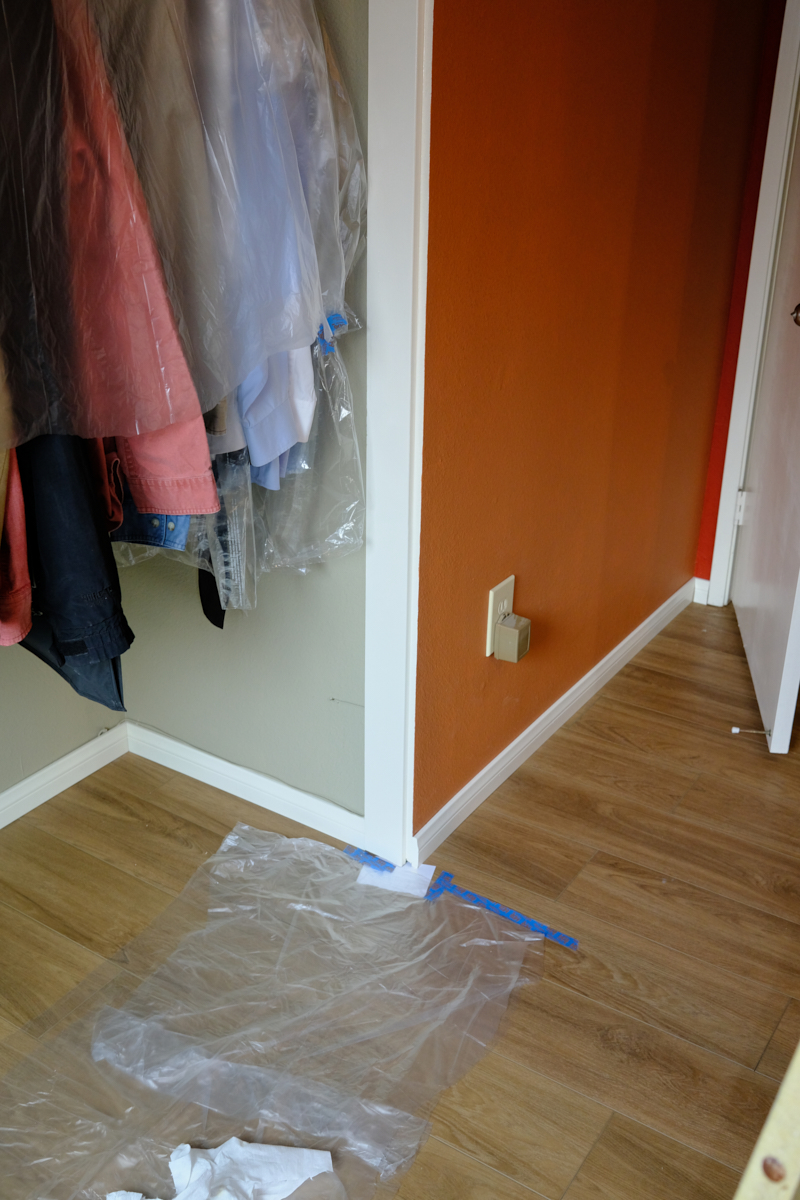
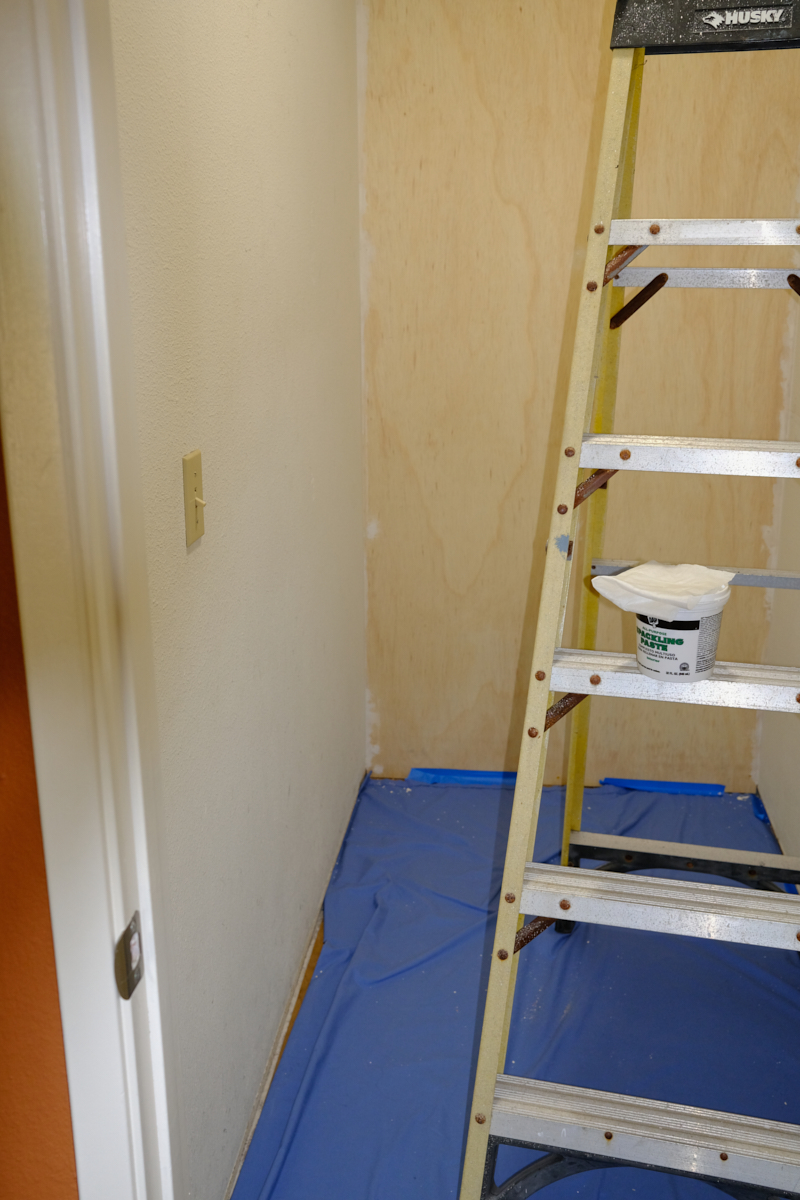
Protection
was required for the new tile. We are pretty careful
painters, but "drips happen".
We moved
on to Kathleen's "closet". In reality, the previous
owner's of the house tore out some walls and closed off the
hallway and turned it into a walk-in closet. They never
actually finished the job and the studs were exposed. We
lived with it in this condition for many years, but now we had
an opportunity to complete the job. I decided, for several
reasons, to go with plywood over drywall, so armed with that
decision, it was off to Home Depot for supplies.
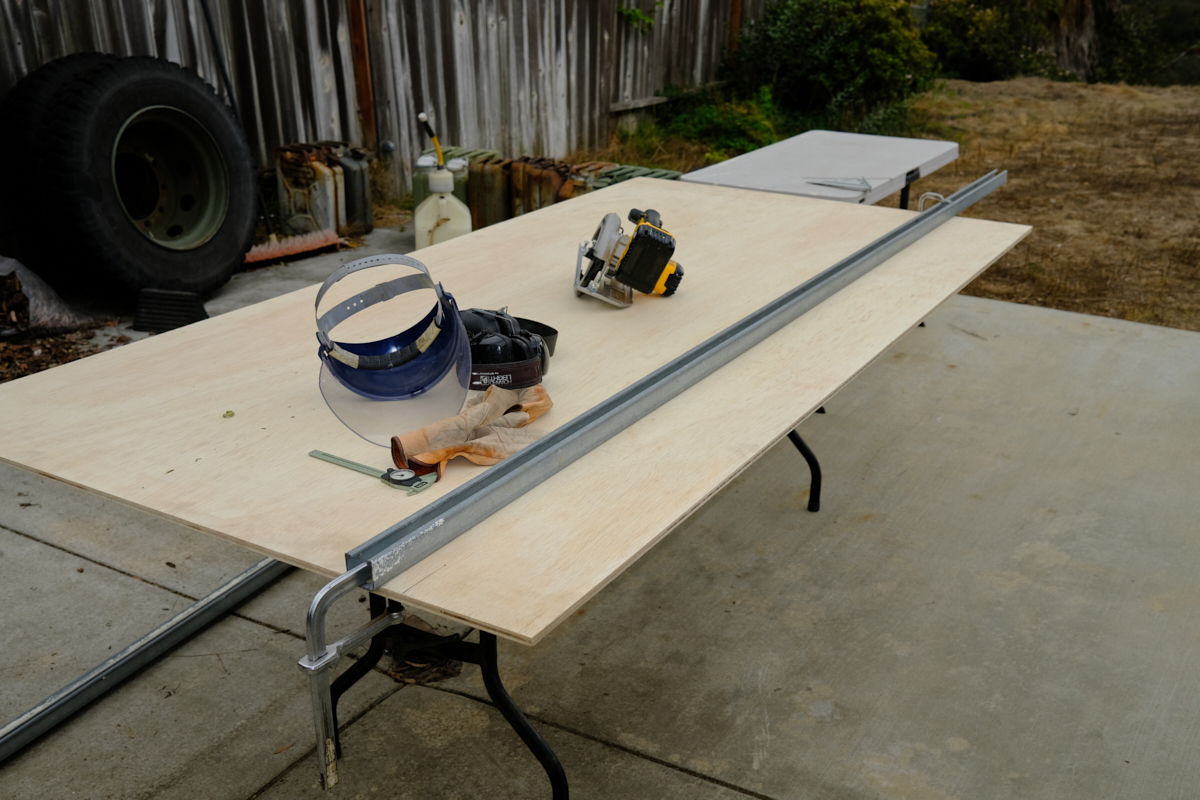
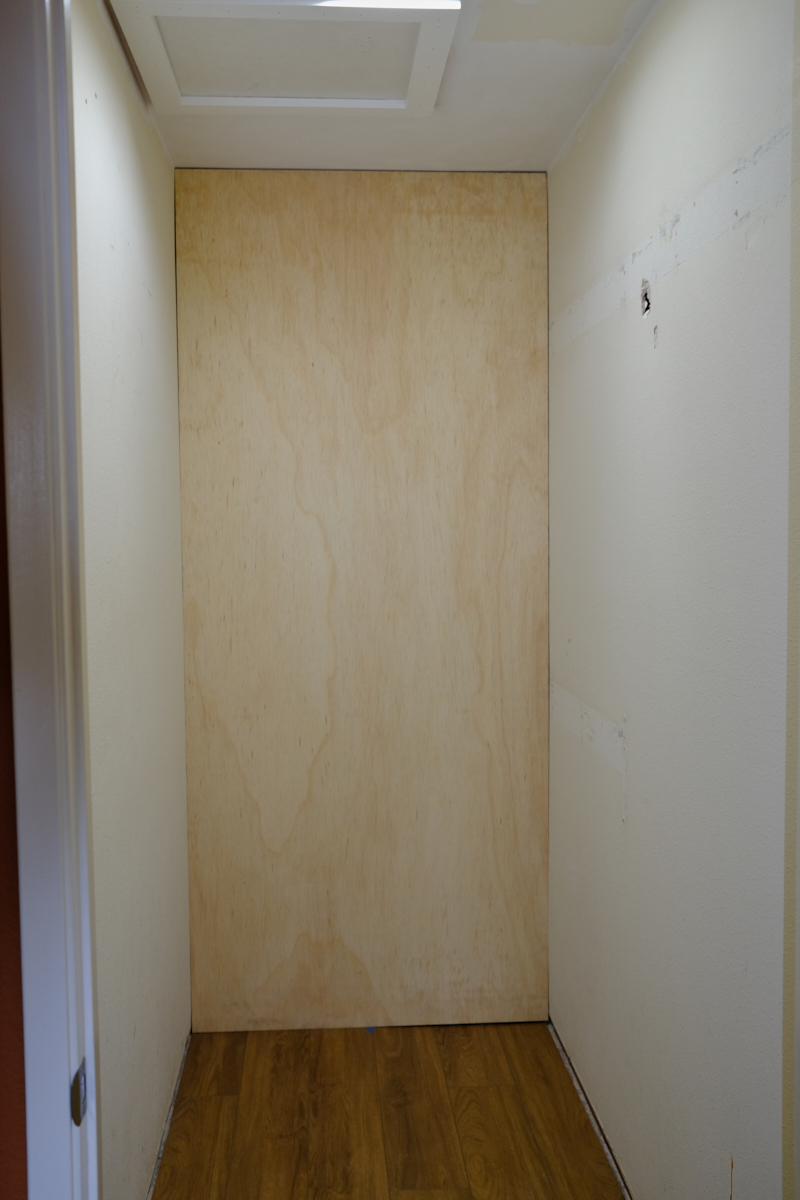
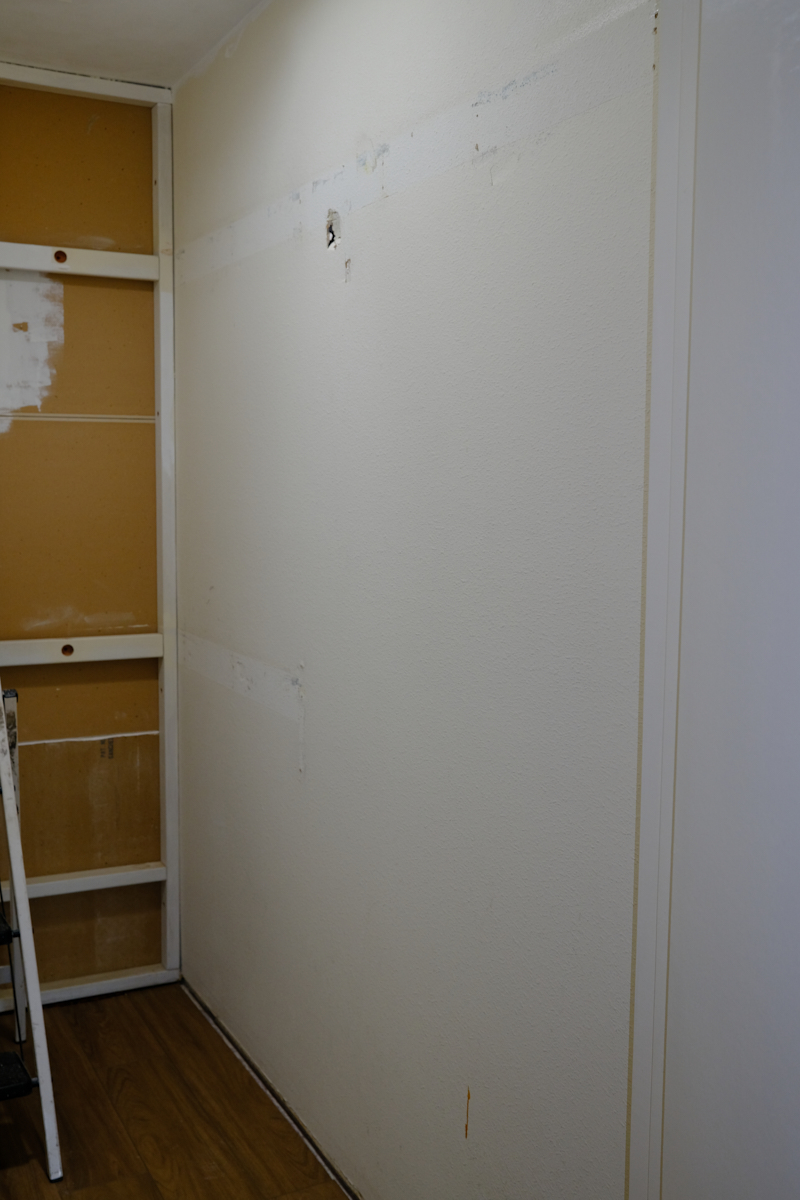
One rule
of remodeling: nothing is straight, flat, square or
level. The walls had bows in them and while our cuts were
precise, the wall was less so. Snug fit in the center,
several millimeters of error on both top and bottom. Oh,
and the wall was not square with the other wall. But, it
was close enough, so we moved on to spackle and drywall tape to
repair the damage we did in removing the closet fixtures.
Note the hole in the right wall.
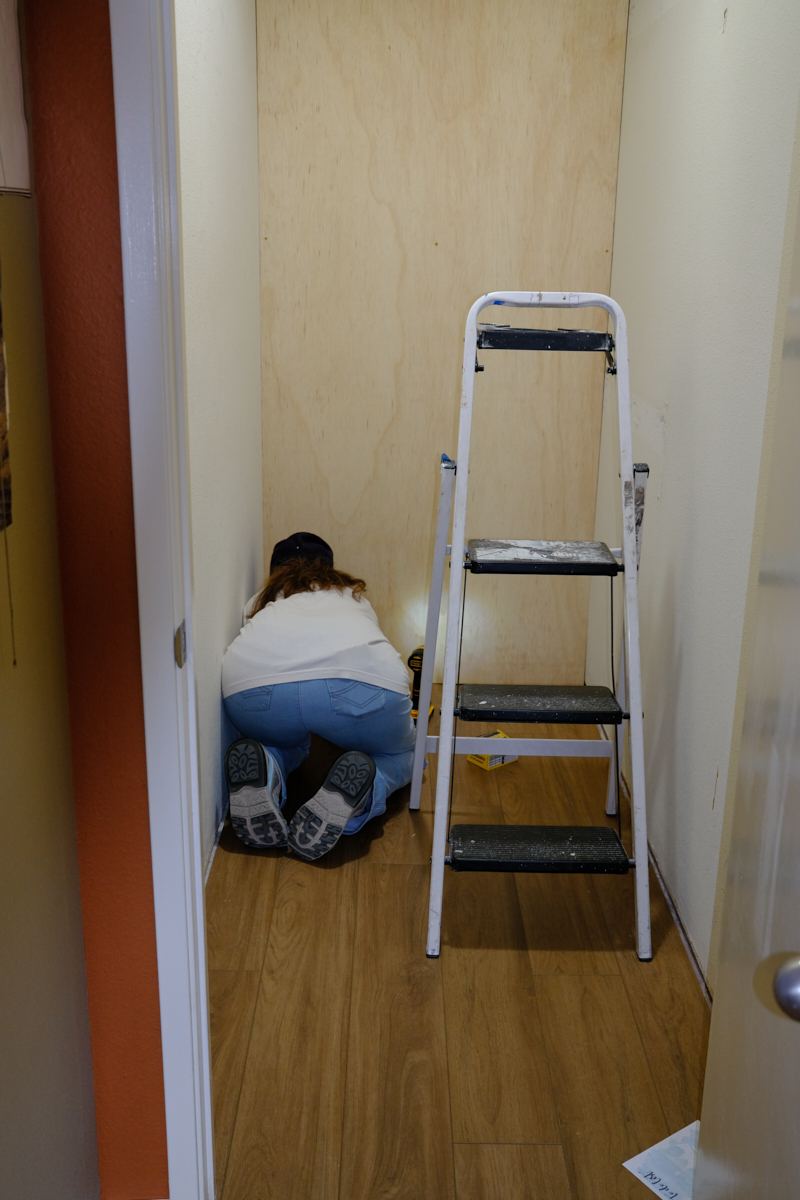
Kathleen
did the "stoop work" and put spackle in the joints of the wall.
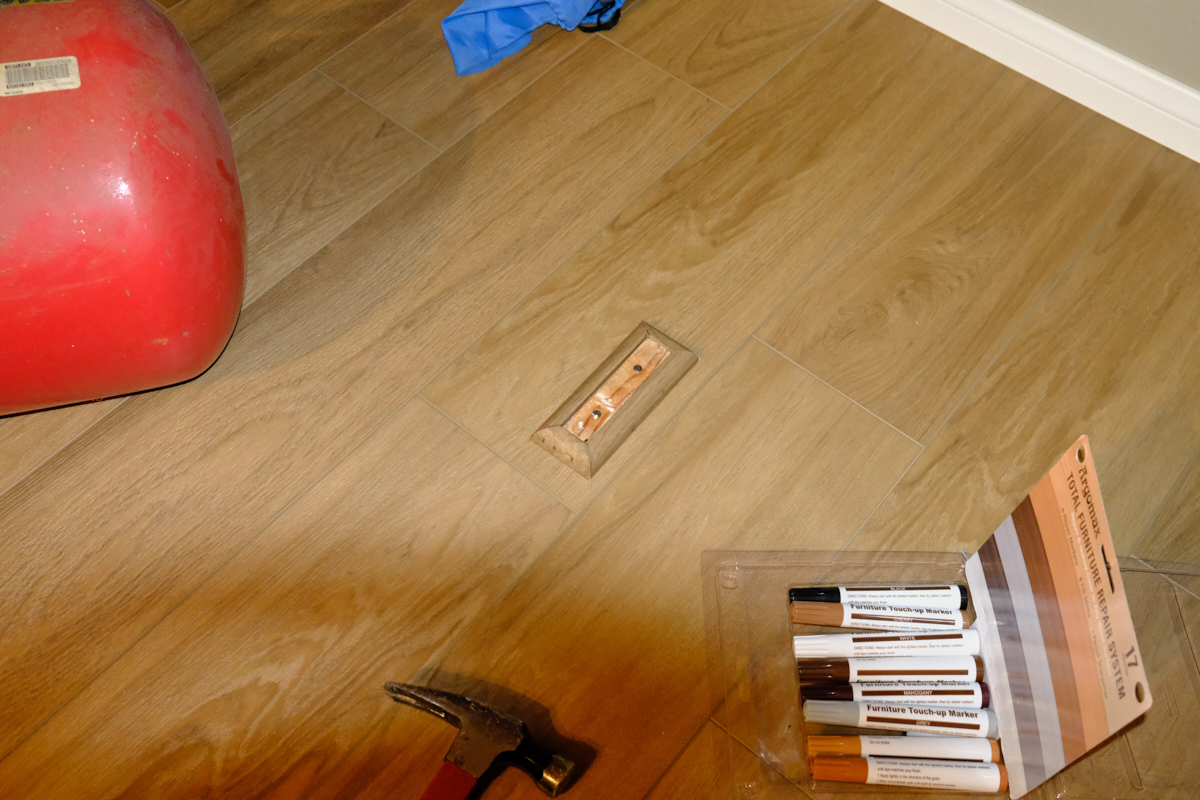
Meanwhile,
I used the miter saw to cut 1/4 round to match the closet door
guides. The marking pens and crayons were used to cover up
the nail holes. The red tank was compressed air for the
nail gun which was only slightly less hassle than dragging 100'
of air hose from the garage to the bedroom.
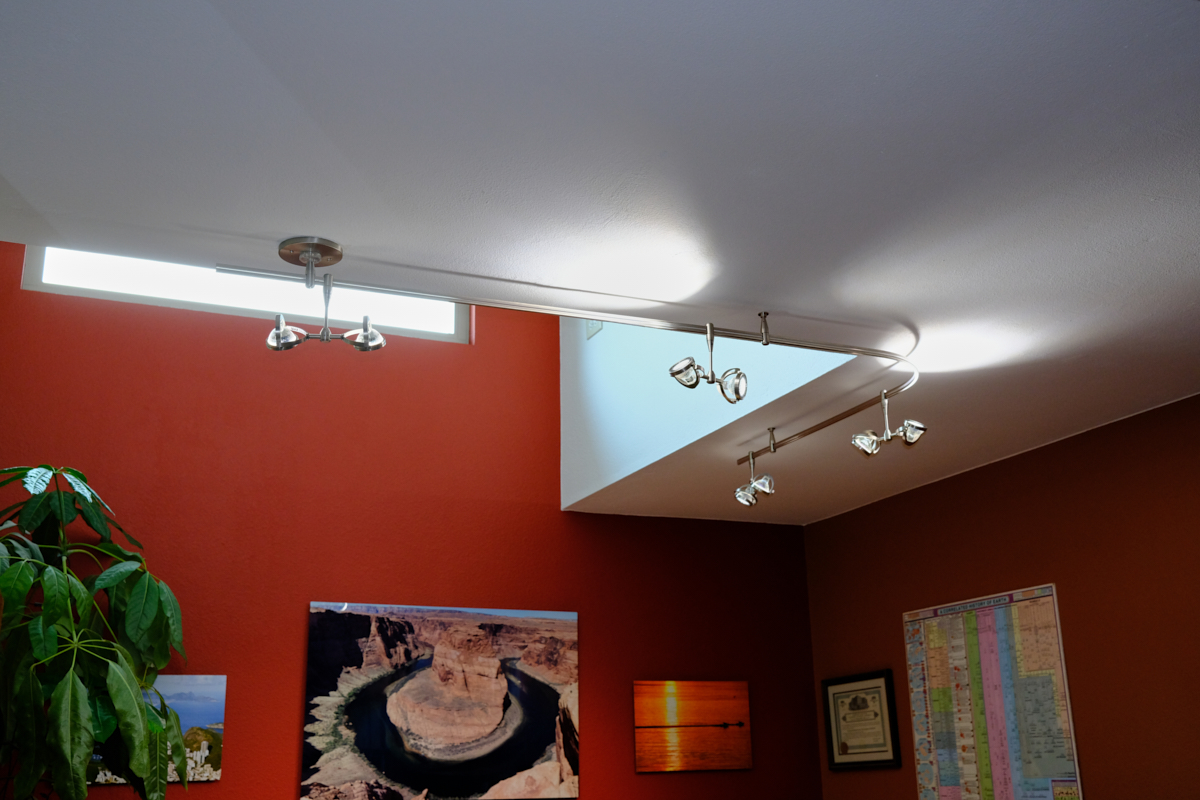
Meanwhile,
our new supply transformer and additional light fixtures
arrived. I was pleased with the final outcome.
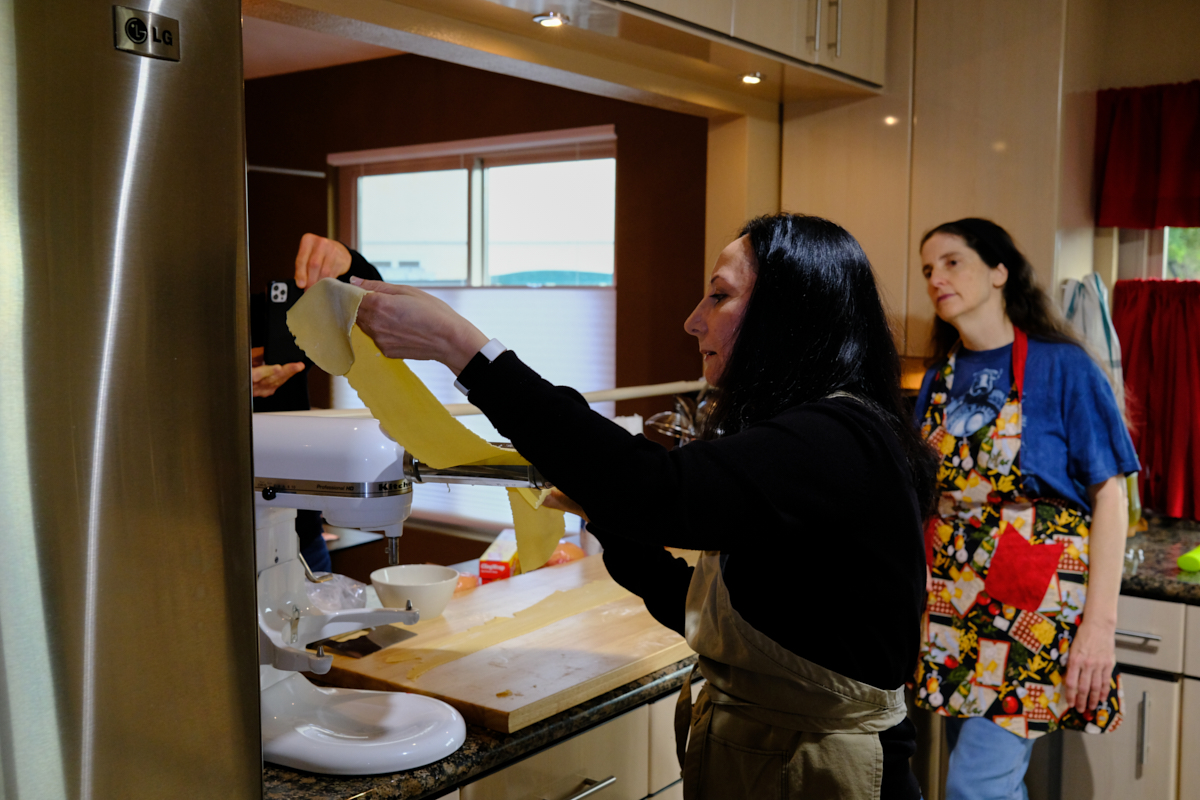
During
one of our down-days, we hosted a pasta party with our good
friends Jim and Michele. We each took turns doing a batch
of pasta with the Kitchen Aid pasta attachment. It does a
great job, but it does require some time. Above, Michele
finishes one of the pasta strips.
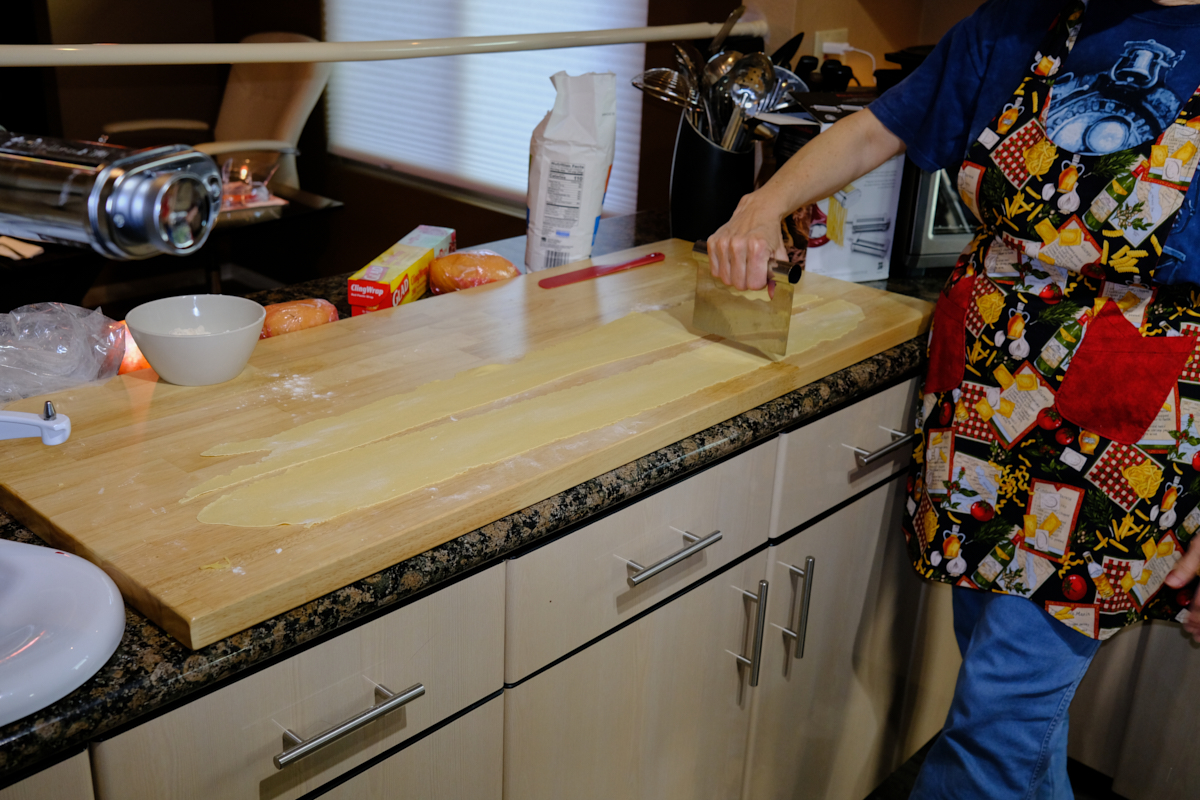
The
final strips were too long to manage easily, so we cut them for
easier handling. The pasta came out great and we all had
fun.
Meanwhile,
back at the salt mine, the joint spackling was completed.
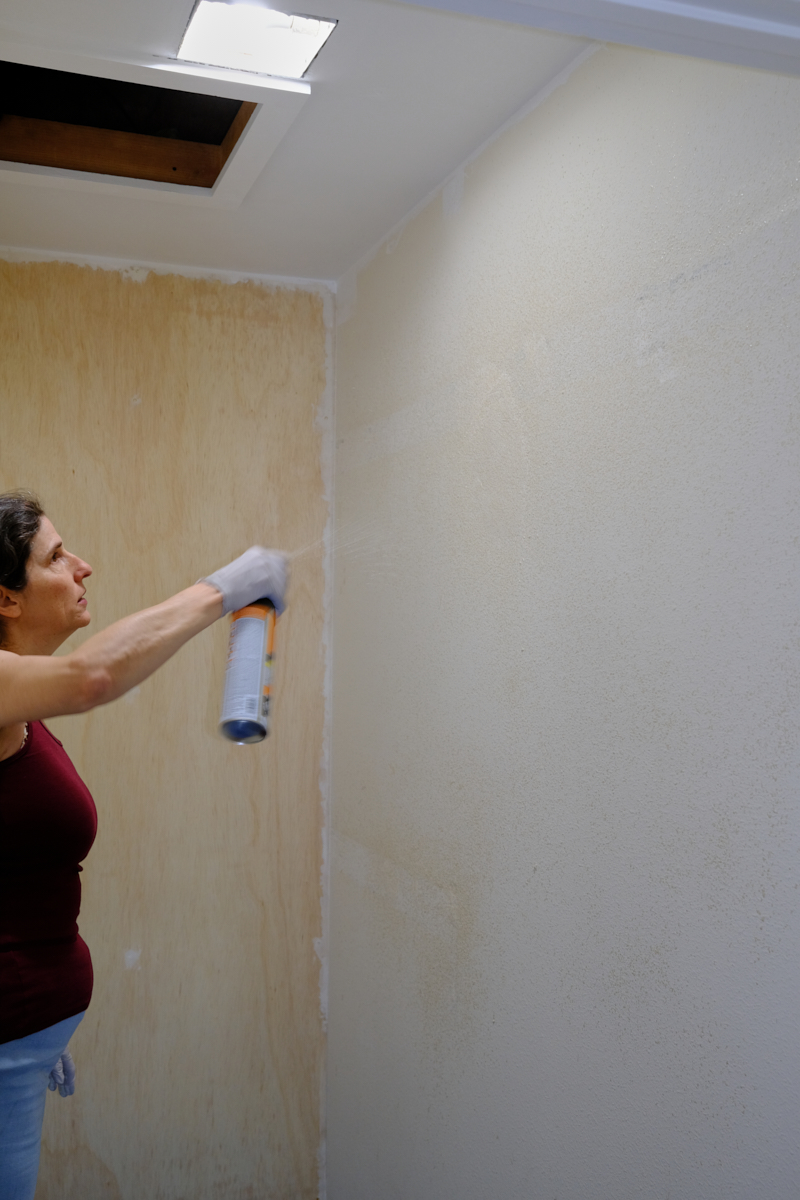
Drywall
texture was sprayed to cover our patch job on the hole in the
wall in preparation for painting.
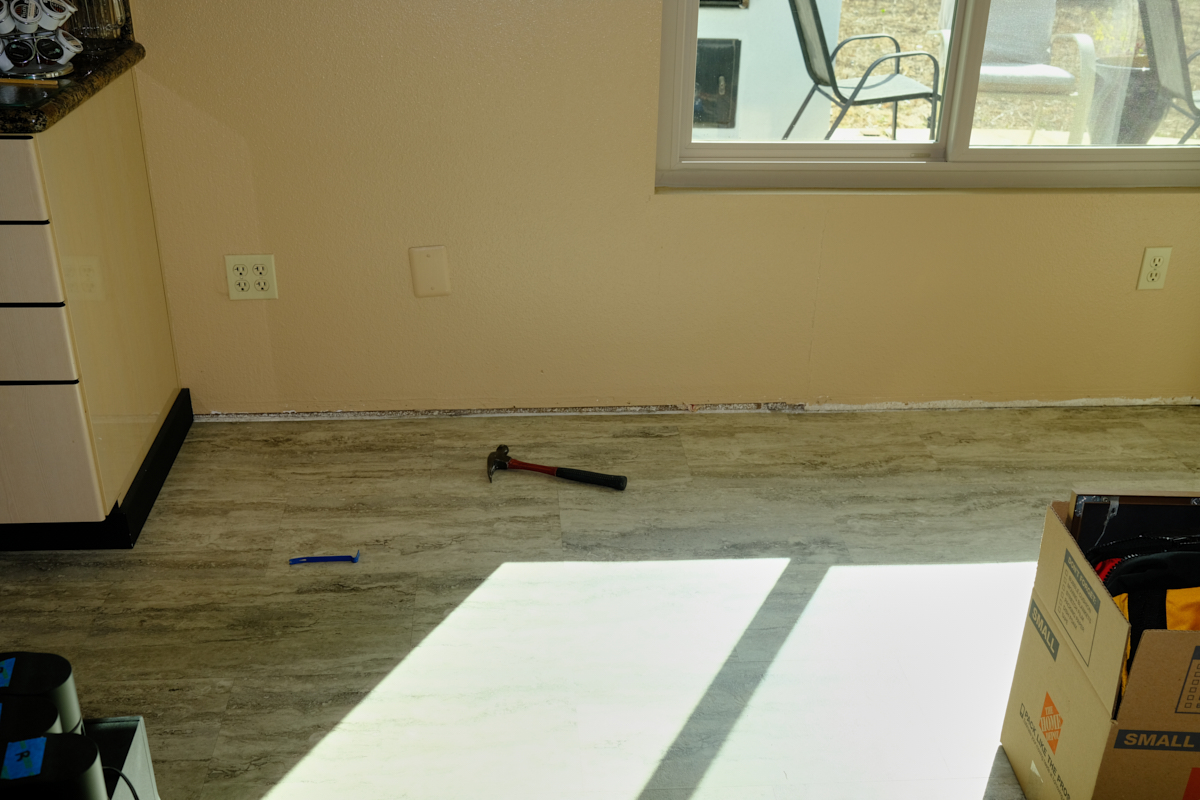
While
waiting for the closet to dry, we removed and replaced the
baseboard in the kitchen to insure a consistent look throughout
the house.
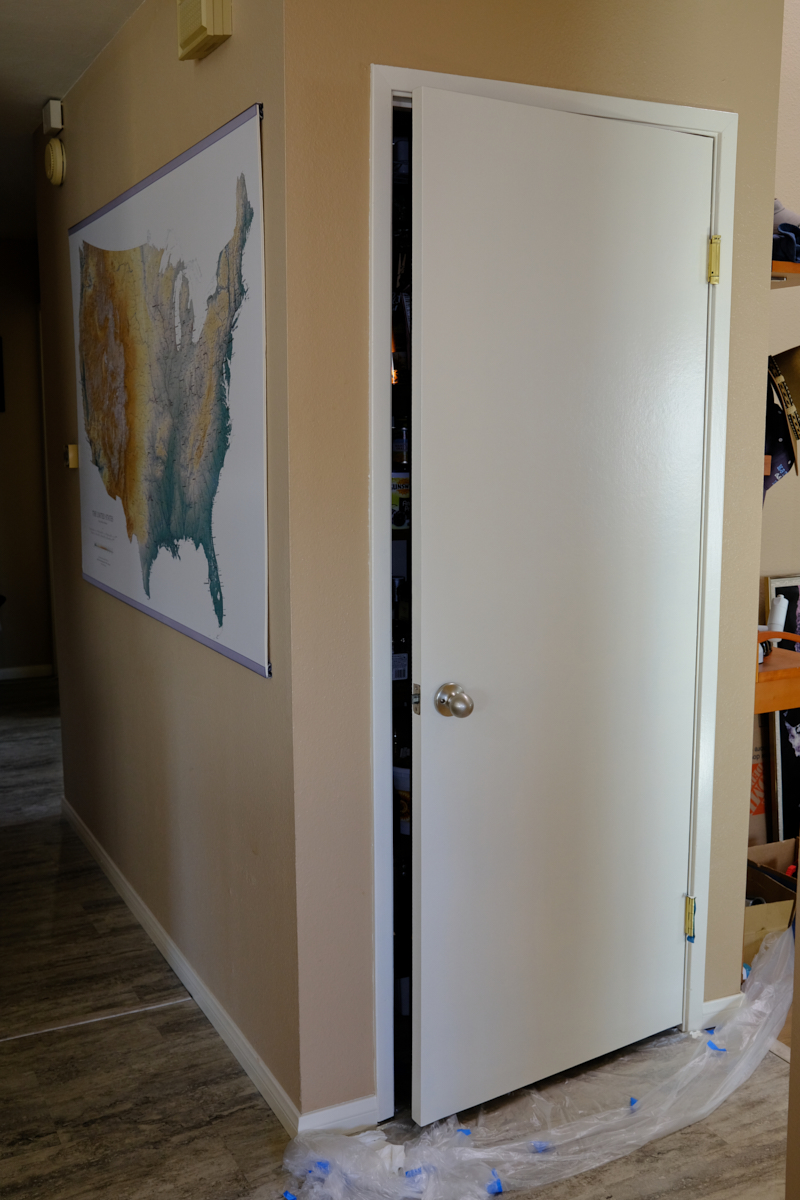
The
pantry door and door jam were repainted to match the current
color scheme.
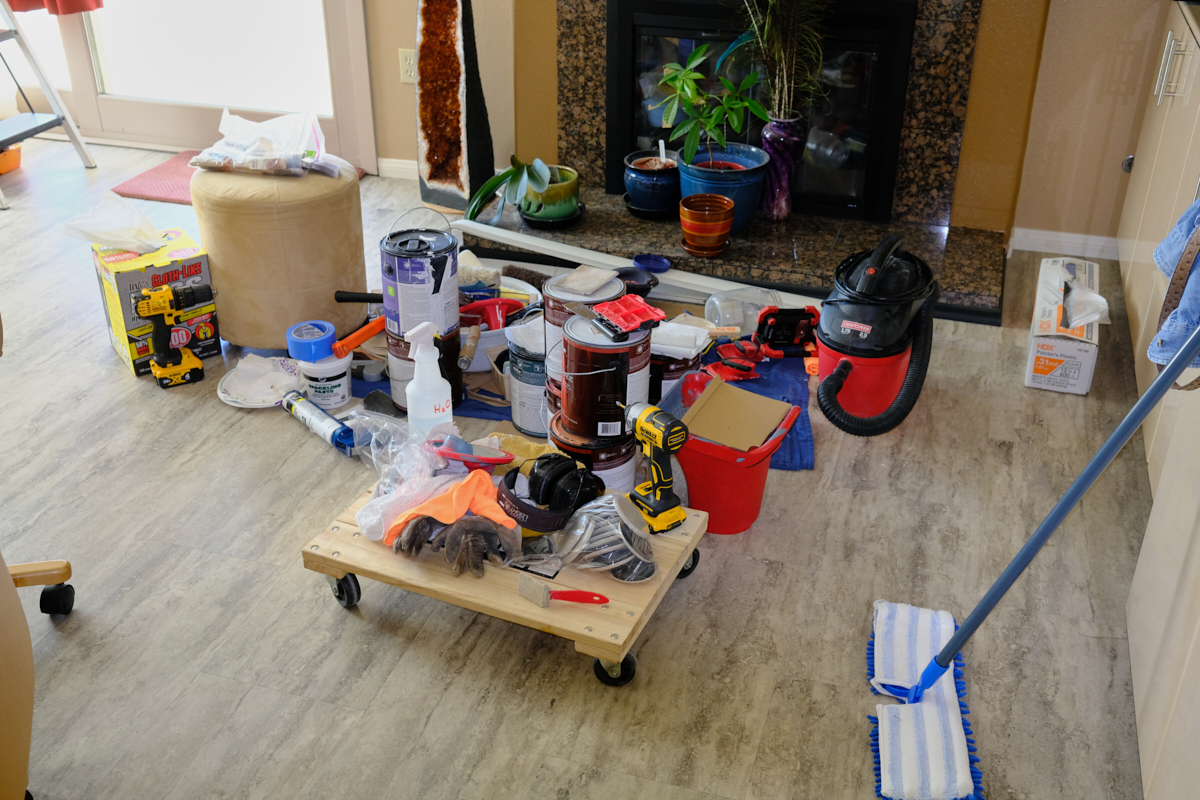
While
this looks chaotic, this photo was taken after many of the tools
and paint cans had been returned to the garage. We were
looking forward to getting this project completed and reclaiming
our kitchen.
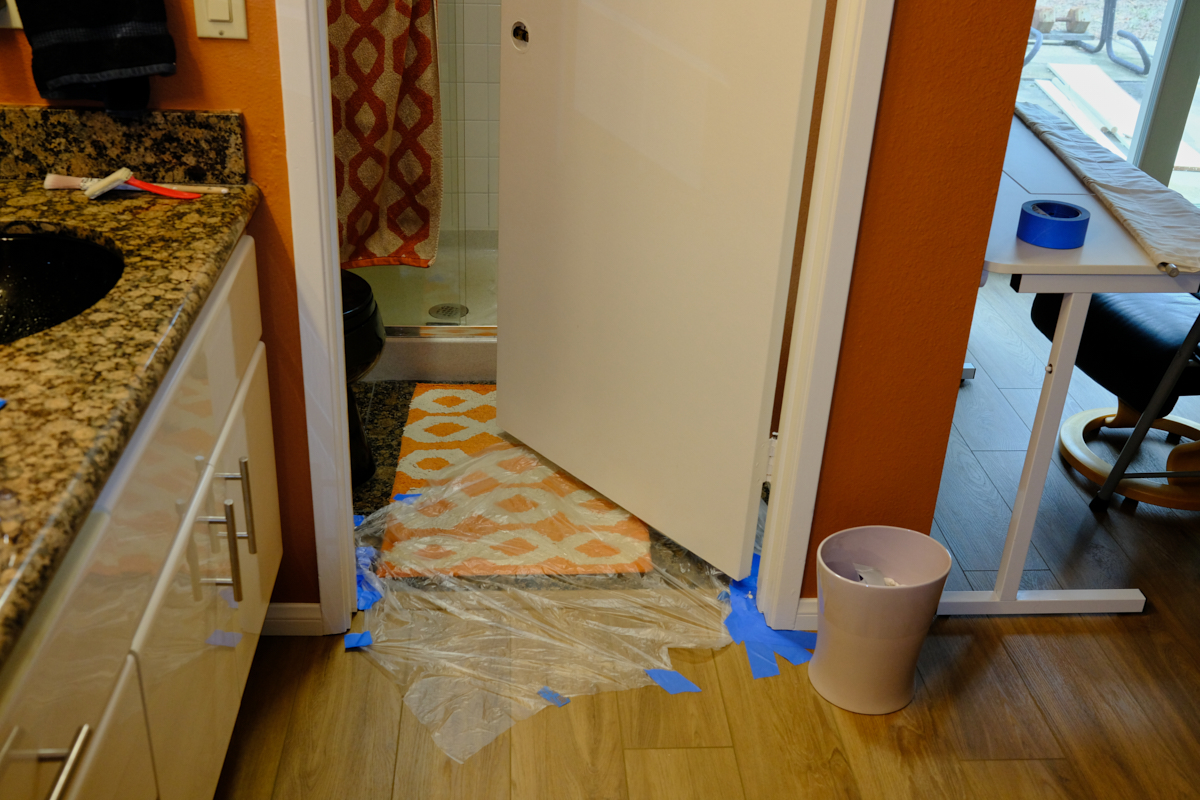
The last
act in this extended drama was to replace the baseboard in the
master bathroom and repaint the door and door jams.
| Previous Adventure | ||
| Trip Home Page |
Photos and Text Copyright Bill Caid 2020-2021 all
rights reserved.
For your enjoyment only, not for commercial use.