We
spent the night in Beef Basin. Oddly, despite the name, we
had fish for dinner. The plan was to do bead-lock tire training
and then head to Salt Canyon Overlook.
The photos below are what we saw.
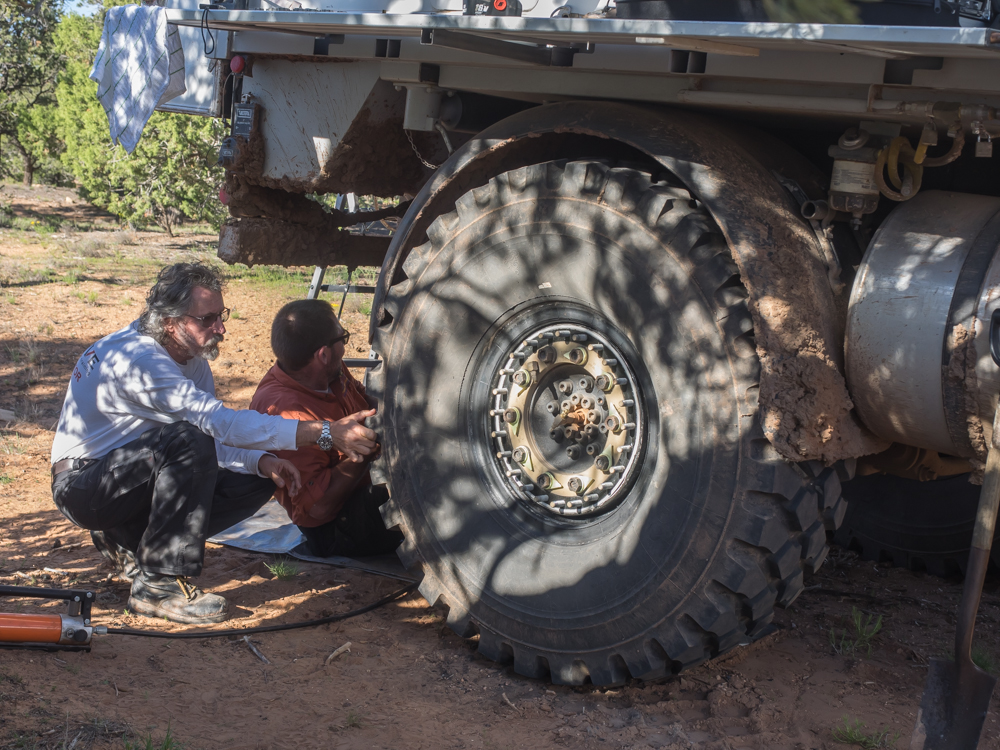
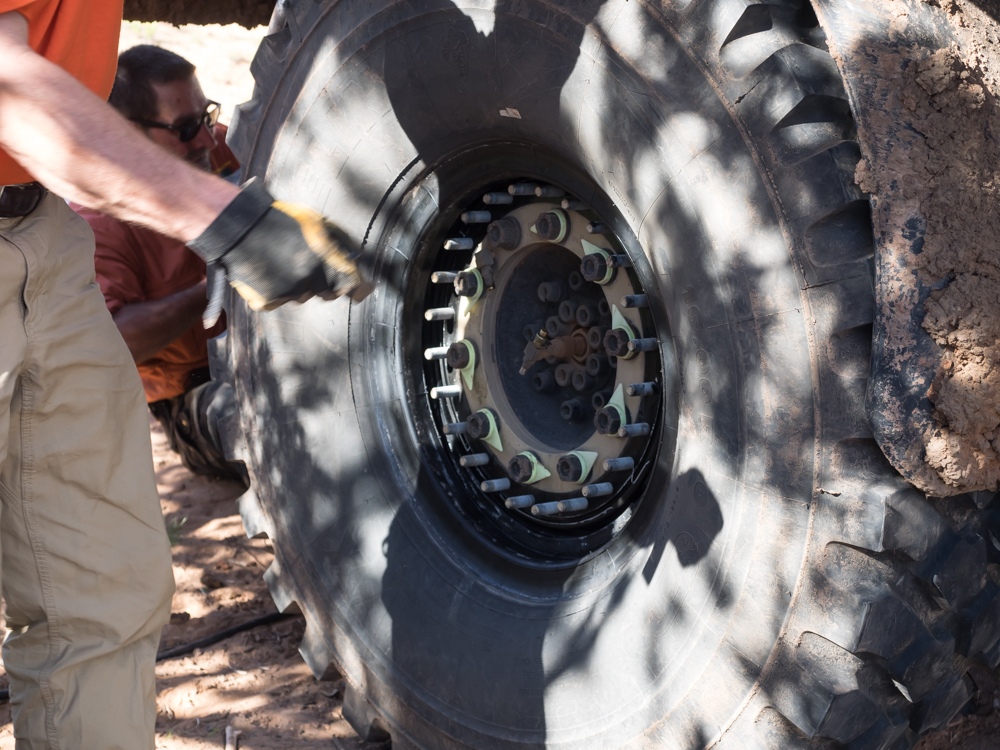
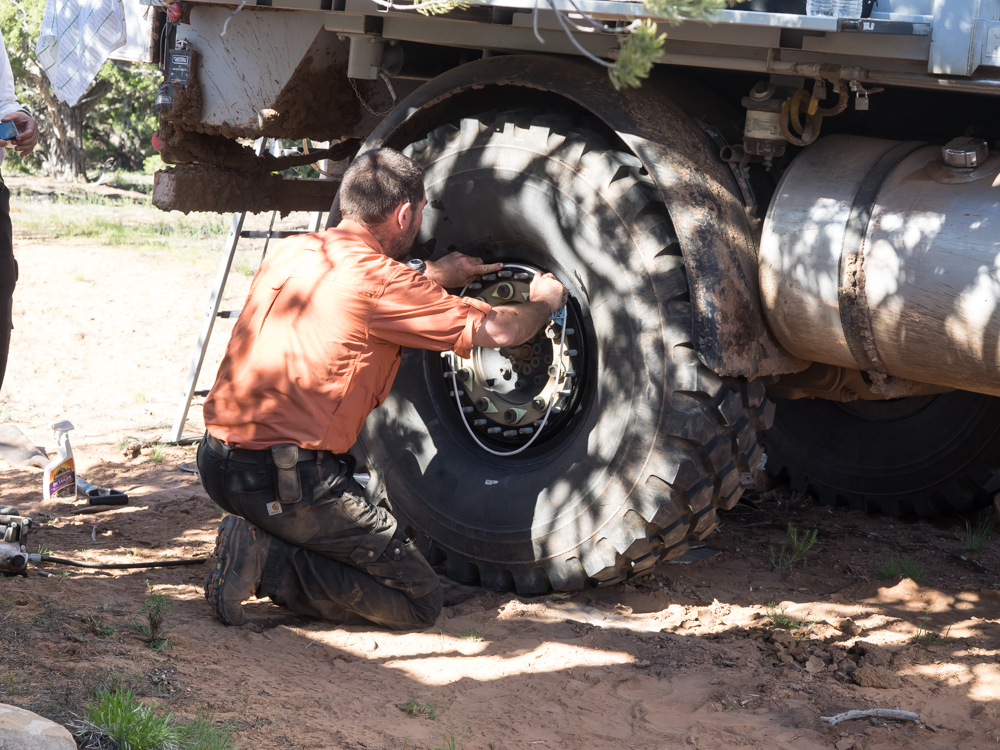
Chris
was leading this session on bead-lock tires. Above, Stephen
and Chris dismantle a Hutchinson 20" rim. The bead is
locked due to the ring that is secured with the 24 studs.
The nuts have been already removed.

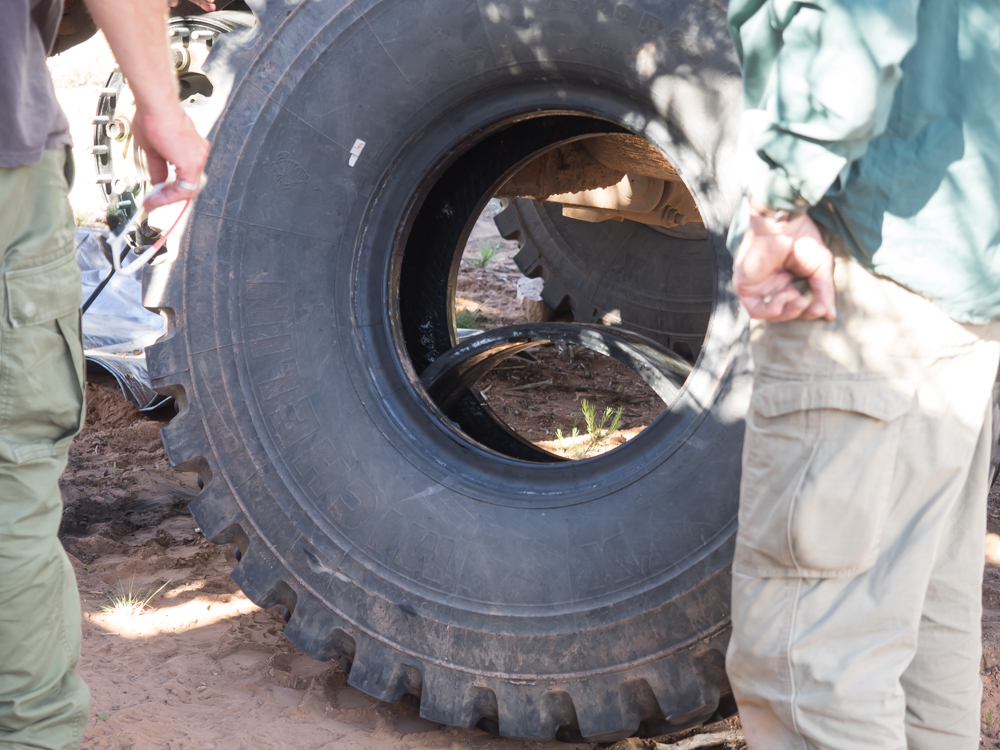
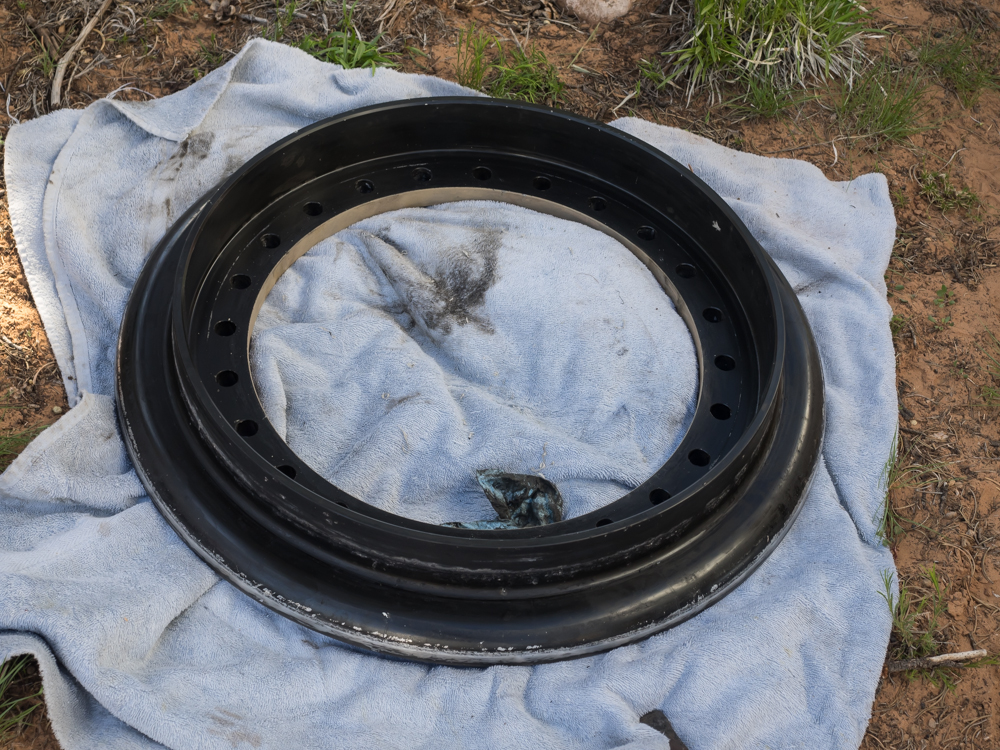
The
inside view of the outer rim.
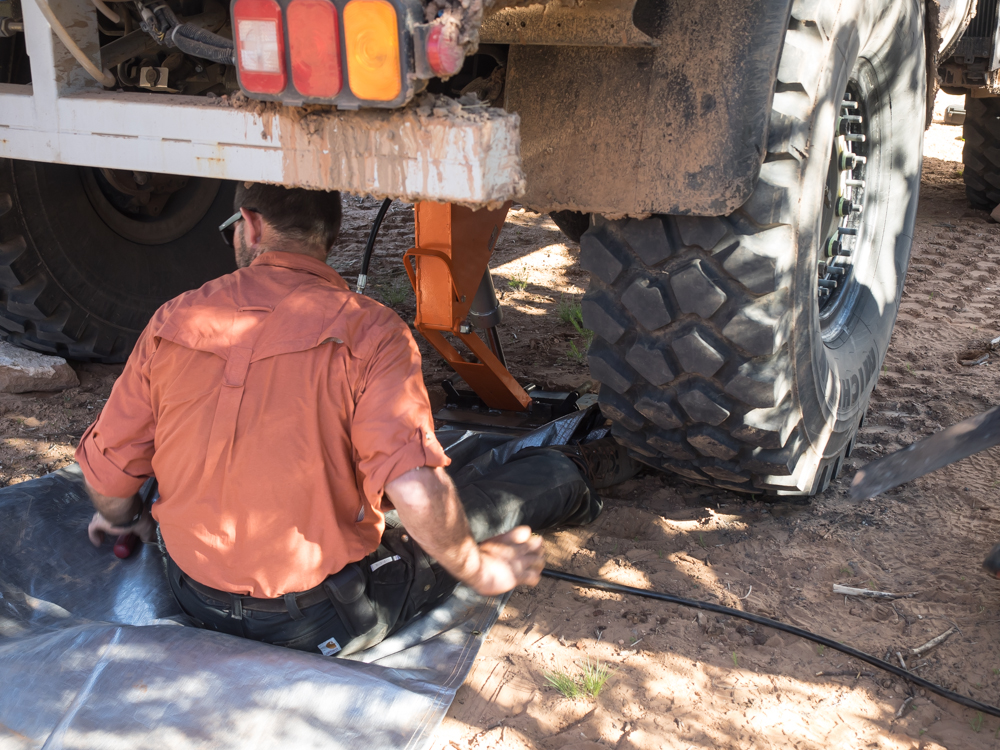
Chris
has jacked up his truck to support the removal of the tire.
As the
truck was raised, the tire debeaded with a bit of persuasion.
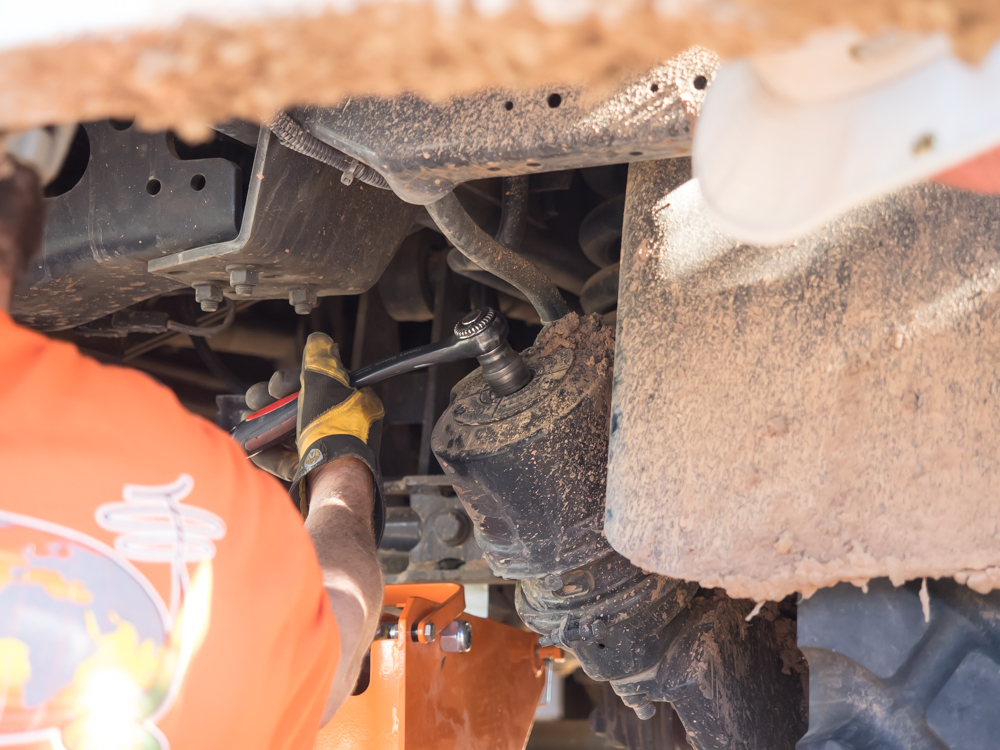
To
insure safety, the parking brake on the serviced side was
released so the other side could be engaged. Above, the tension
screw is adjusted to remove the parking brake on the right
side. Once adjusted, the parking brakes could be set but
the right tire can be turned.
With
some nudging, the tire can be moved in the lateral direction
taking the bead lock ring with it.
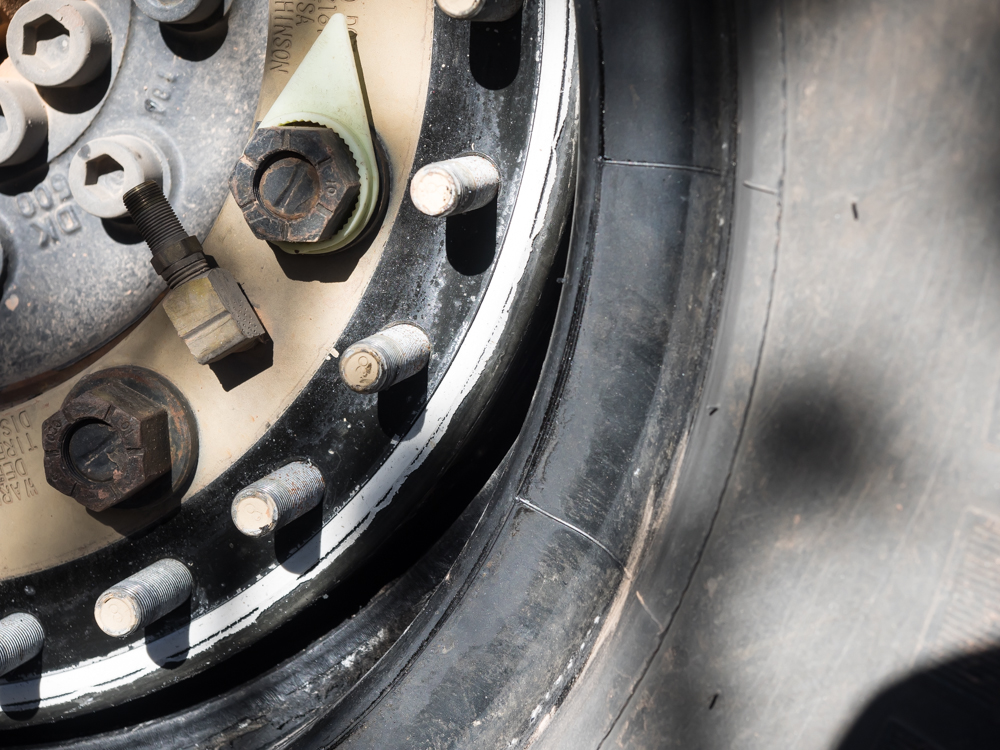
Once the
tire was unseated, the bead lock ring is clearly visible.
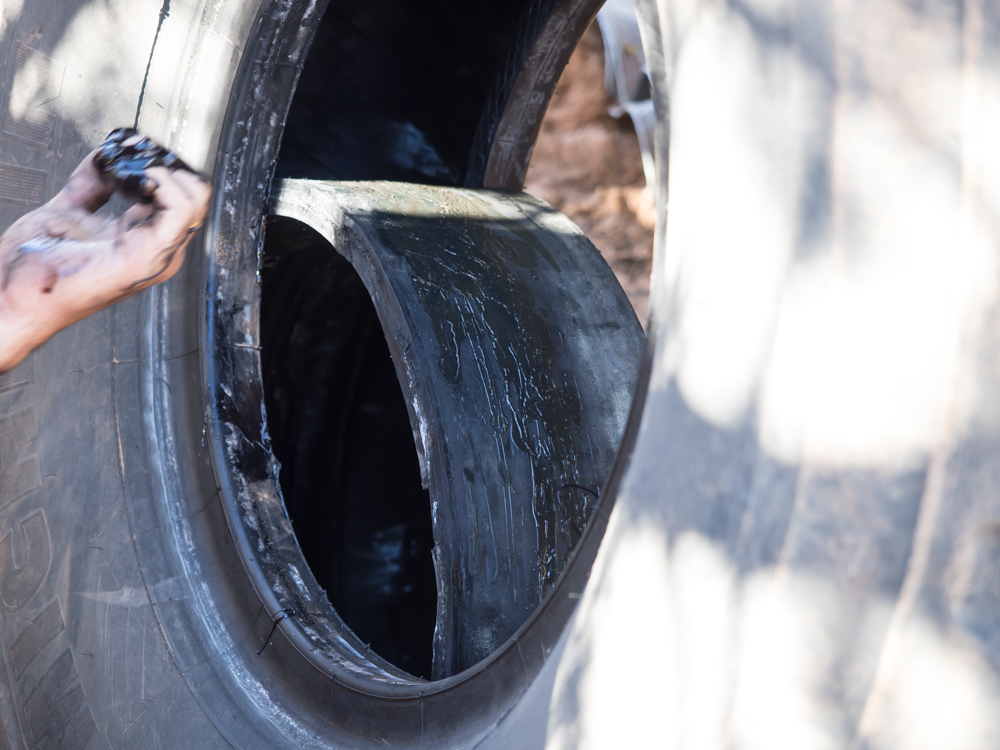
The ring
was coated with a water soluble grease to allow it to be seated
and unseated.
The rim
is exposed and would be re-coated with grease before the ring is
re-seated.
The tire
and ring were re-installed and they are followed by the large
white O-ring.
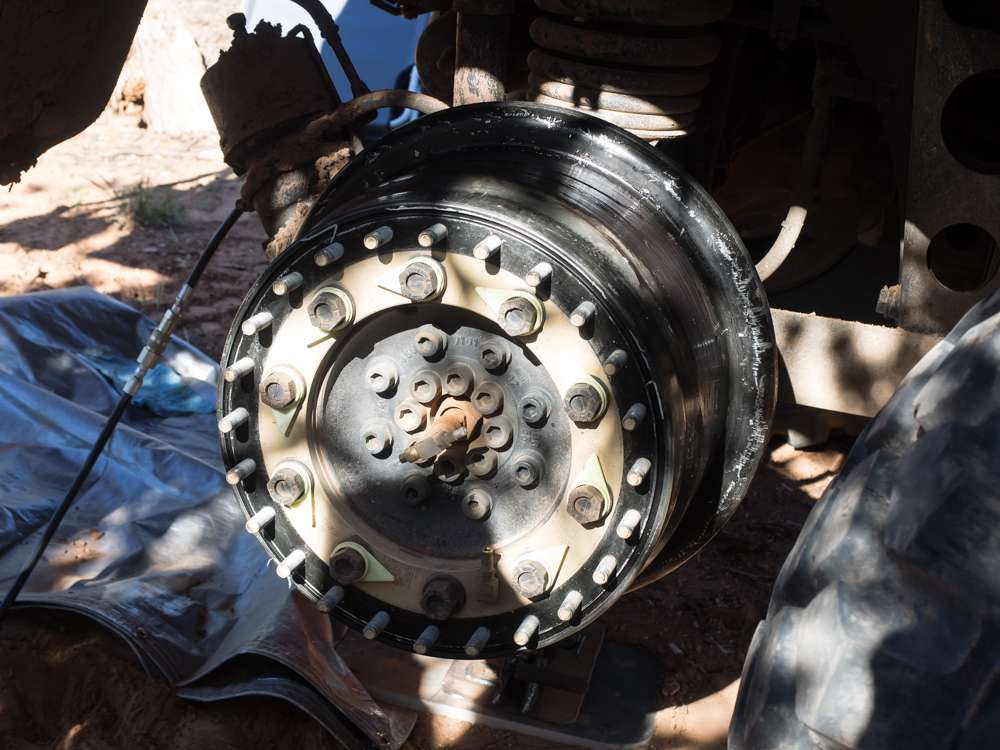
Once the
O-ring has been installed, the rim is ready for the outer
retaining ring. The ring is installed and all 24 nuts are
tightened. Bead locks are highly useful for preventing
de-beads during operation at low air pressure. But, the
task of removing a tire is substantially more difficult.
We do not use bead locks, but might consider them if we were
operating where very low air pressure was required.

After
the tire training was completed, I floated the quad copter to
get this photo of our campsite.
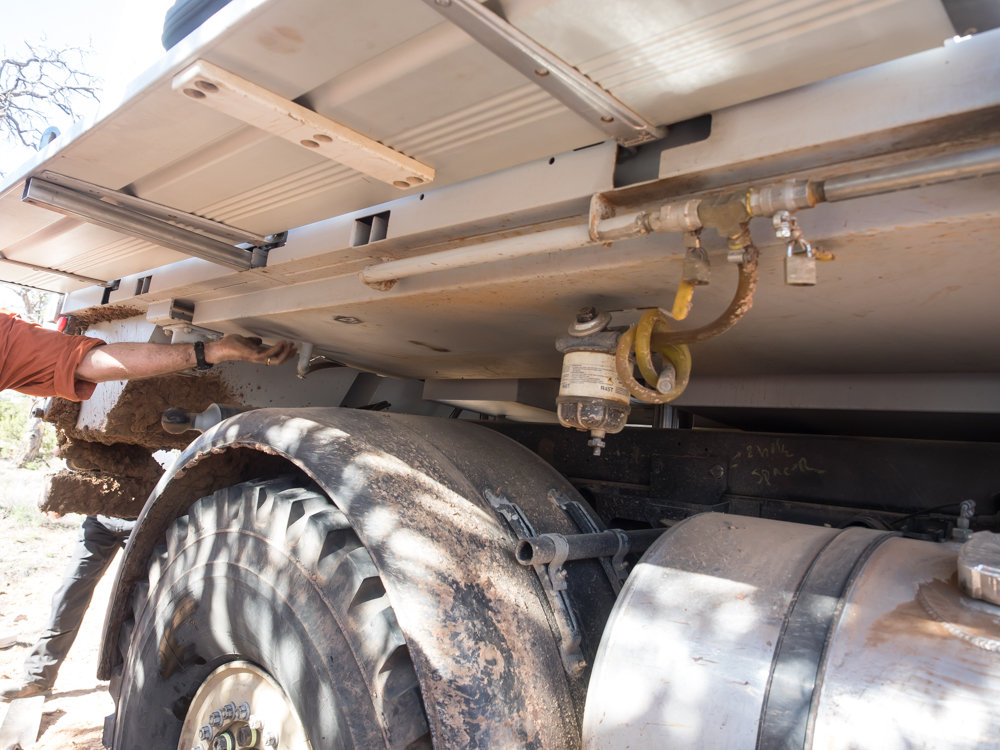
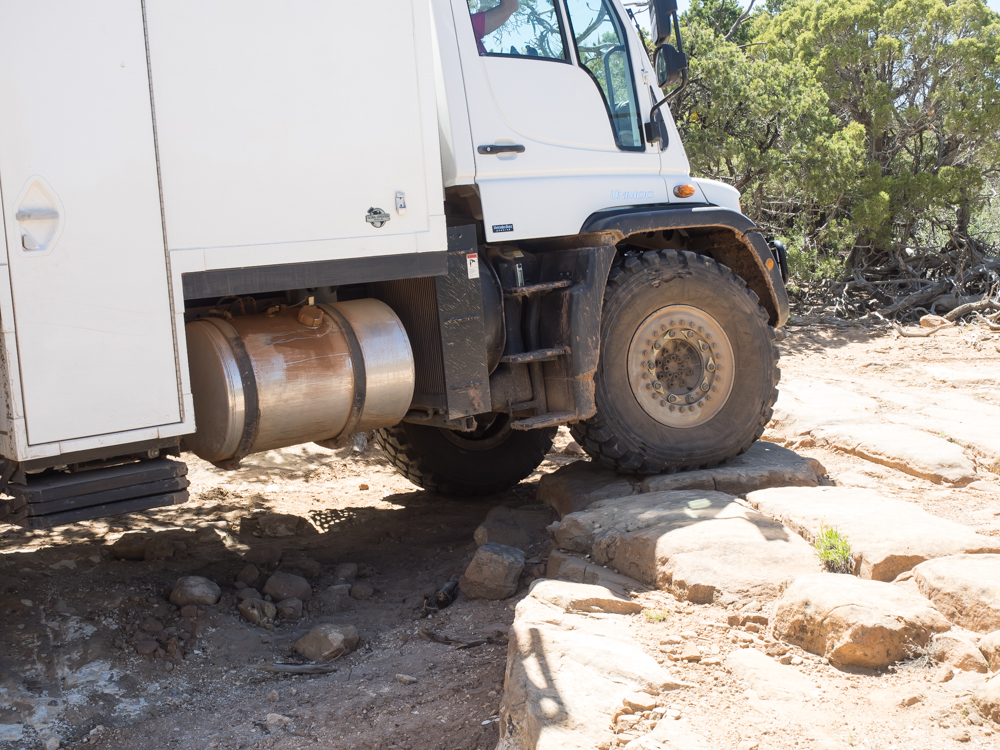
Chris
showed us the details of his stainless steel tanks that are
built into the truck frame. He can carry 150 gallons of
fresh water and 50 gallons each of grey and black water.
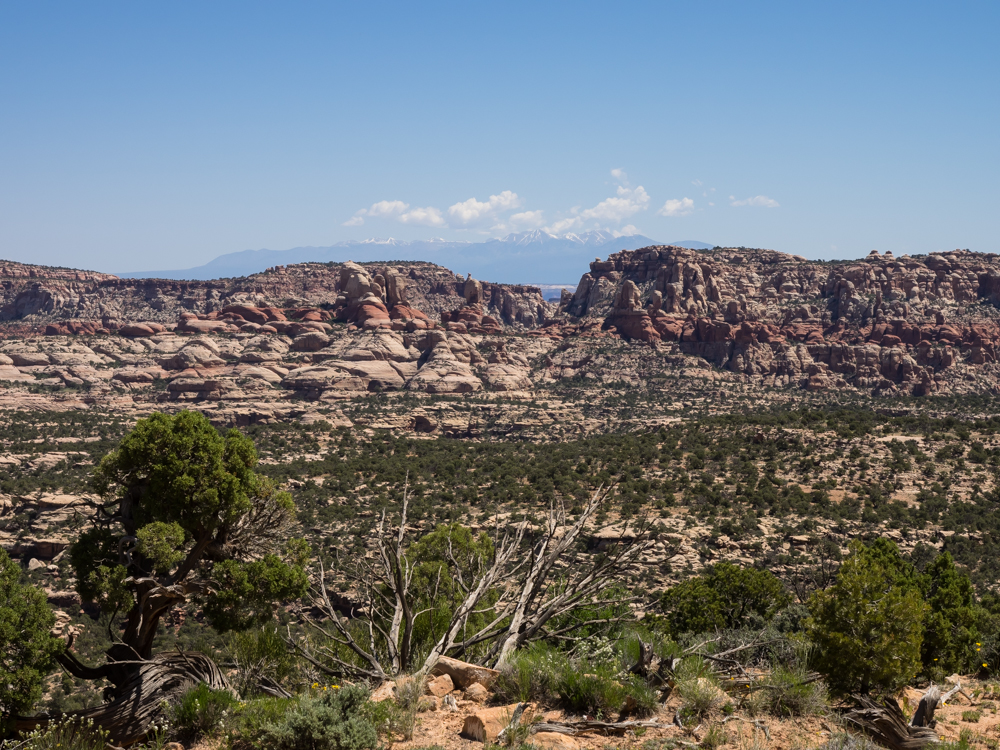
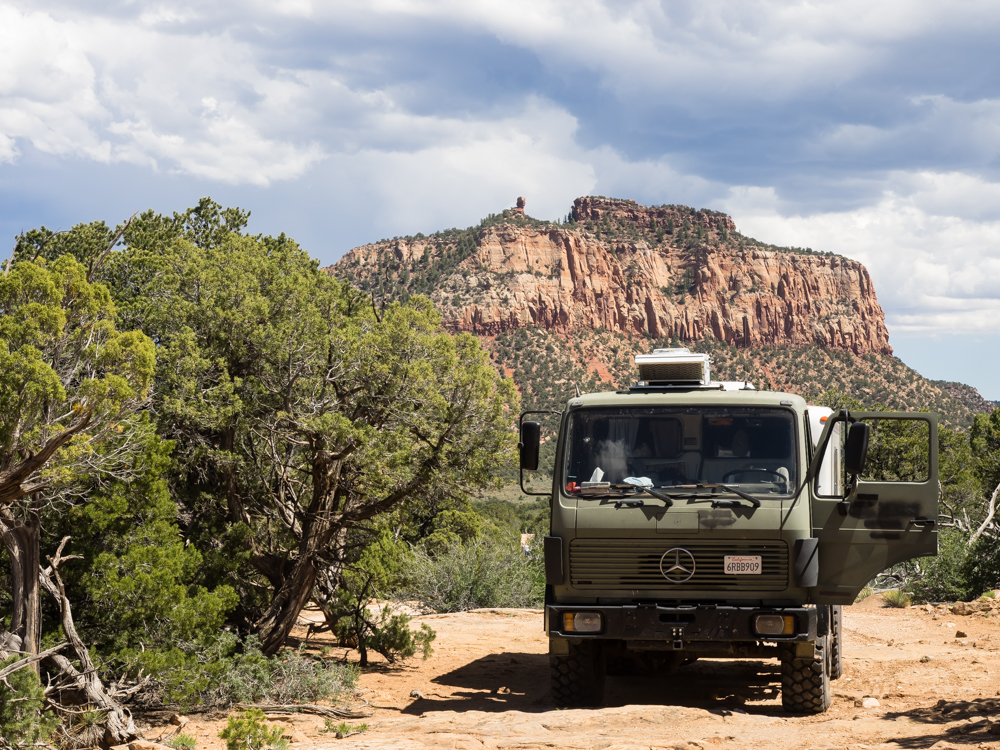
We
retraced our path out of Beef Basin. Along the way, we got
a great view of the La Salle mountains which still have snow on
their upper peaks.
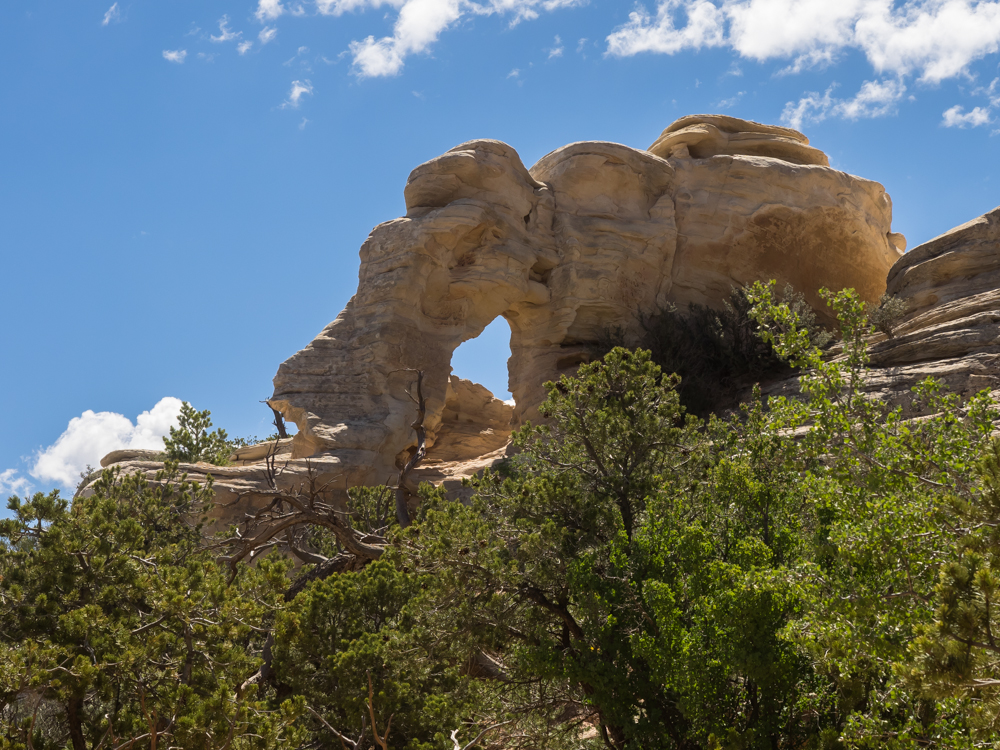
We
passed this arch structure on our exit route.
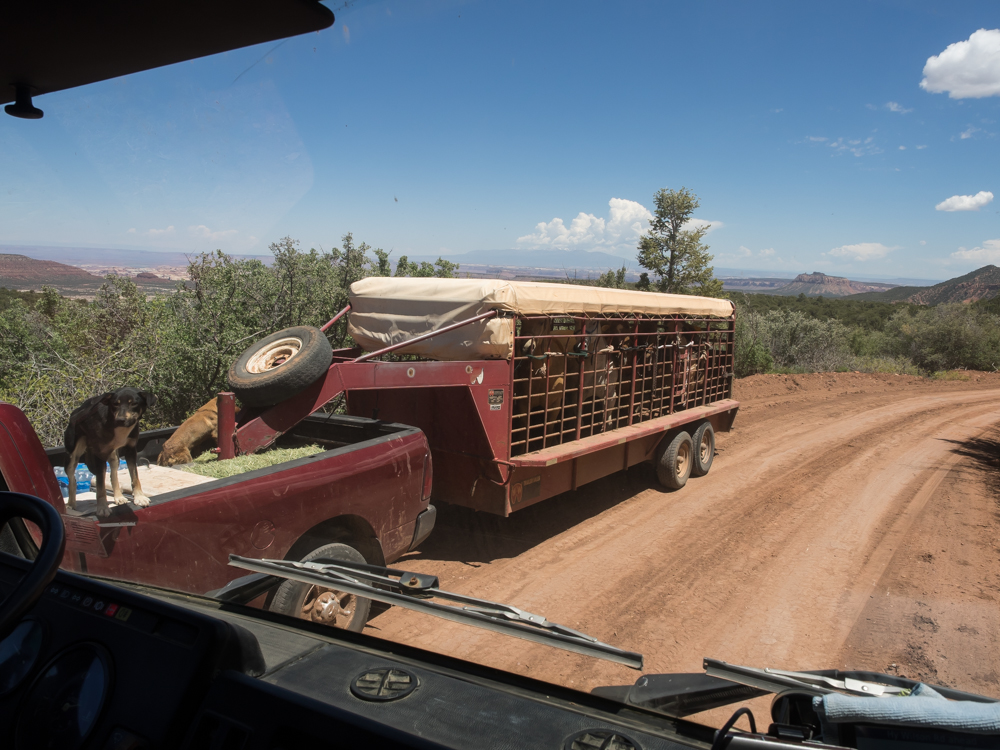
Back on
Elk Ridge, we passed this cowboy with dogs and a group of horses
saddled for work.
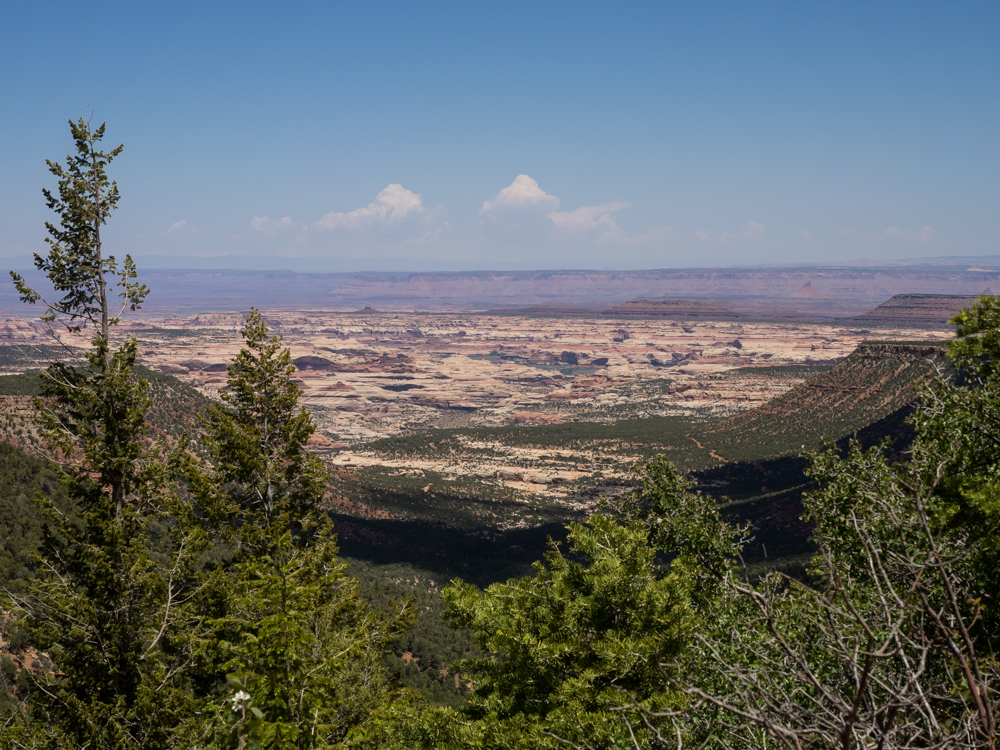
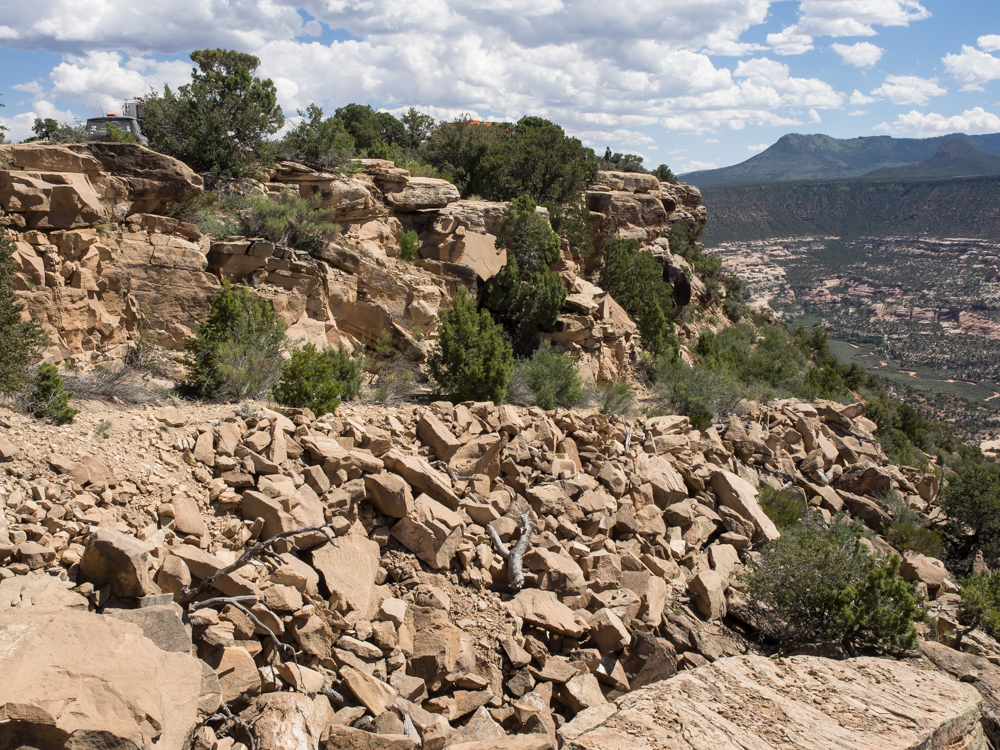
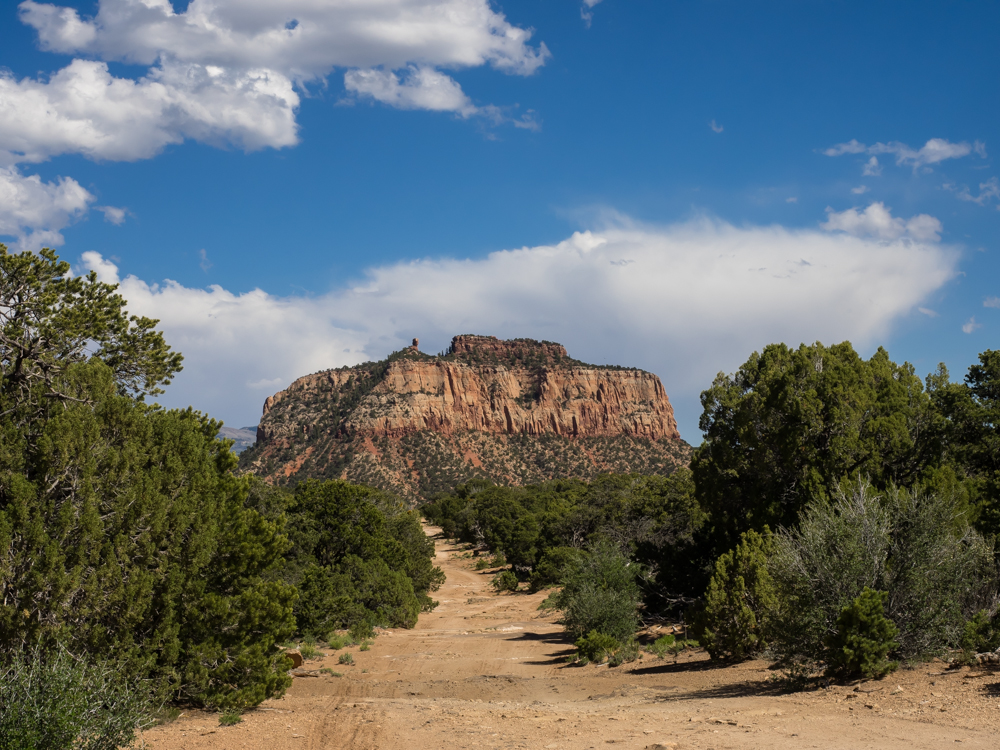
The
trail traveled around the rim of the mesa and gave us a first view
of Salt Canyon.
Our
objective for the afternoon was the Salt Canyon overlook.
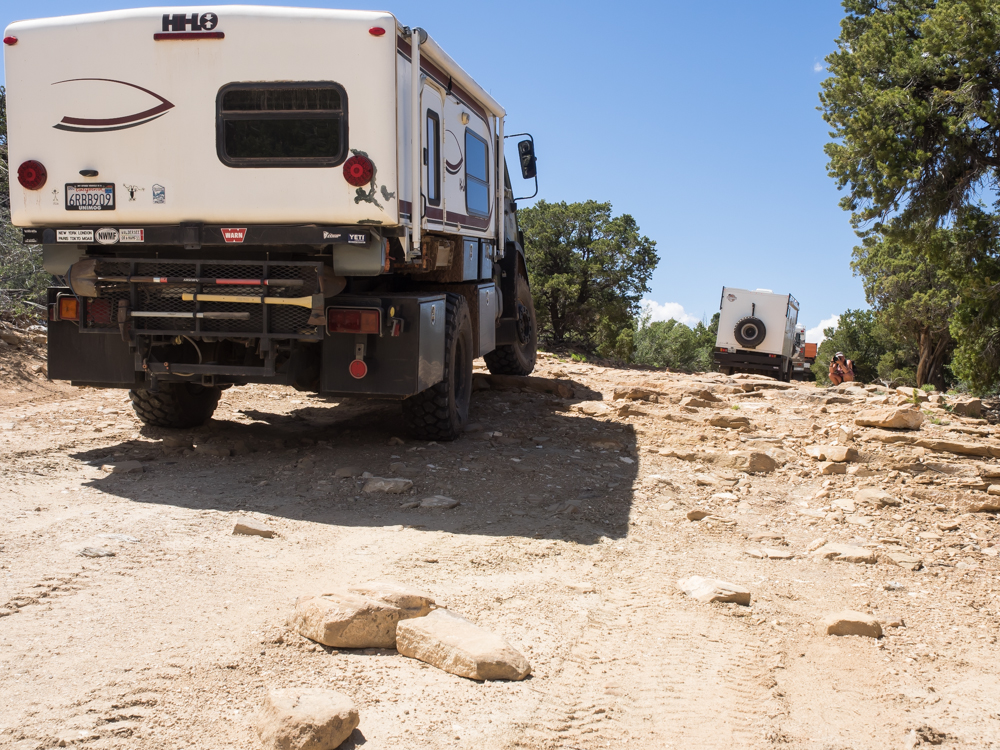
The trail required negotiating a series of small ledges.
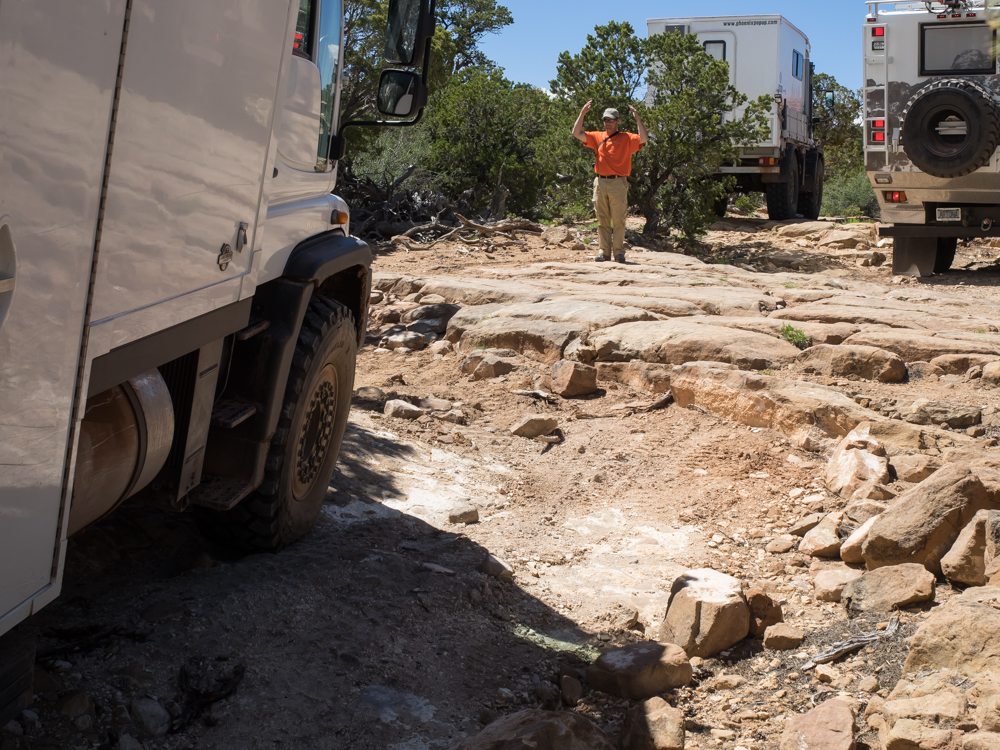
Several
of the ledges were high enough to require careful
spotting. Mark and Gail easily negotiated this ledge.
Slow and
careful wins the battle when rock crawling is involved.
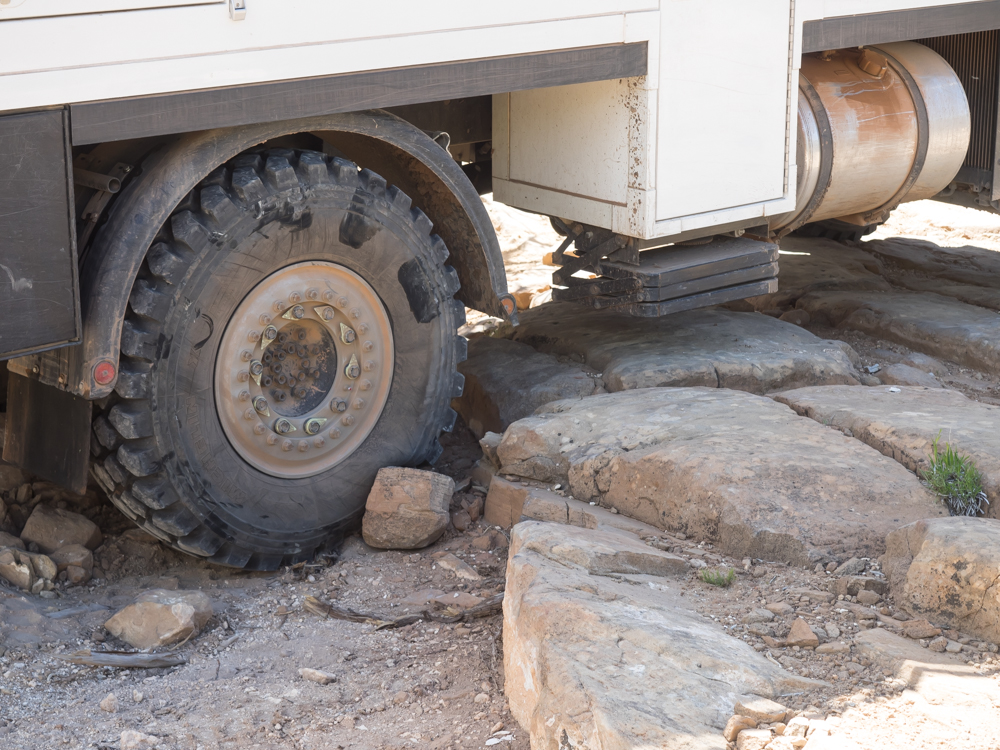
Care was
required because Mark's steps hung down and could impact the
rocks.
As the
group was traversing the ledges, the weather was building to our
east.
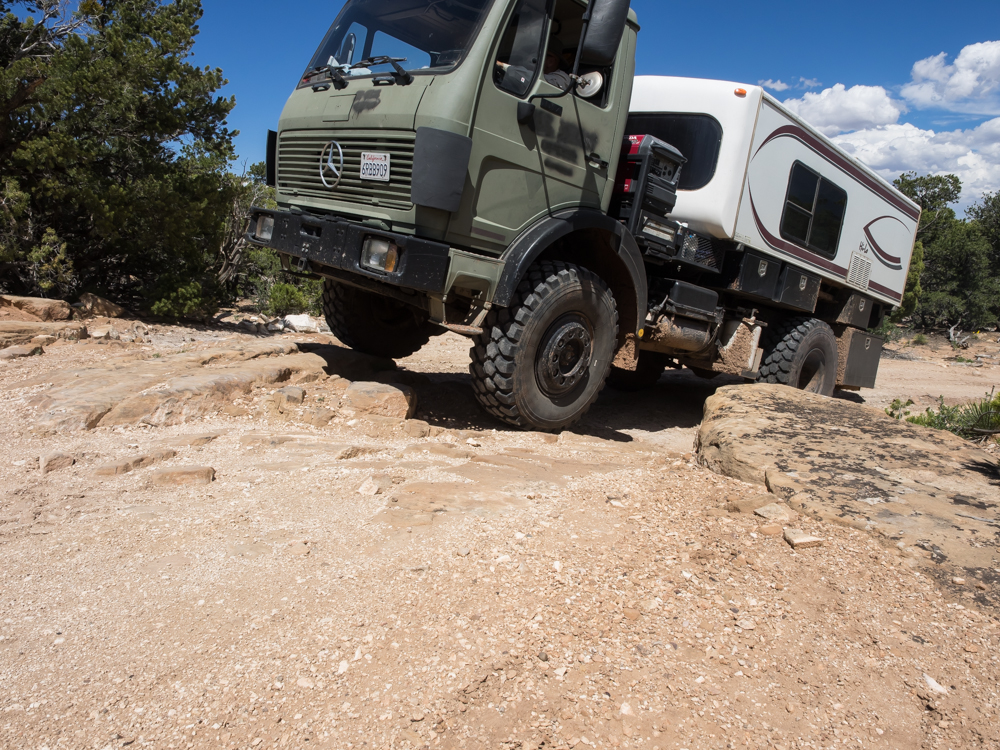
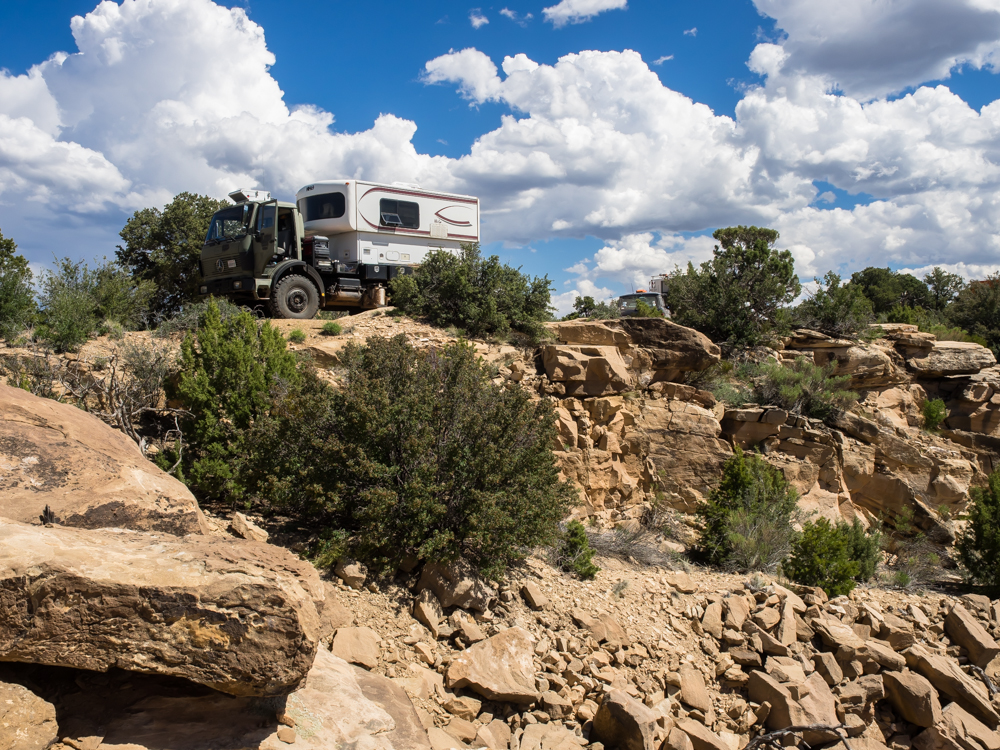
Thor has
low-hanging tool boxes, so caution is always indicated.
But, we had no problems. Note the twist of Thor's frame of
cab relative to the camper.
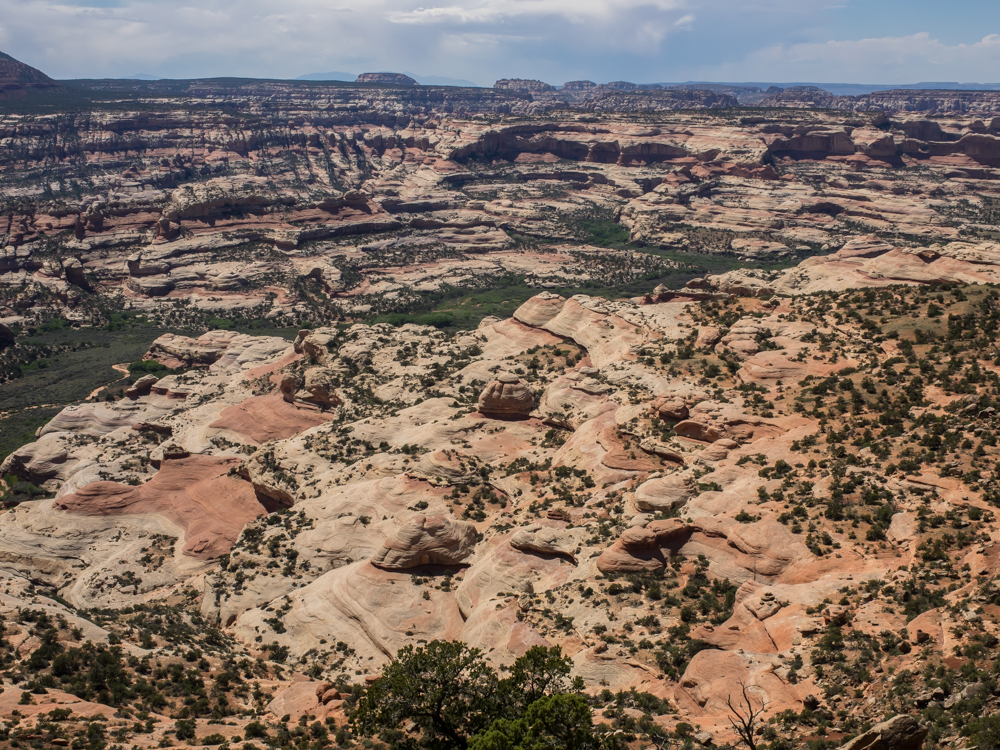
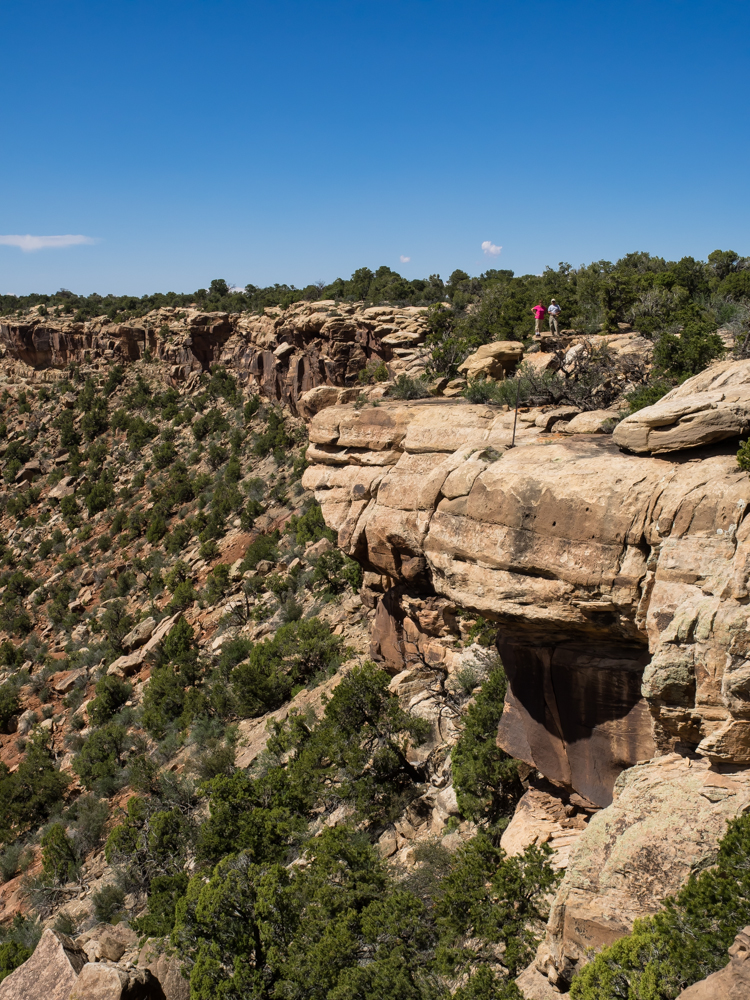
We
finally arrived at Salt Canyon overlook; the view was
breath-taking.

We
spotted several large arches down in the canyon. There are
two in the photo above.
Our camp was right on the lip of the cliff.
Remains of an old seismic exploration road.
Mark and Gail at the Salt Canyon Overlook.
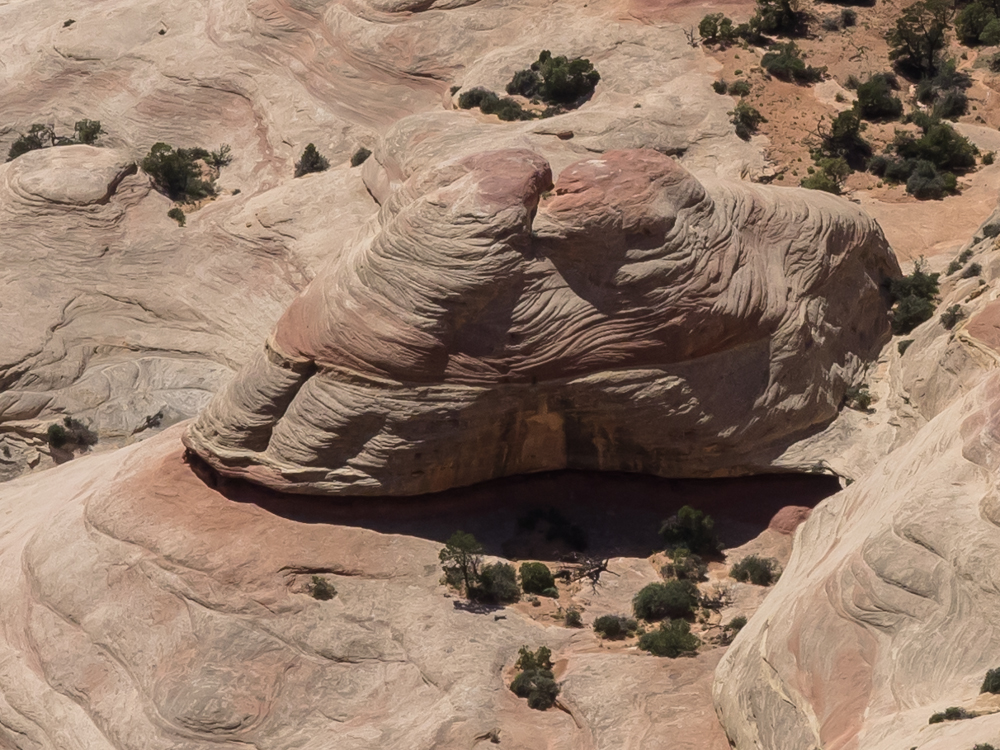
The
sandstone in the canyon weathered to reveal intricate patterns.
The mesa
to our east provided a perfect foreground to the distant clouds.

Bill
Burke, our guide, took Oksana and I to the far point for a view
of the trucks on the rim.
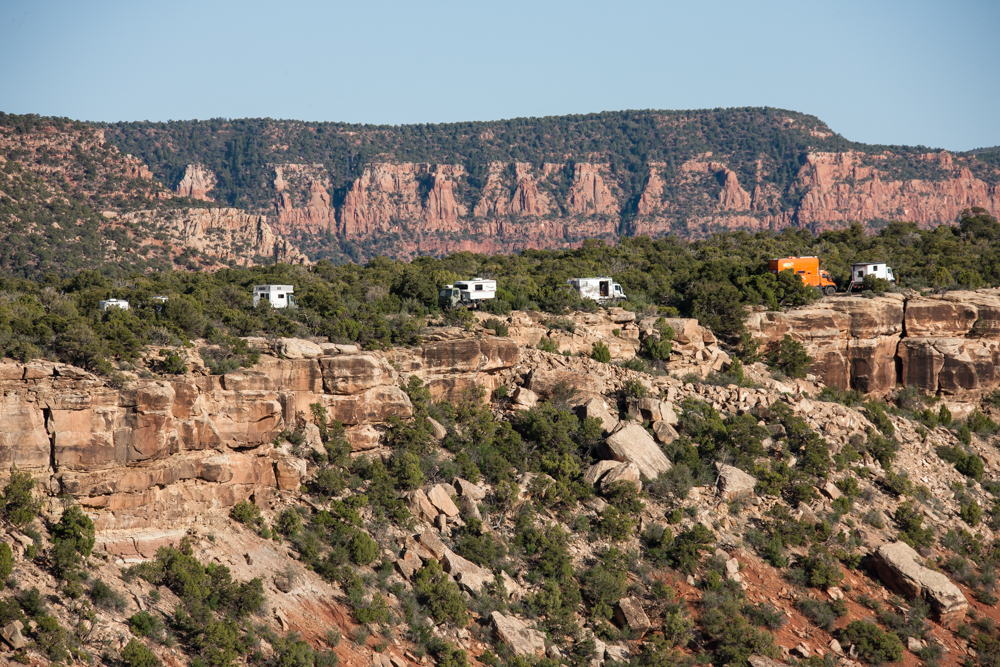
The old
seismic exploration road is clearly visible.
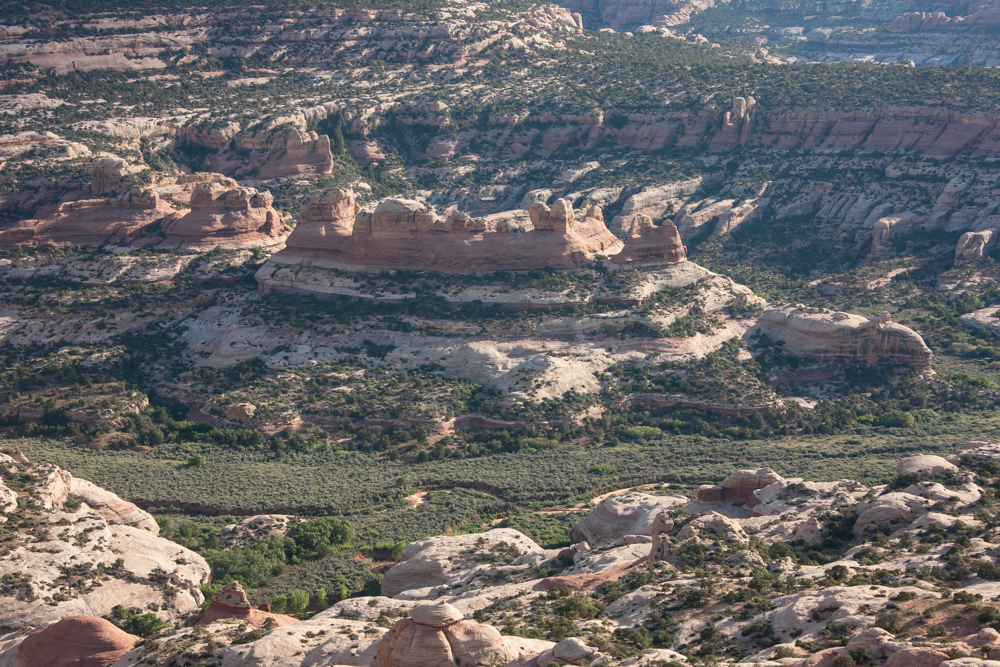
In the
bottom of Salt Canyon is a bowl surrounded by cliffs and
hoodoos.
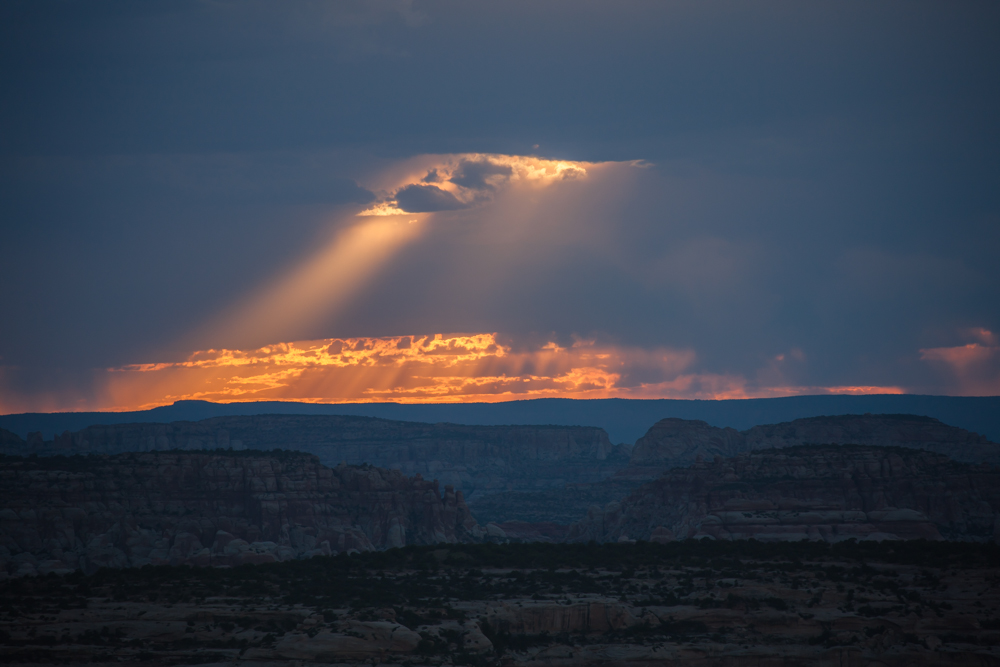
Oksana
noticed the windowing effect from the setting sun. The
view from the cliffs was spectacular.
| Previous Adventure | ||
| Trip Home Page |
Photos and Text Copyright Bill Caid 2014, all rights
reserved.
For your enjoyment only, not for commercial use.