The photos below are what we
saw.
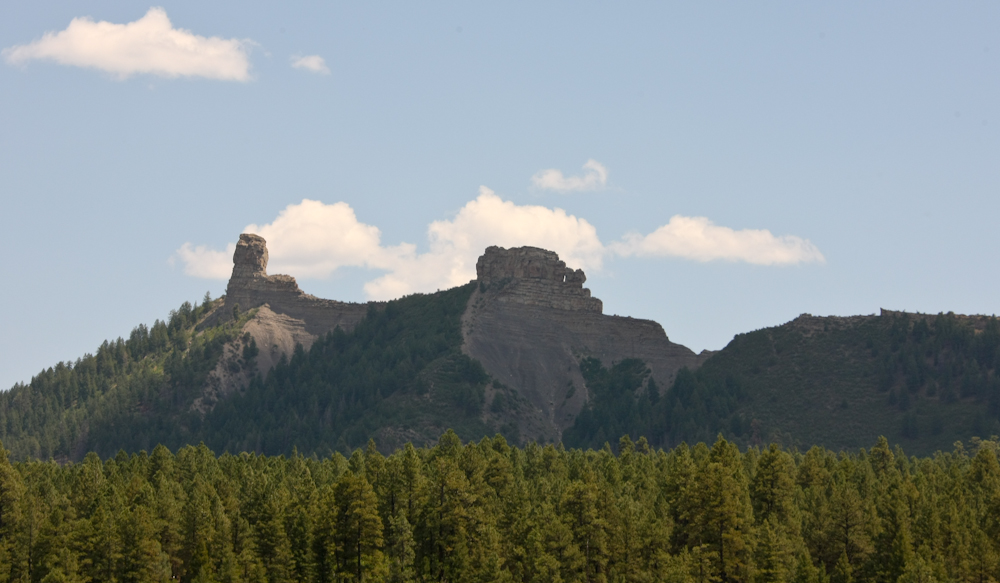
Heading east from Durango
took us over Wolf Creek Pass which was very nice.
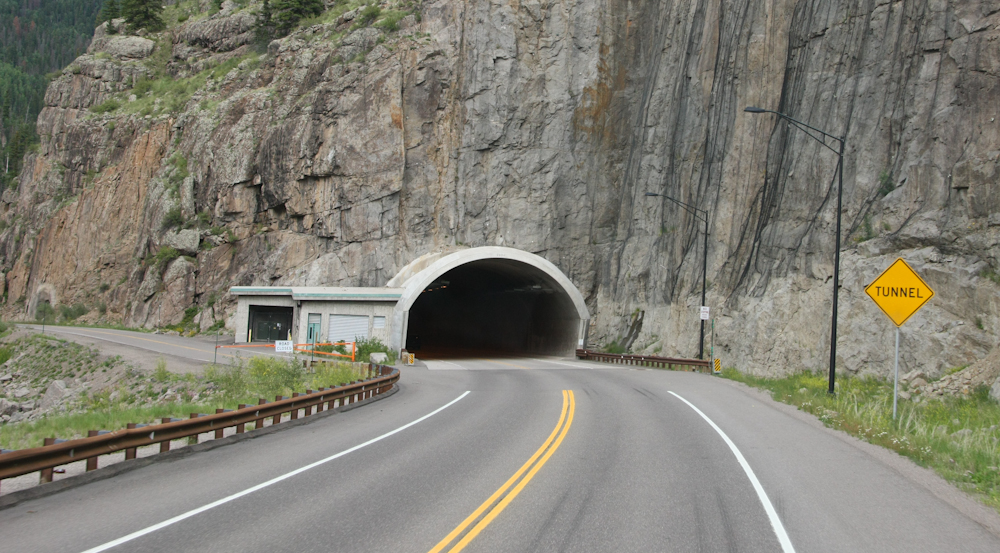
The pass was steep but not
that narrow as it is a heavily traveled road.
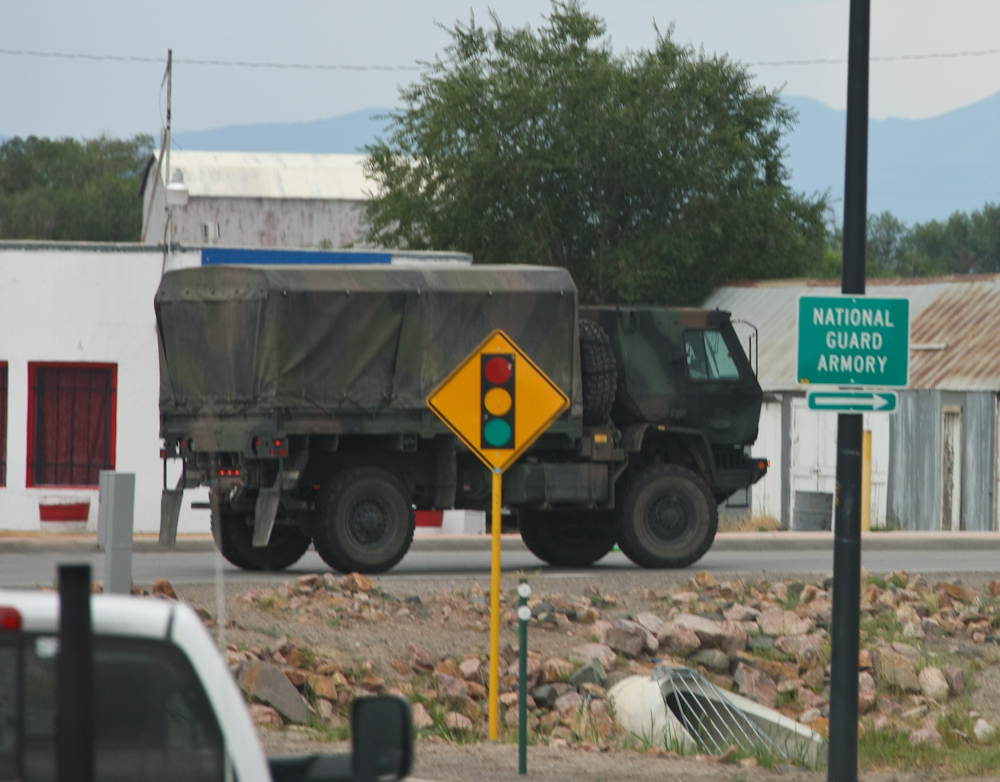
Because of Rob's previous
obligations, we did not have to get to La Junta until Sunday
pm. So, we elected to stay at the KOA in Alamosa,
CO. On the way, this LMTV passed us on his way back to the
armory.
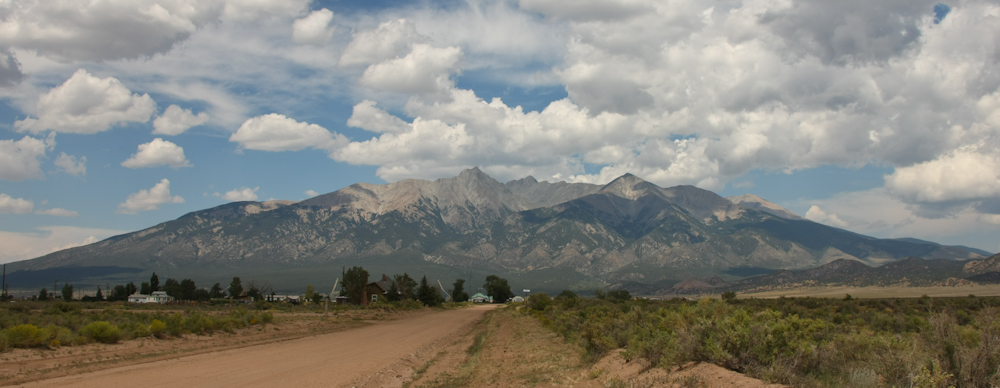
Next morning, we left
Alamosa headed for La Junta and got a nice view of Blanca Peak,
one of Colorado's "fourteeners" (over 14,000 feet elevation).
We spent the night at Rob
and Erin's place and Monday, after breakfast at the local cafe,
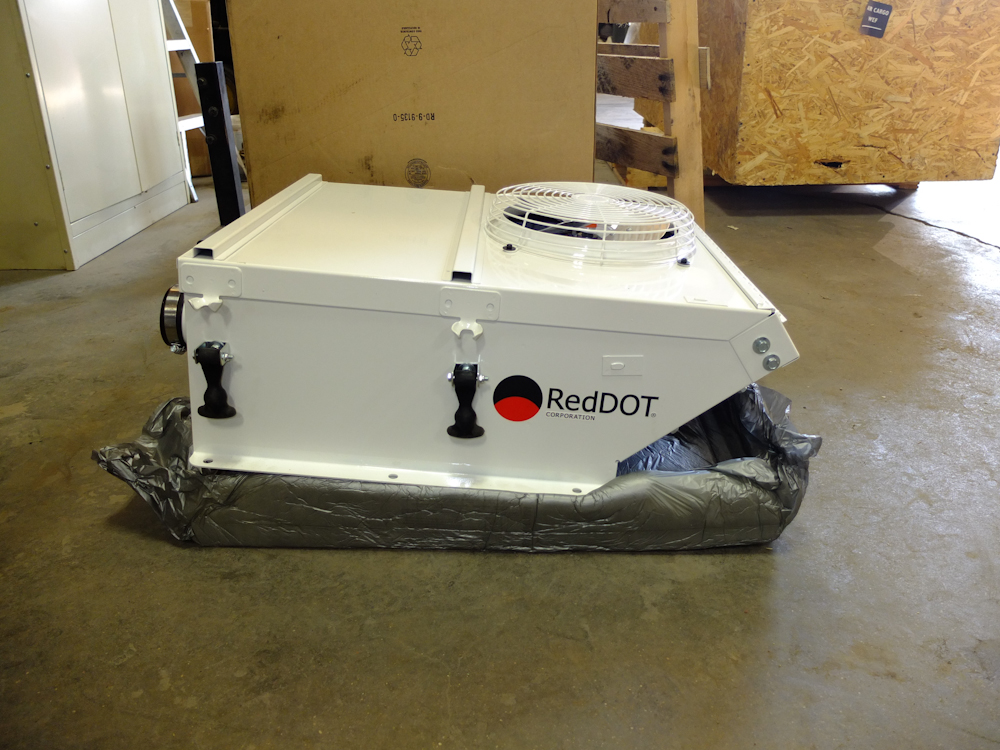
we started to work. The unit we selected for the a/c is
used for heavy equipment such as dozers and graders. It is
a 24V roof-top mounted unit that only needs electrical power and
having the compressor hooked to the engine.
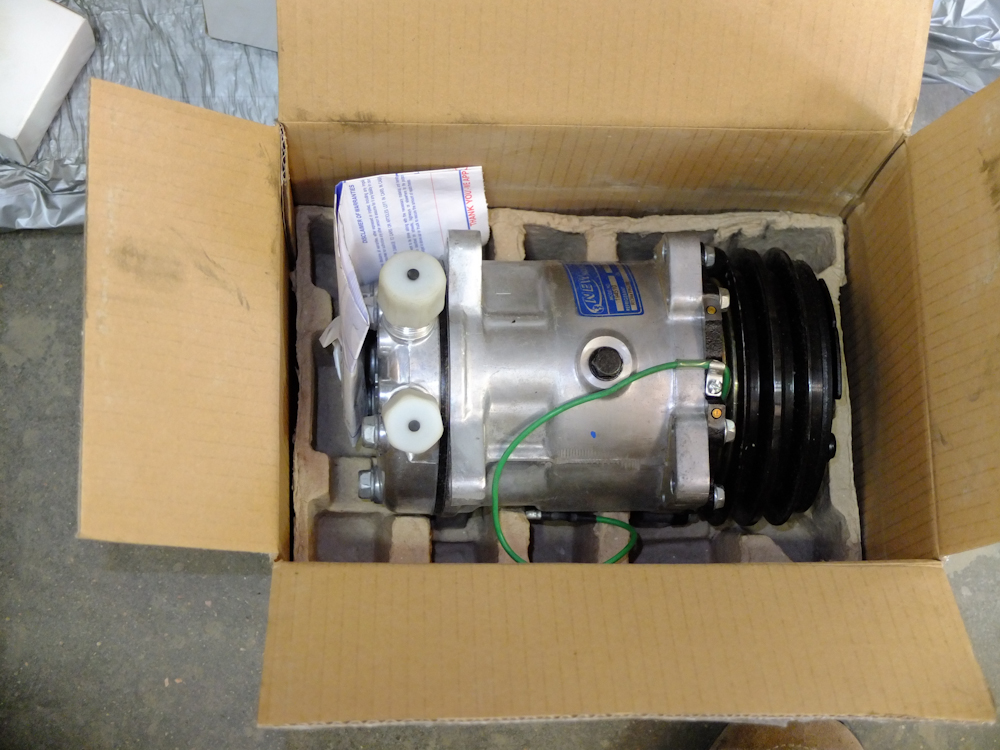
The compressor is separate
and will need to be mounted on the engine for power via a
standard belt and a race on the crankshaft.
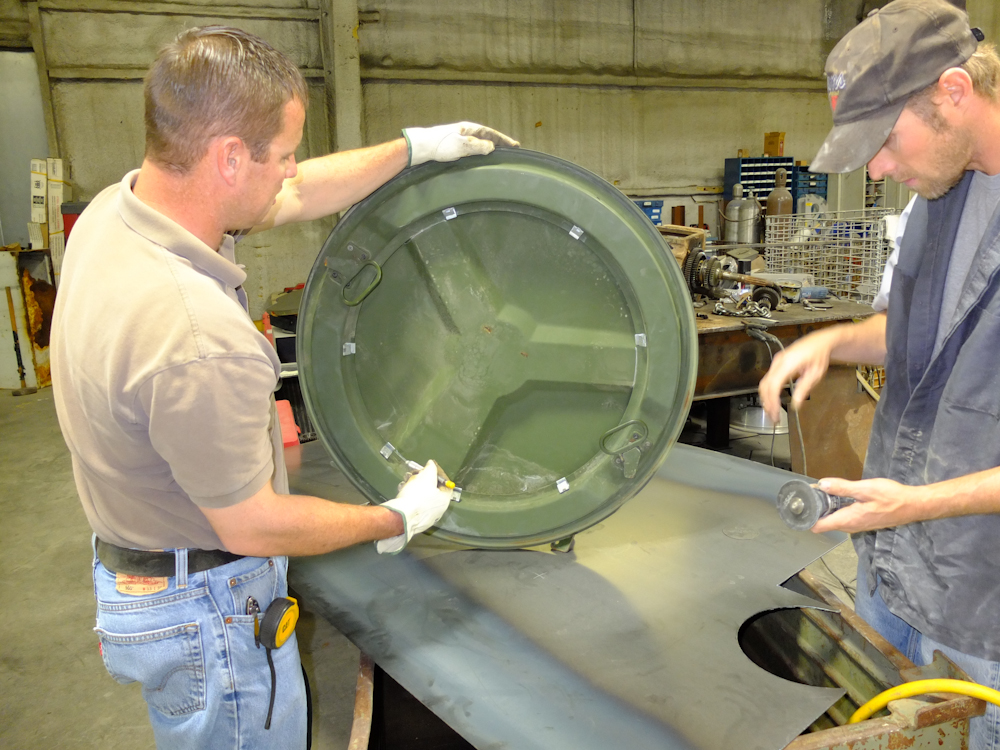
The a/c unit will be mounted
on top of Thor's gun turret. Above the turret has been
removed and is being marked for cutting.

Edwin, one of Rob's guys,
cuts the roof hatch with an air-powered saw.

Meanwhile, Rob was helping
with our Honda generator which had decided to go on the
fritz. Above is the sediment cup for the carburetor.
Note the crap in it. The generator would not start.
In the end, we gave up as it seemed as if some of the issues
were part of the electronic ignition controls. We will get
it repaired in San Diego.
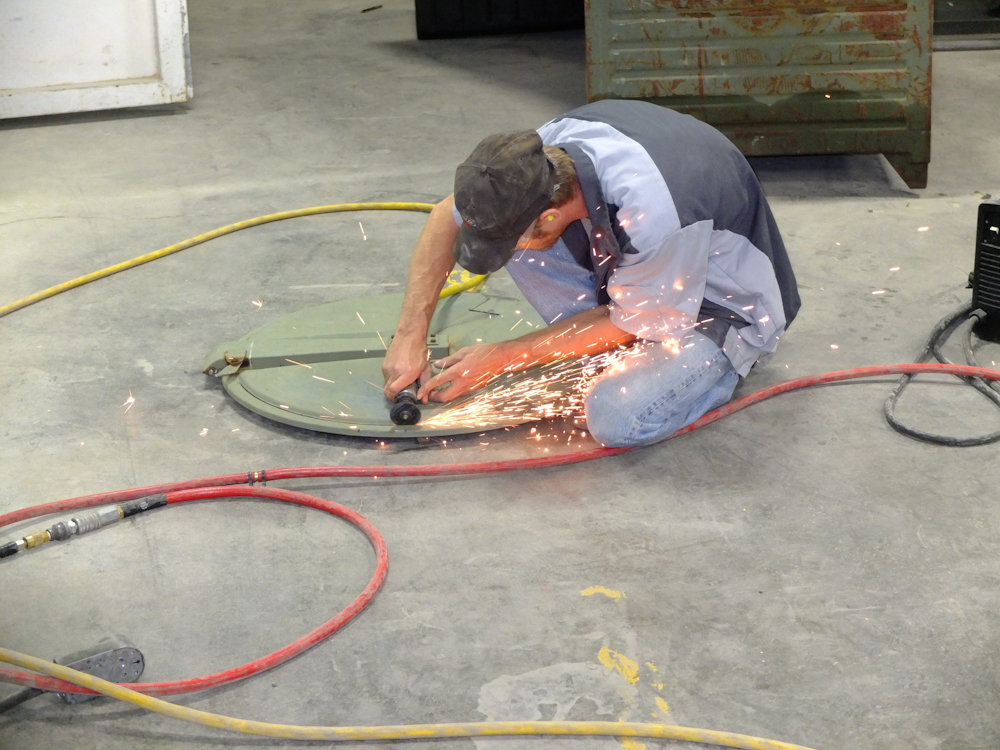
Edwin is nearing completion
of the cutting task.
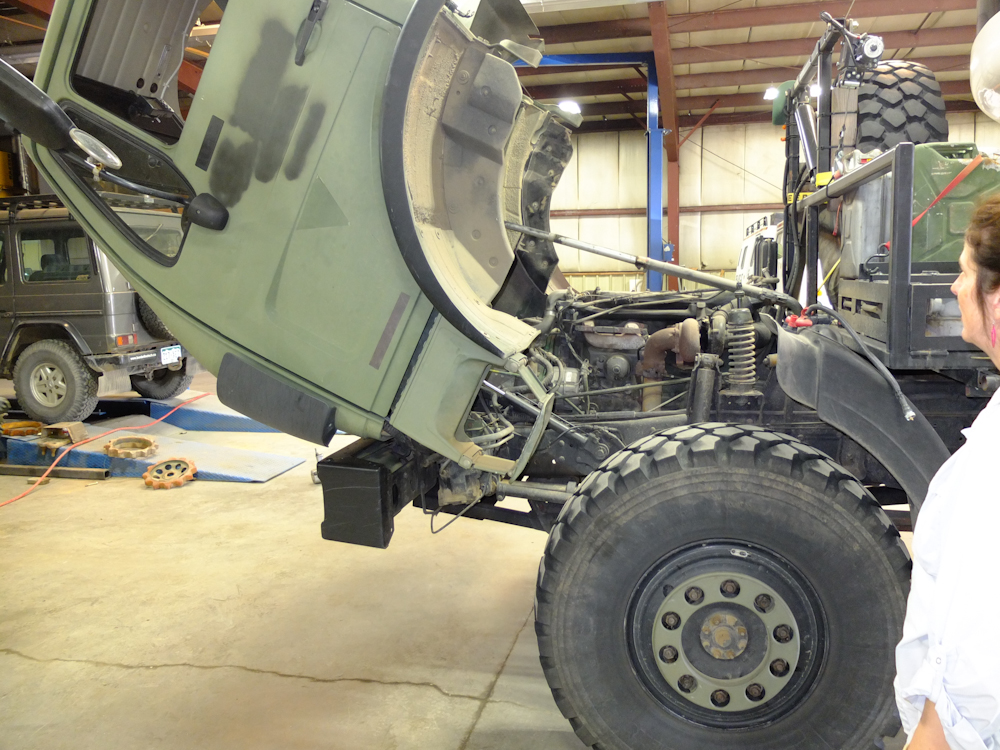
We had to tilt Thor's cab to
allow access to the belts and to install the compressor mount.

The roof turret hatch has a
nice rubber gasket around the edge and should seal up tight.

The hatch roof has been cut
off and a piece of plate will be cut and welded onto the hatch
to provide a mounting surface for the a/c unit.

The power steering pump is
visible above. The plan is to build some "ears" onto the
existing pump mount that will allow the compressor to gain
access to a belt race. It will be a tight fit.
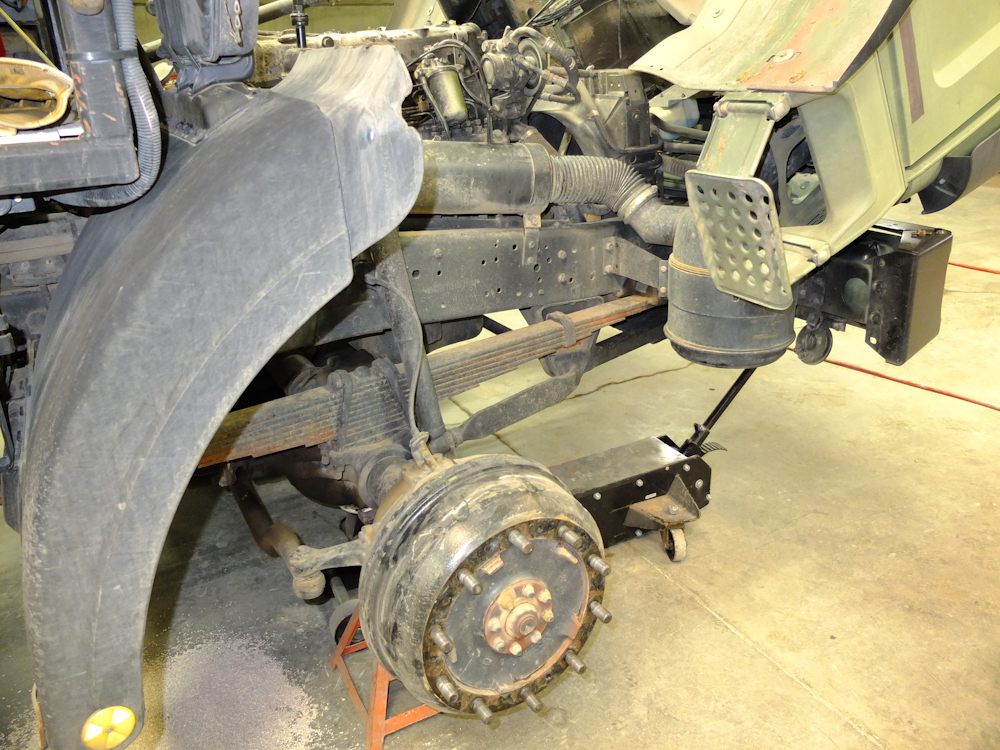
To gain the required access,
the front wheel had to be removed as well.
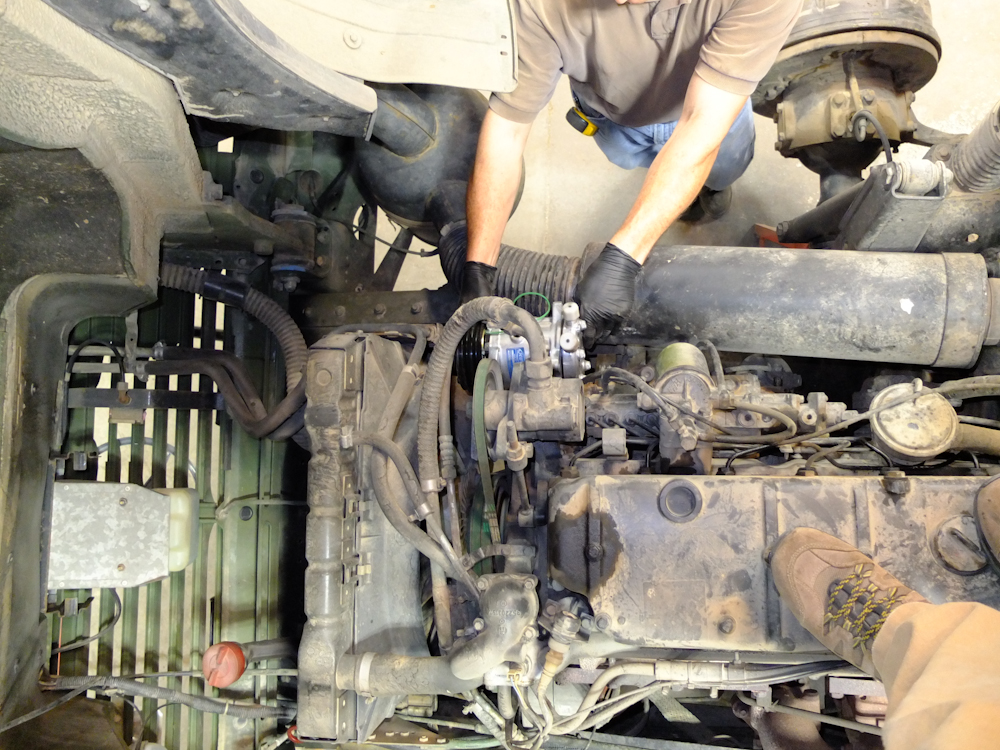
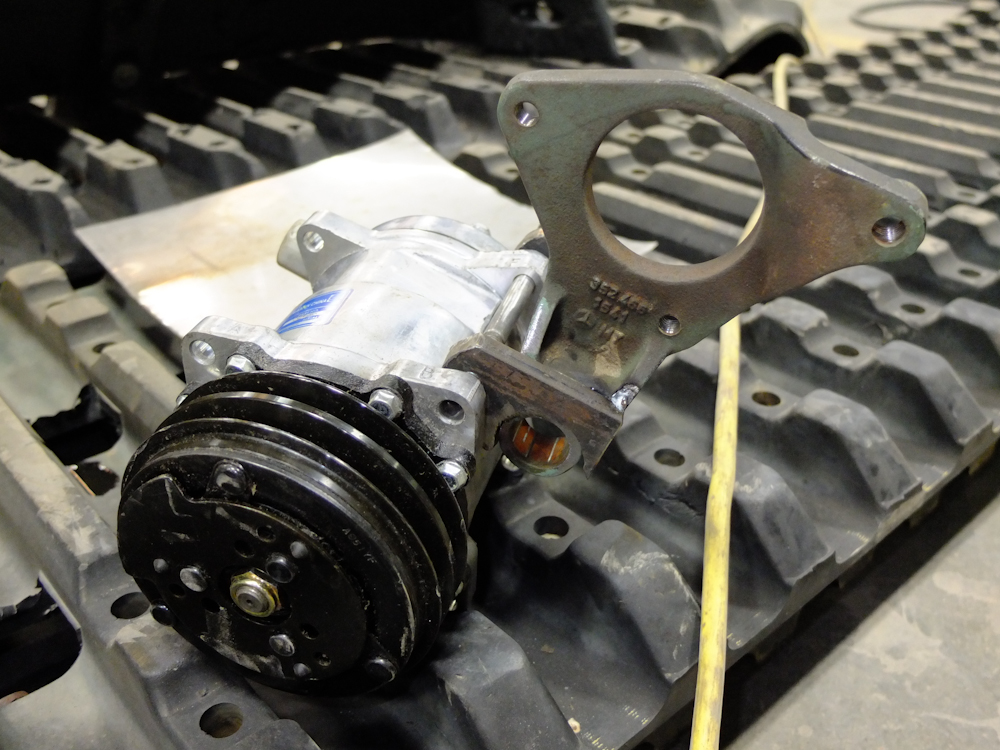
Rob does a test fit of the
compressor as seen from above.
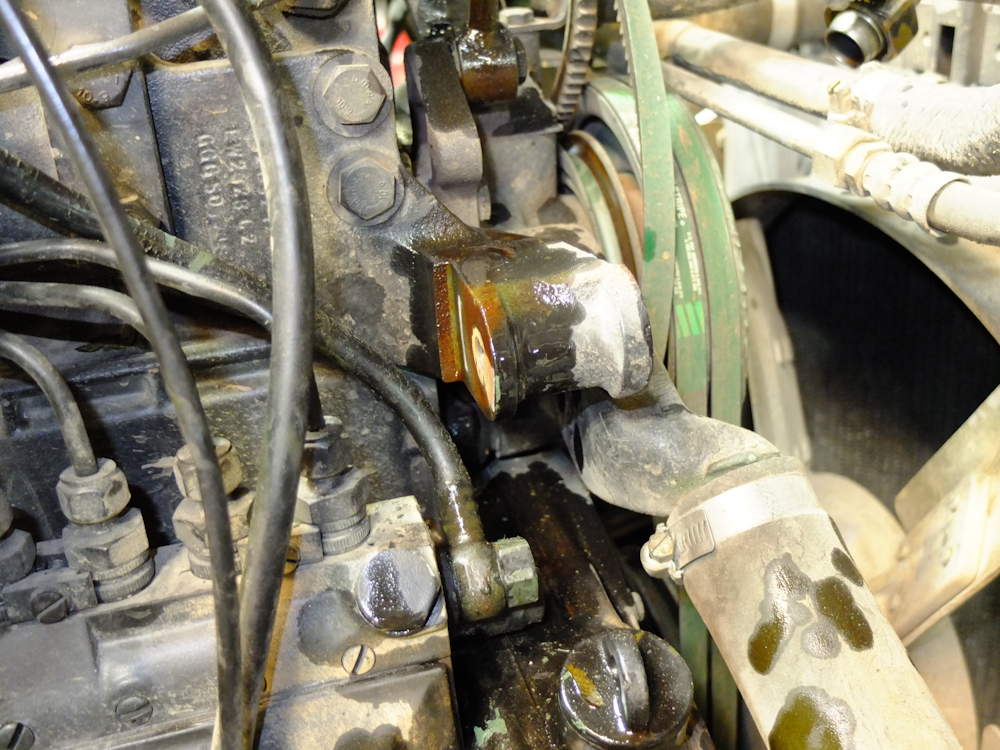
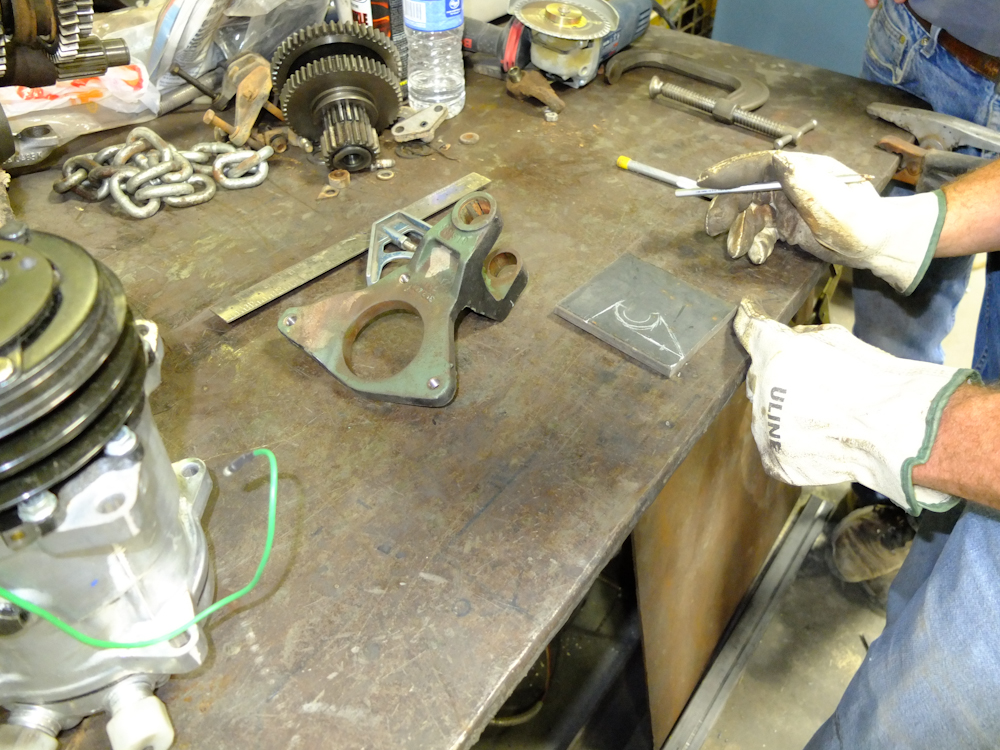
The power steering pump,
bracket and hoses were removed. The cast mounting is
visible in the photo above.

Rob points out where the new
ears will be located.

To get the pump off the
bracket to do the necessary welding, the pulley had to be
removed.
After the pulley was removed
and the rubber mounting bushings were pulled, the rough outline
of the mounting ears were sketched out.
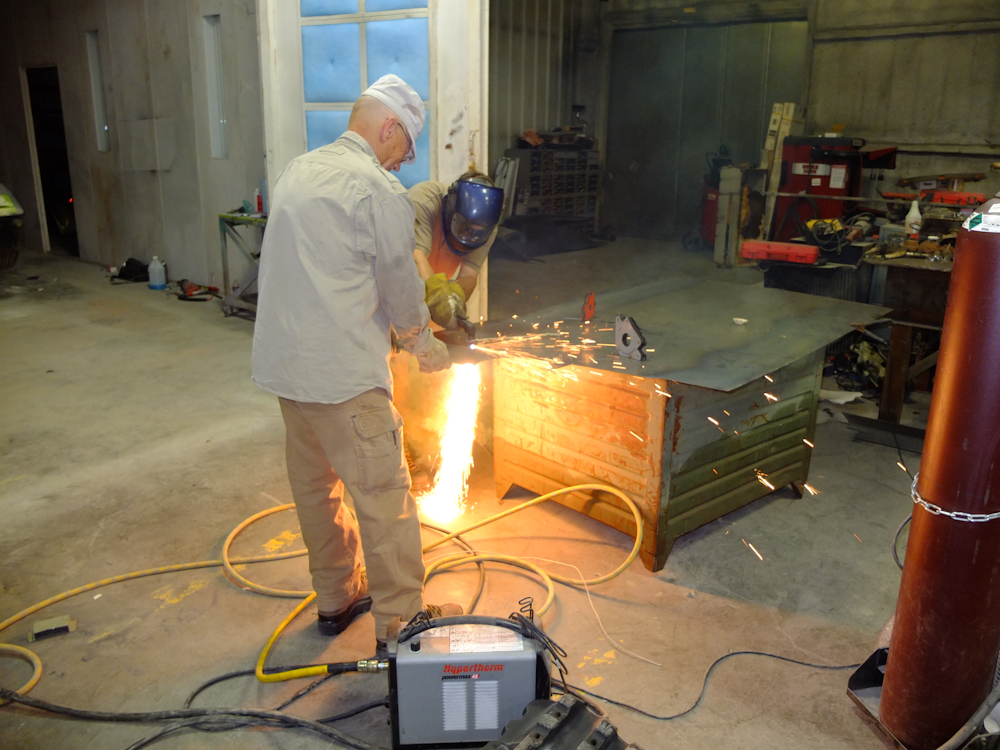
A plasma torch was used to
cut the plate.
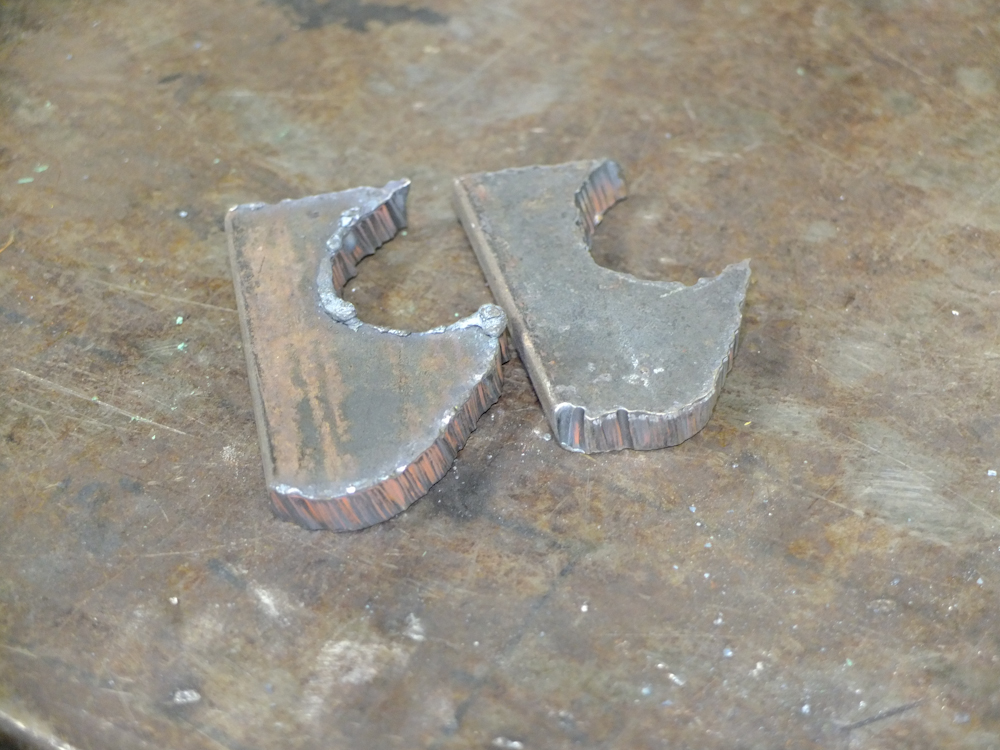
The ears prior to finish
grinding.

The ears are test-fit on the
existing power steering mounting bracket.

The finished bracket was
ground flush.

The bracket was primed in
preparation for painting.
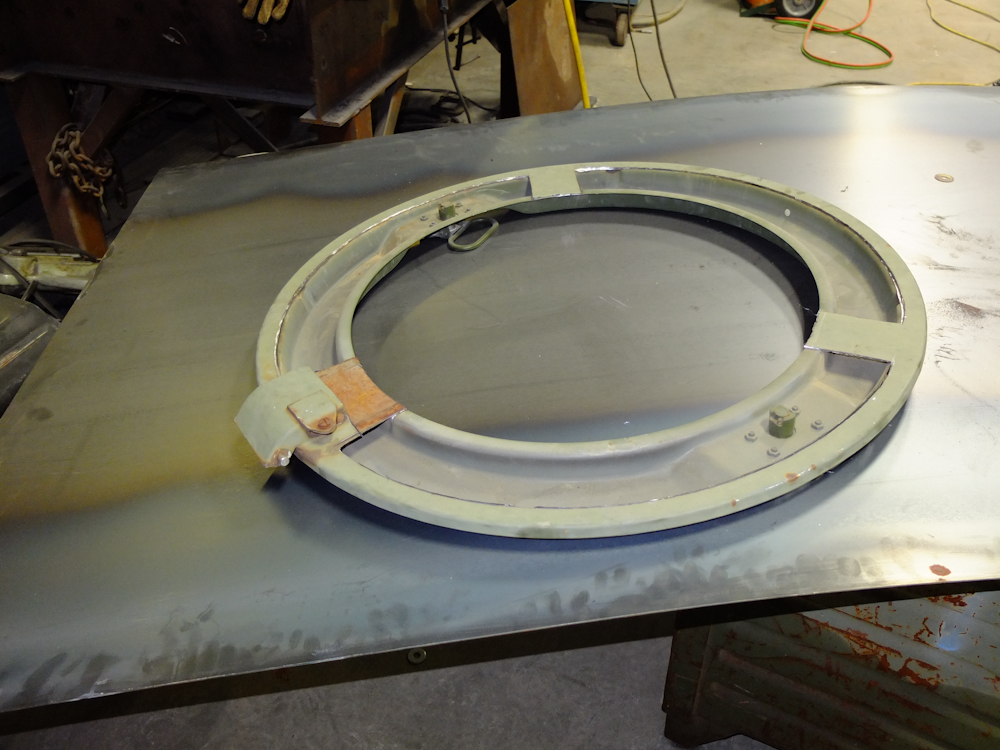
The hatch preparation was
completed for attachment of the sheet metal.

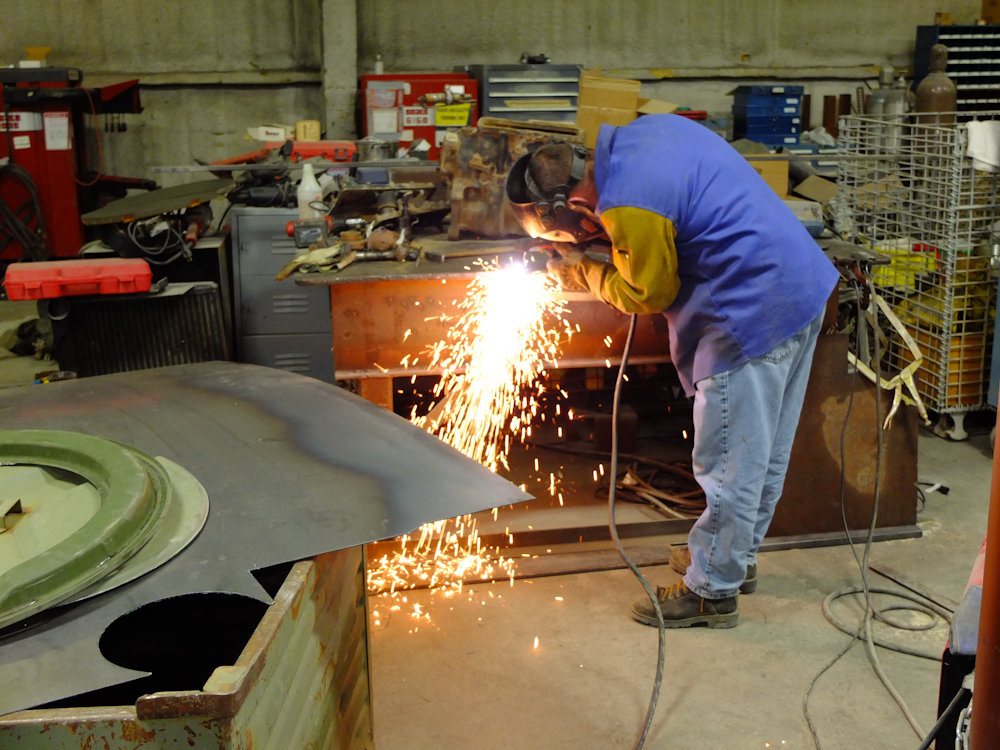
I assisted Rob in cutting
the hatch cover. All I had to do was apply the large
magnets to prevent the metal from falling and bending as it was
fully cut.
The far side of the cover
was cut and secured with the magnets, now I had to support the
outer portion of the cut.
| Previous Adventure | ||
Photos and Text
Copyright Bill Caid 2012, all rights reserved.
For your enjoyment only, not for commercial use.