Event report 20000123
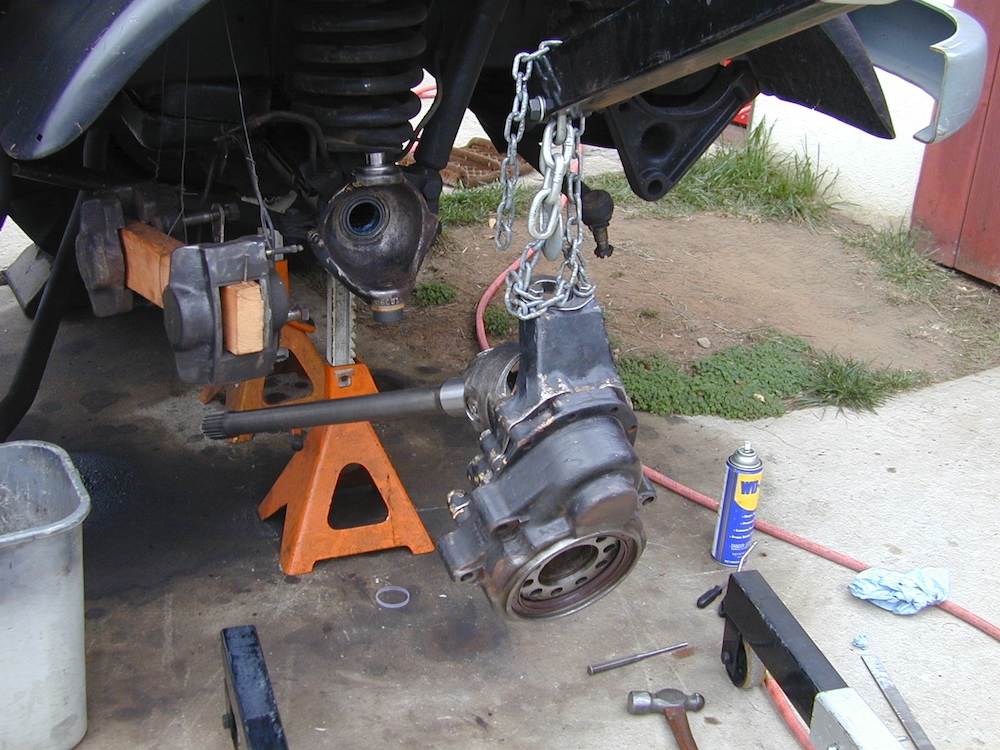
My buddy Kai has a reasonably old 416. This truck had been put to some hard use by the previous owners and had recently developed symptoms suggesting that there were several things wrong with the front end. First, the cross member that holds the frame together had flexed sufficiently to crack. Second, the CV joints and axle components on the front were fried. So, the only thing to do was to take it apart and repair the components.
It should be noted that these photos were recently "discovered" on my hard drive. The descriptions below were written 8 years after the fact and are "mostly" correct based on my recollections.
The photos below are what we saw.
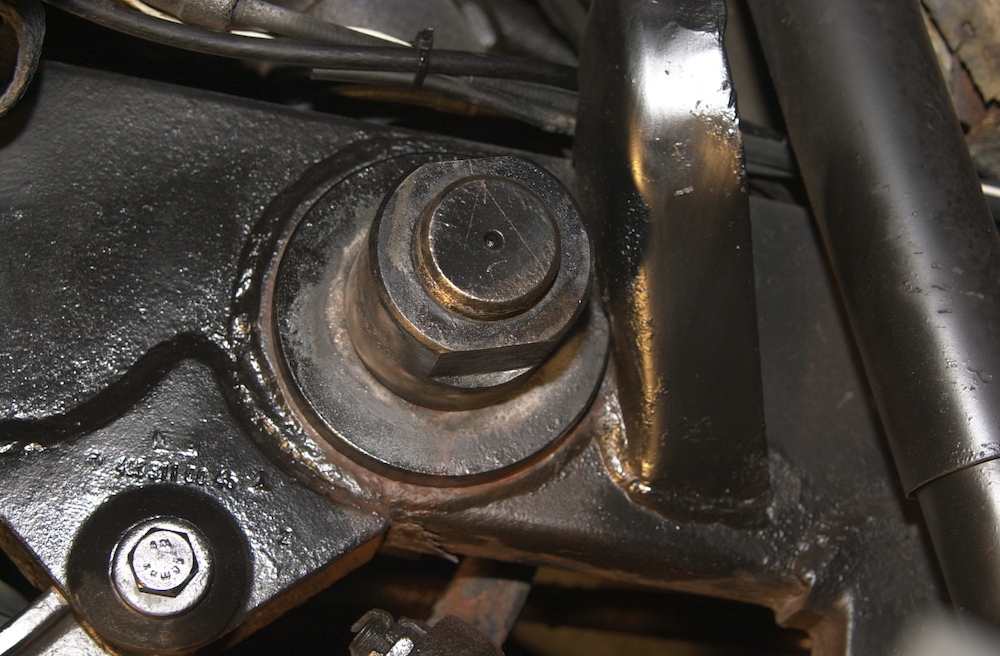
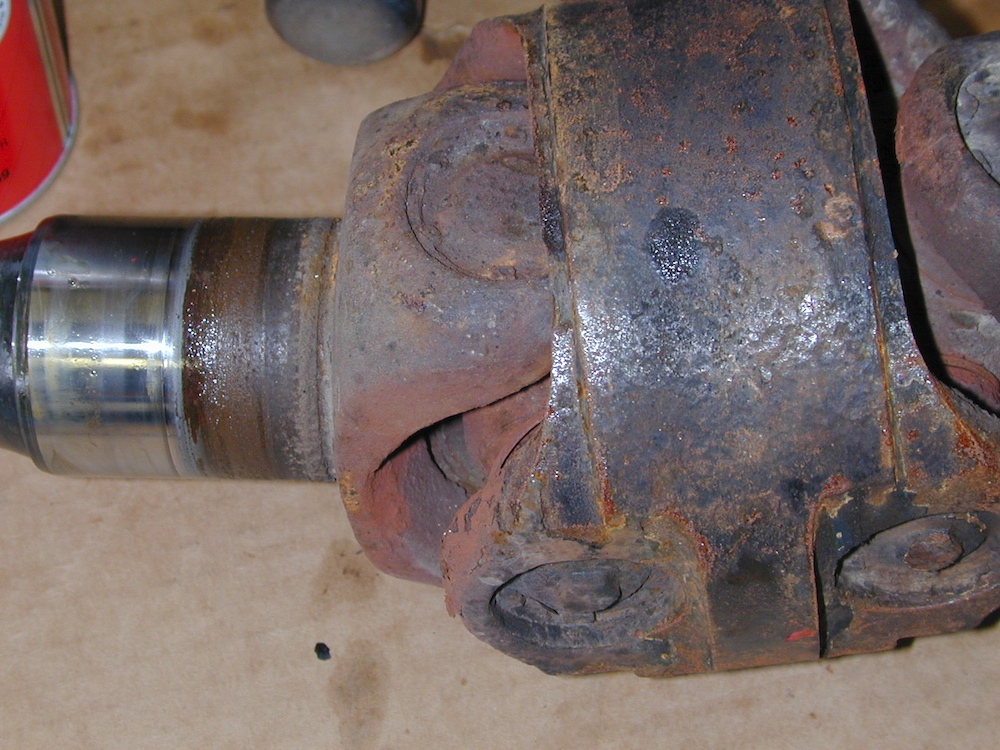
The axle tube had a splint inserted and it was that way when Kai bought the truck. He knew that there was an issue, but it only recently started acting up.
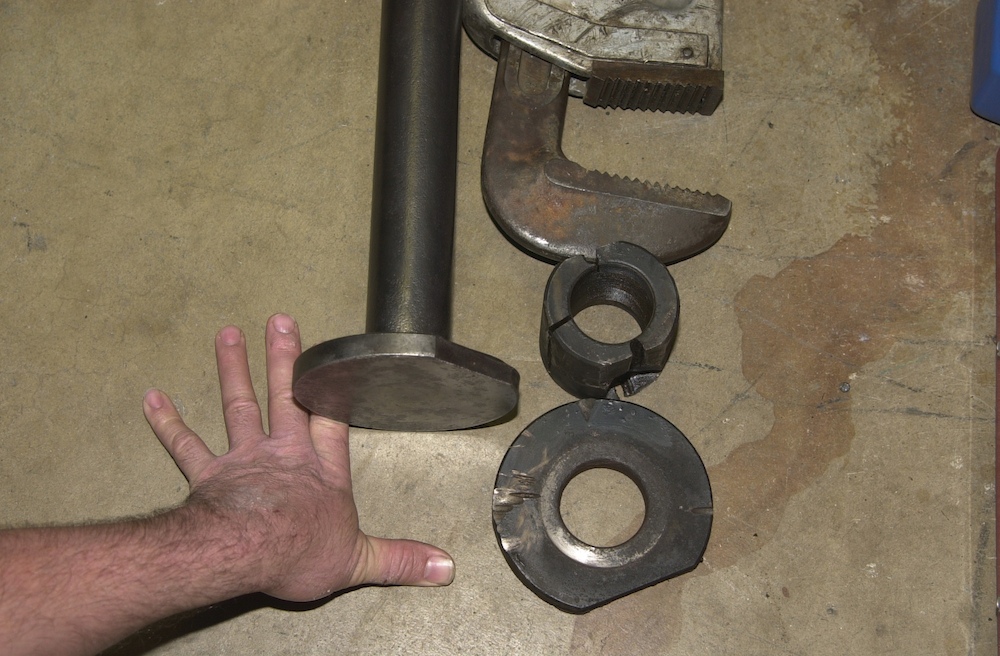
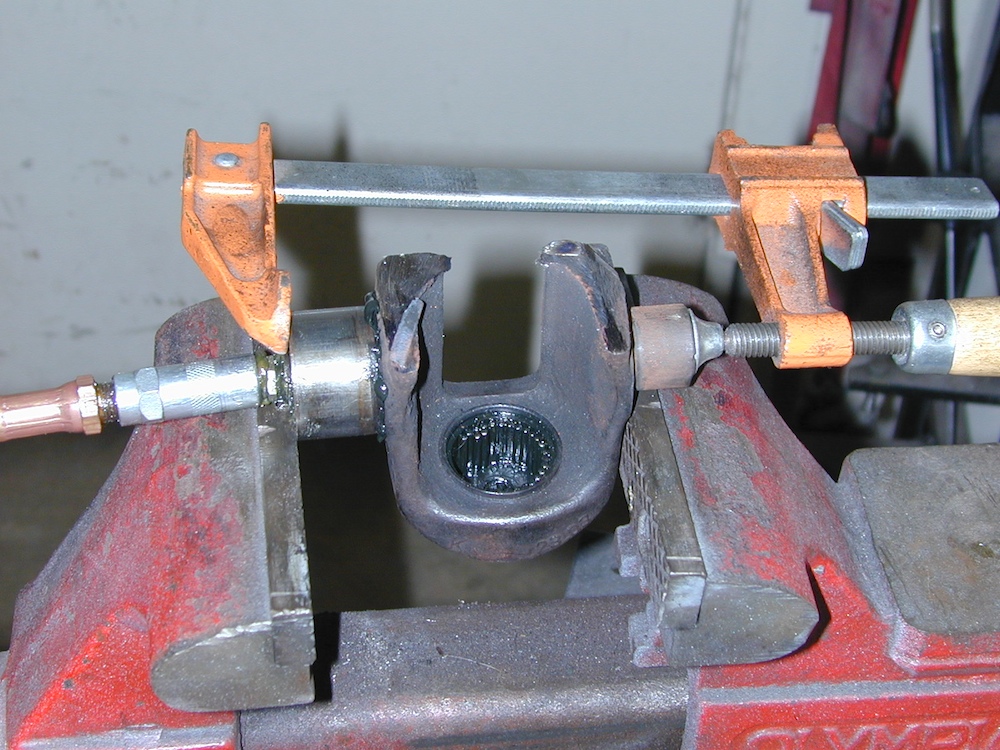
The splint was a big chunk of steel bar and a huge washer and nut. The wrench was required to get it unscrewed.
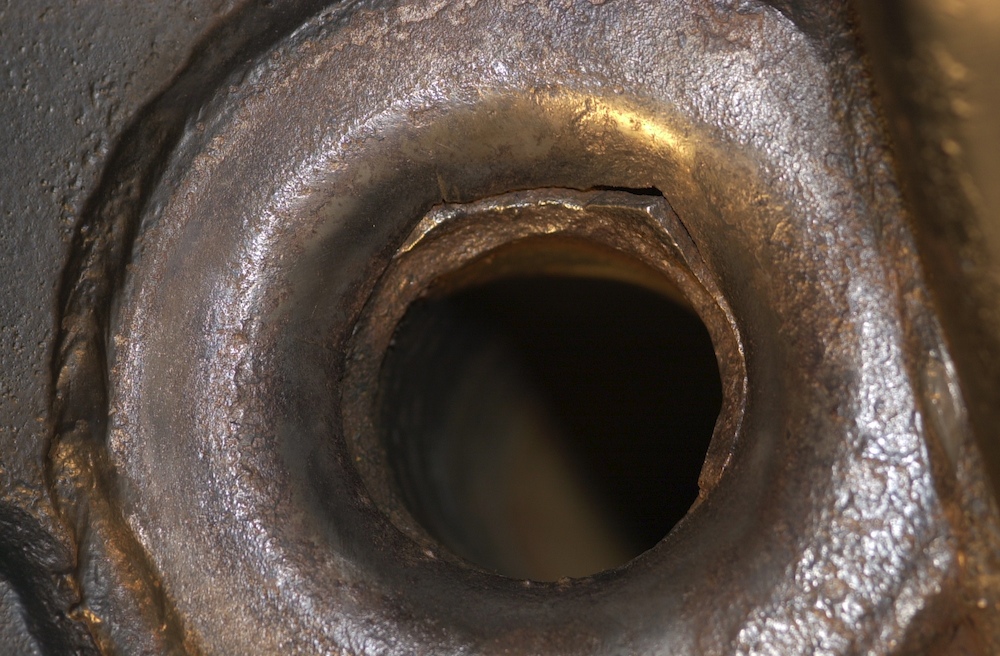
Once the splint was removed, the cause of the instability was clearly apparent.
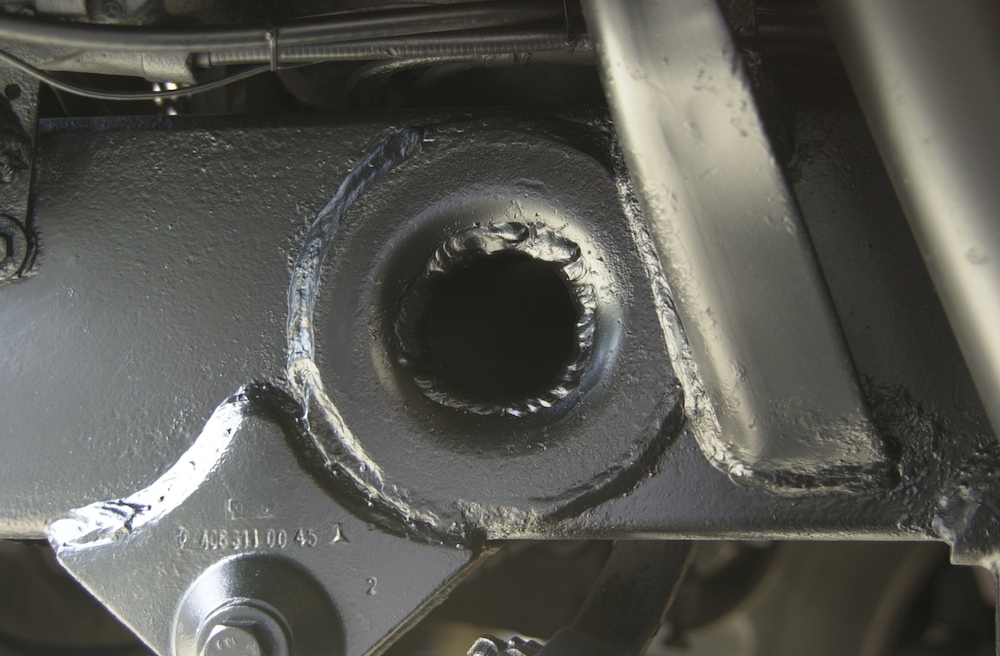
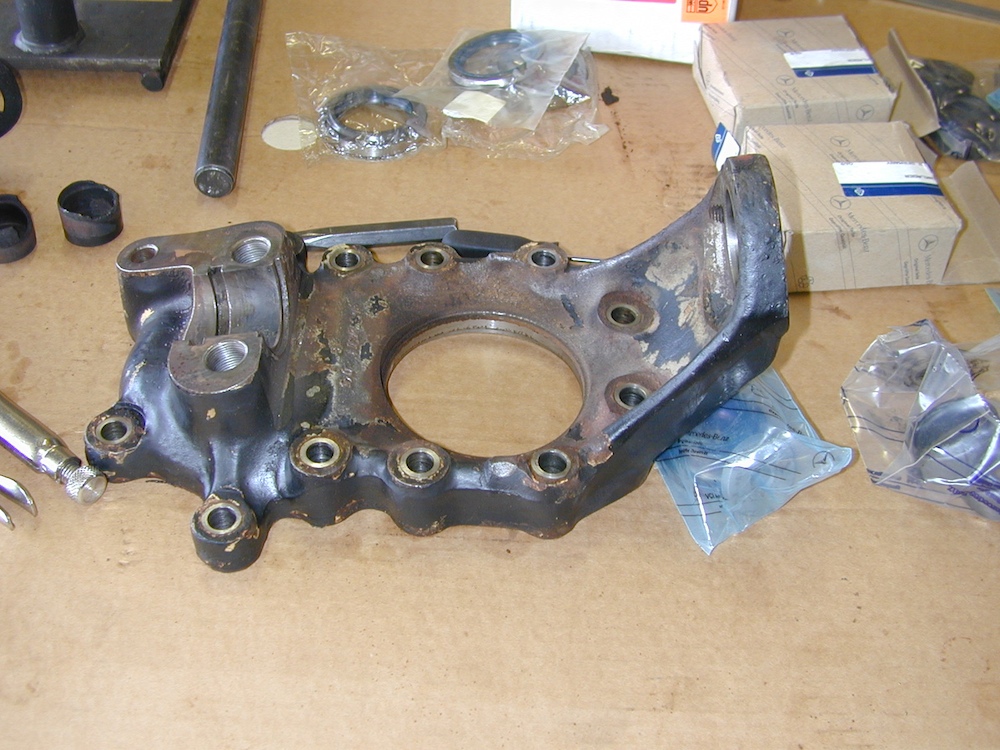
The area was cleaned and then "stick" welded to attempt to join the components solidly together. Note the chassis number along with the Mercedes 3-point star at the lower left of the photo.
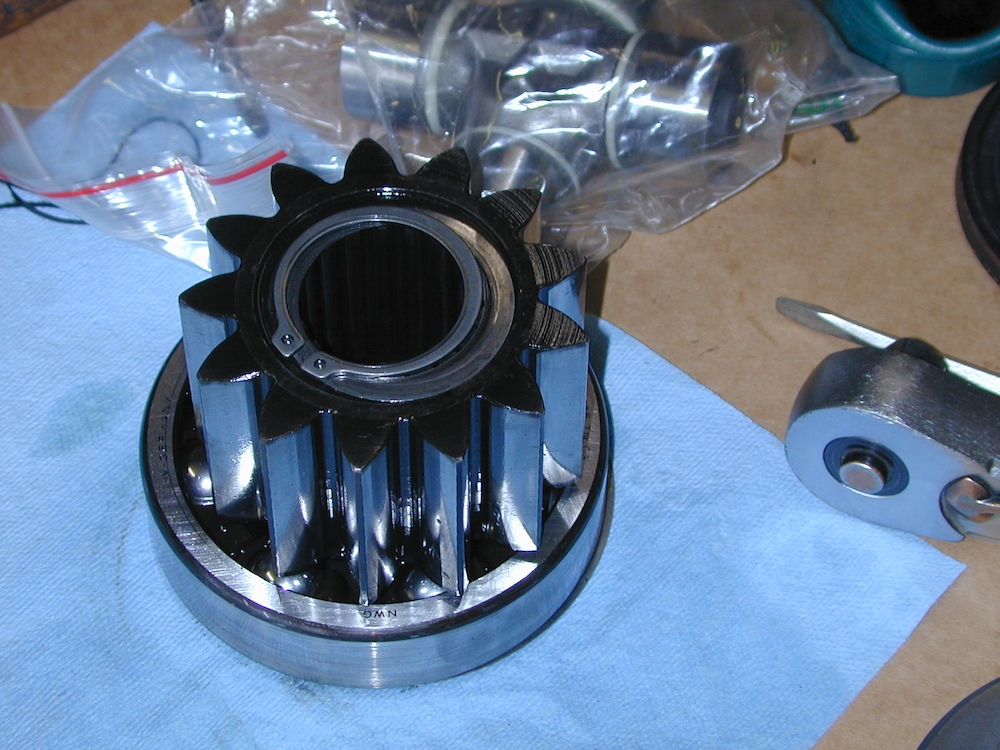
One of the (new) gears from the front hub assembly.
Existing and new components. Note the roasted U joint ends at the left of the photo.
Those cups and the end of the axle look pretty gnarly. The axle component was replaced.
The yoke for the CV joint was in pretty bad shape from the heat of friction and the salt water corrosion.
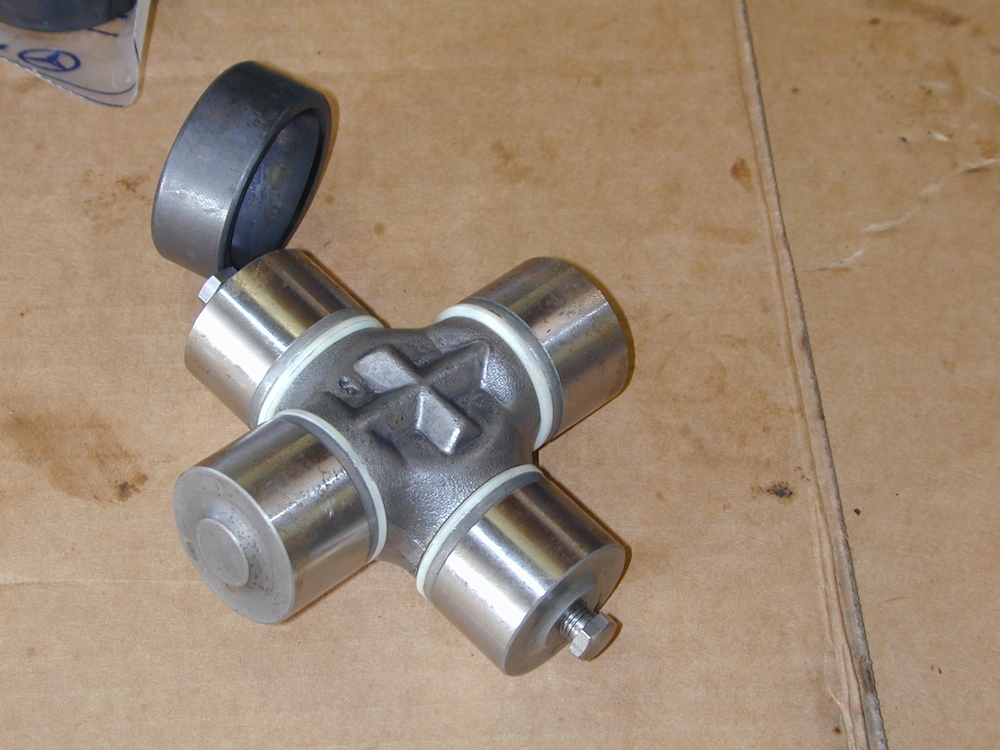
The new joint is nice and spiffy.
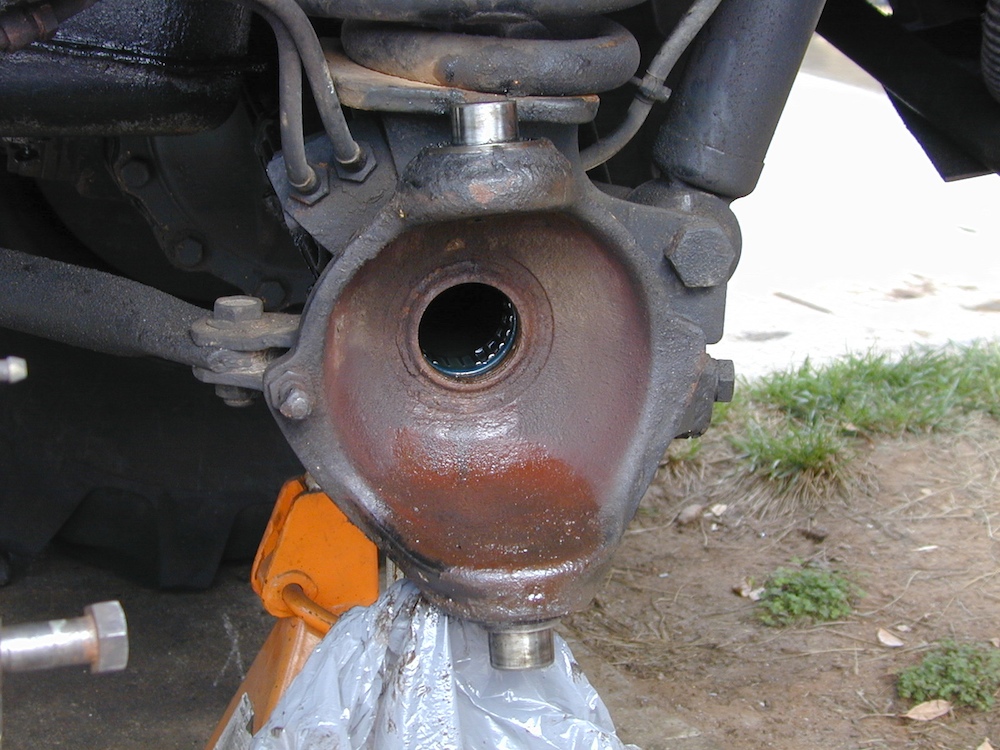
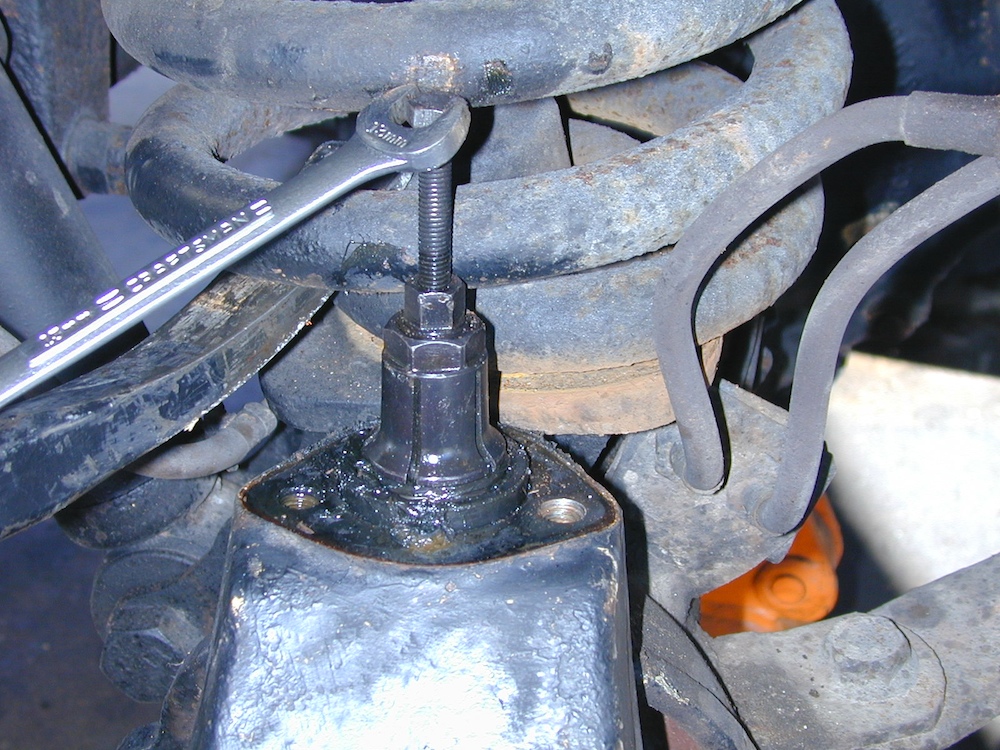
King pin ends on the outboard end of the axle.
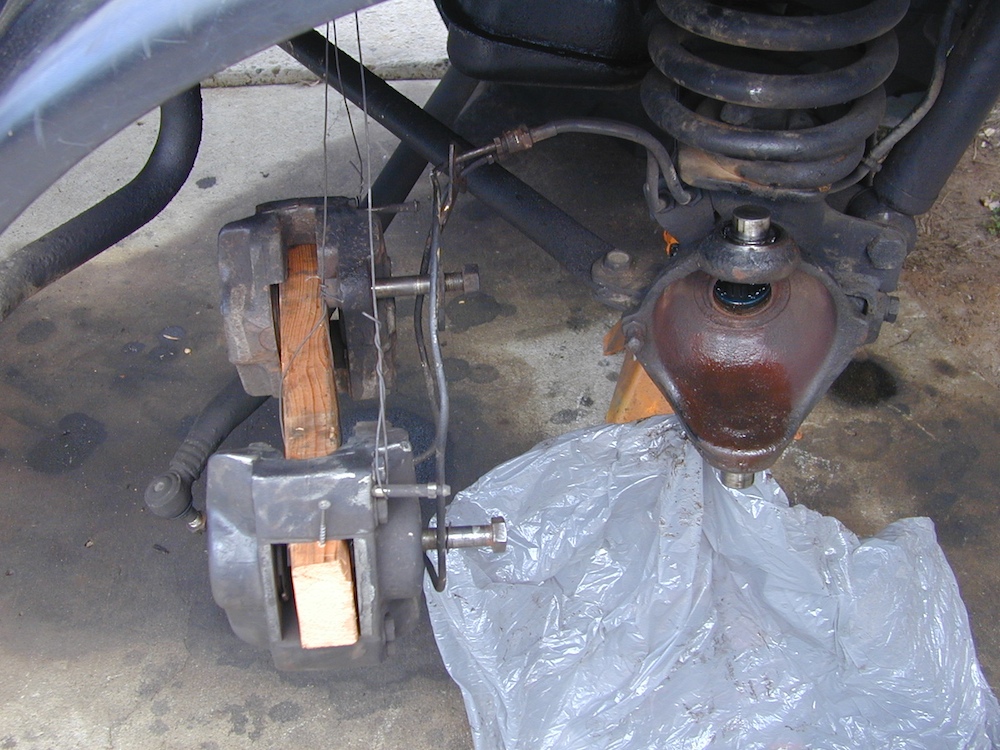
The brake caliper assembly is hung from wire to prevent air getting into the lines. Note the wood in the piston area to prevent the pistons from coming out.
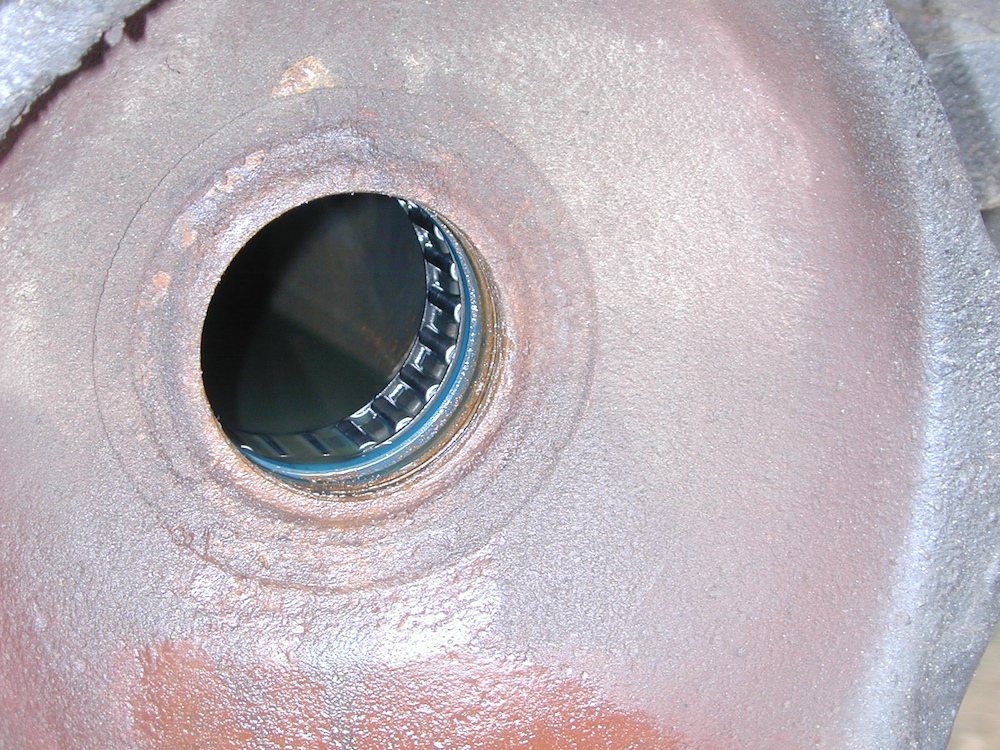
Roller bearings at the end of the axle housing.
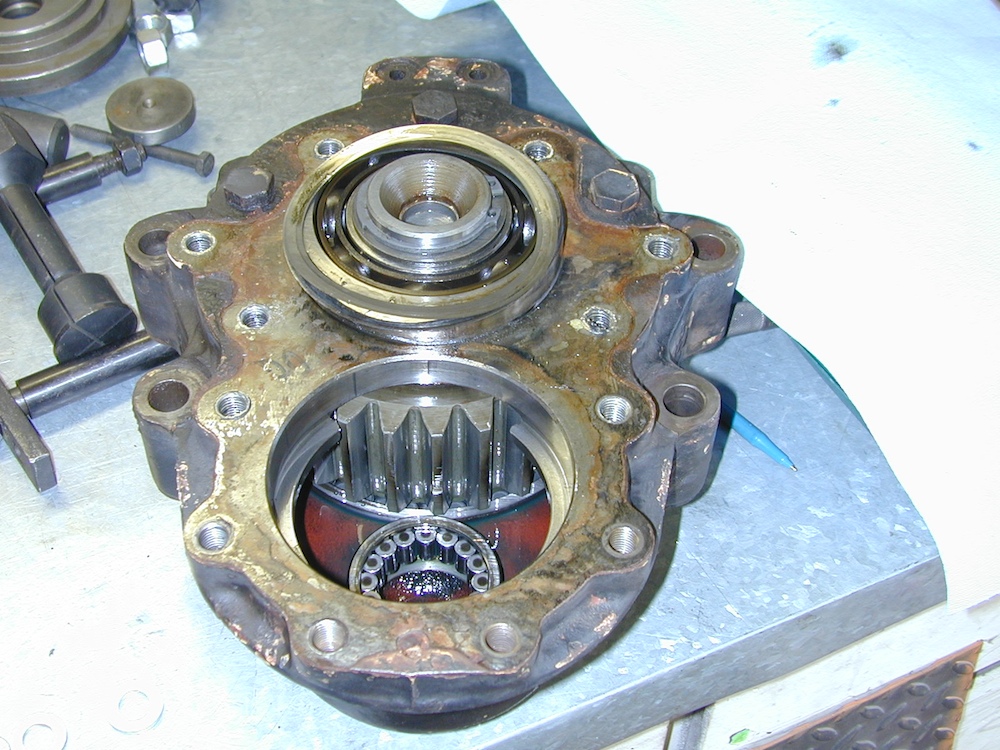
The hub assembly, but I am not sure if this is the" before" or "after".
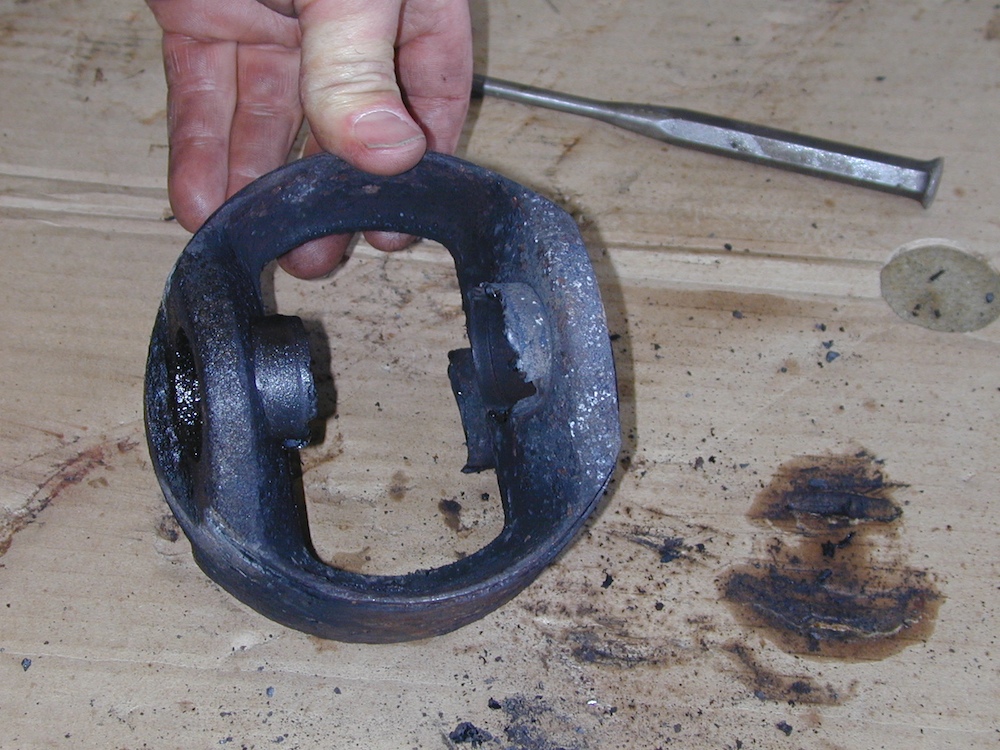
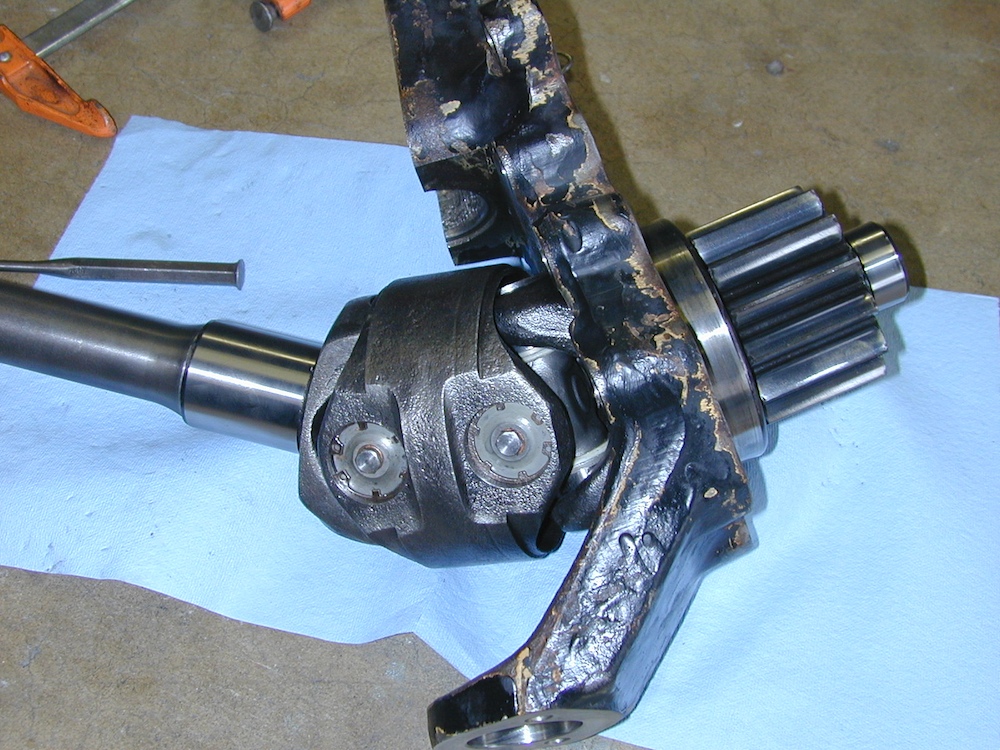
This yoke is toast.
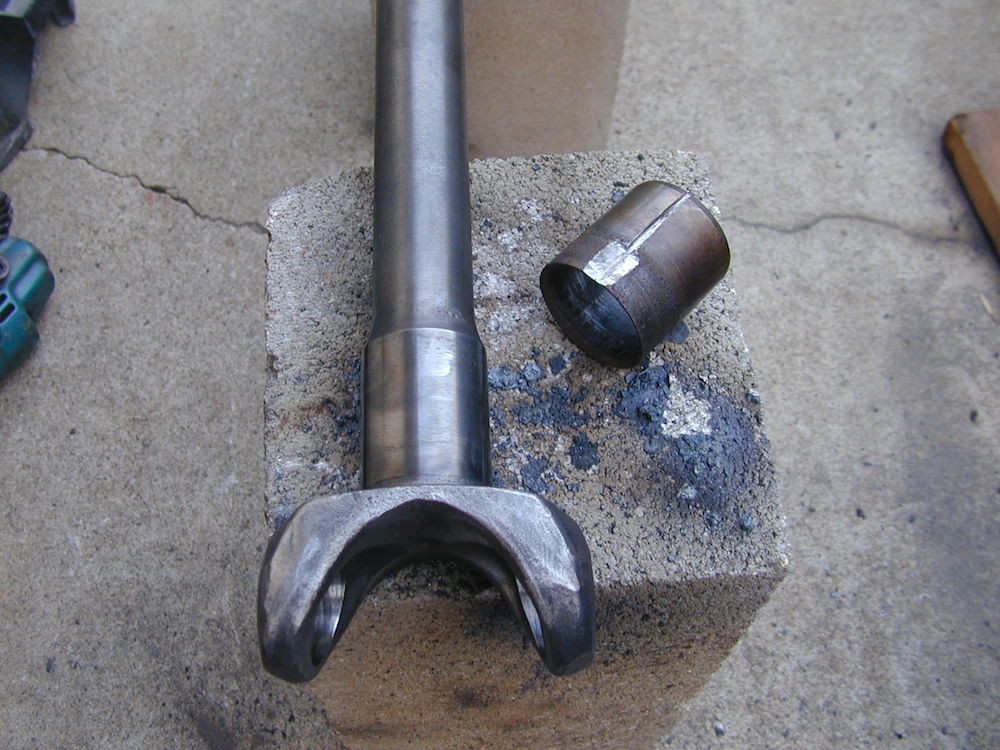
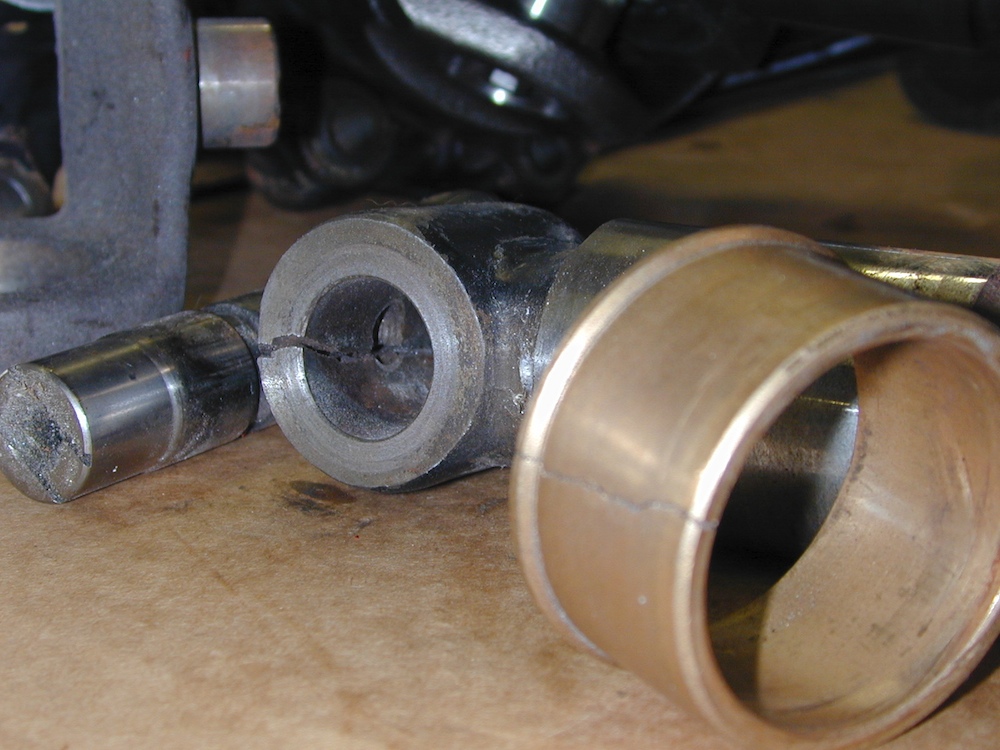
The wear ring had to be cut off the axle shaft. Note the pits on the ring.
The new shaft and yoke look pretty good.
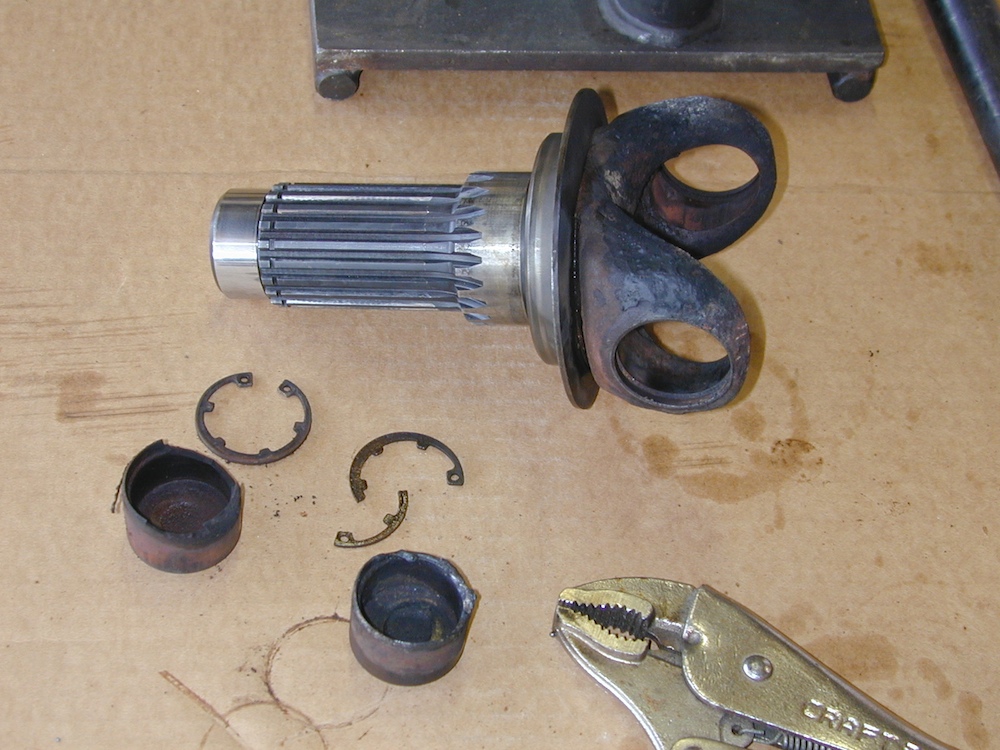
Shaft and CV joint mated with gear.
A new shaft with CV joint.
Note the cracks in the old shaft and the bearing surface.
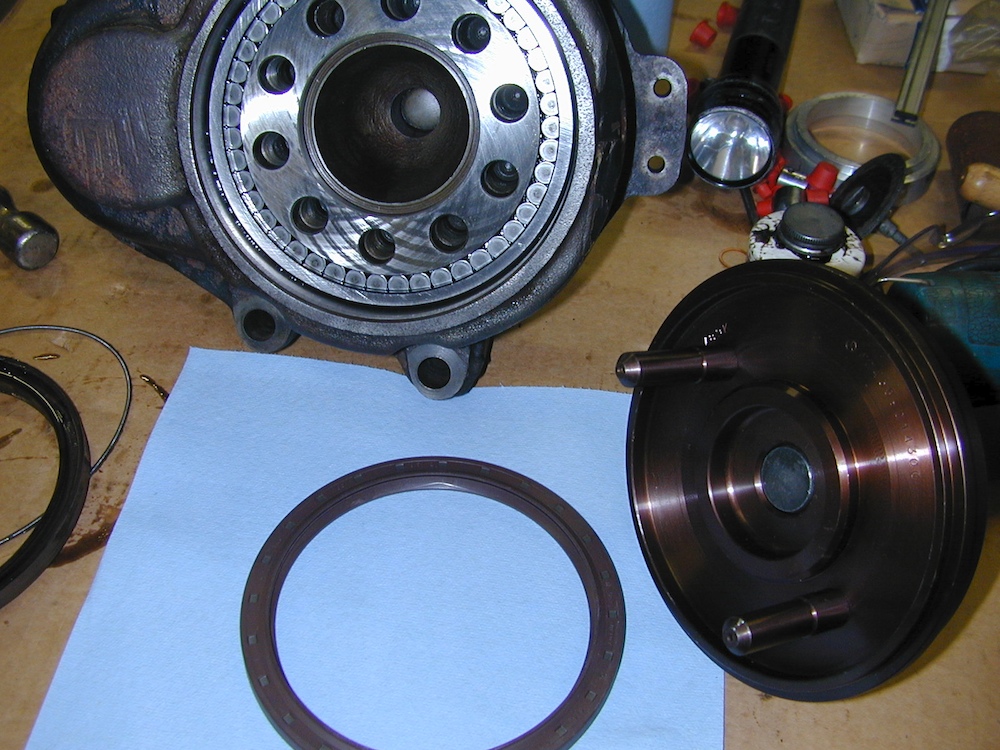
New bearings tapped into housing with tool on the right. The new oil seal is at the bottom center awaiting assembly.
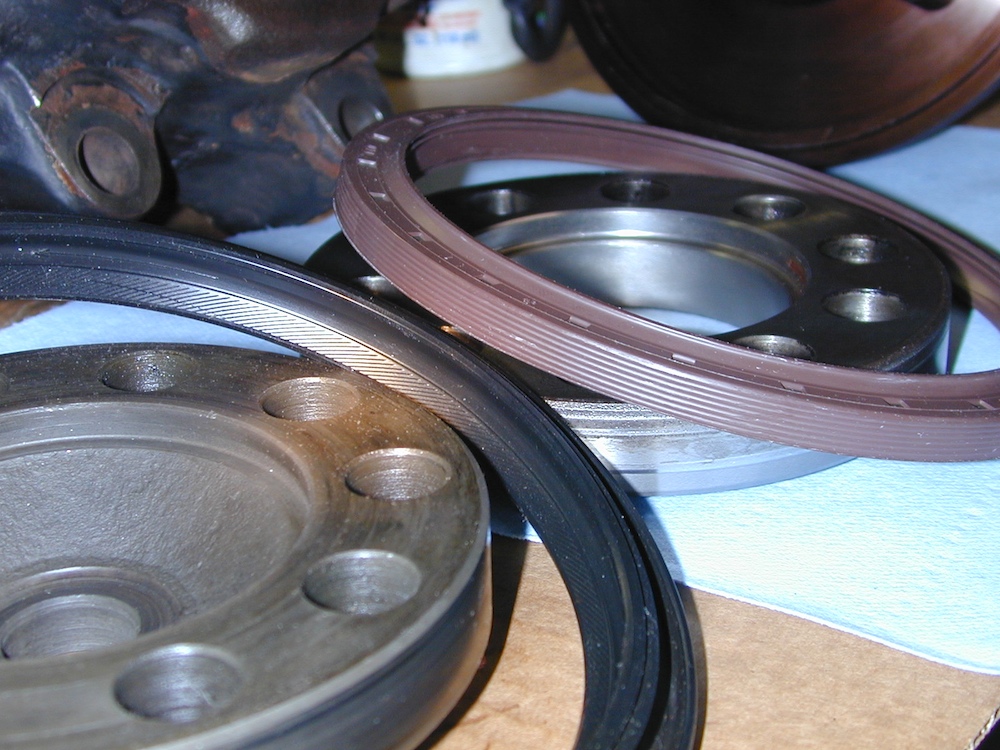
More oil seals and axle gear wear rings.
Completed assembly, with axle shaft and CV joints attached ready for insertion into axle housing.
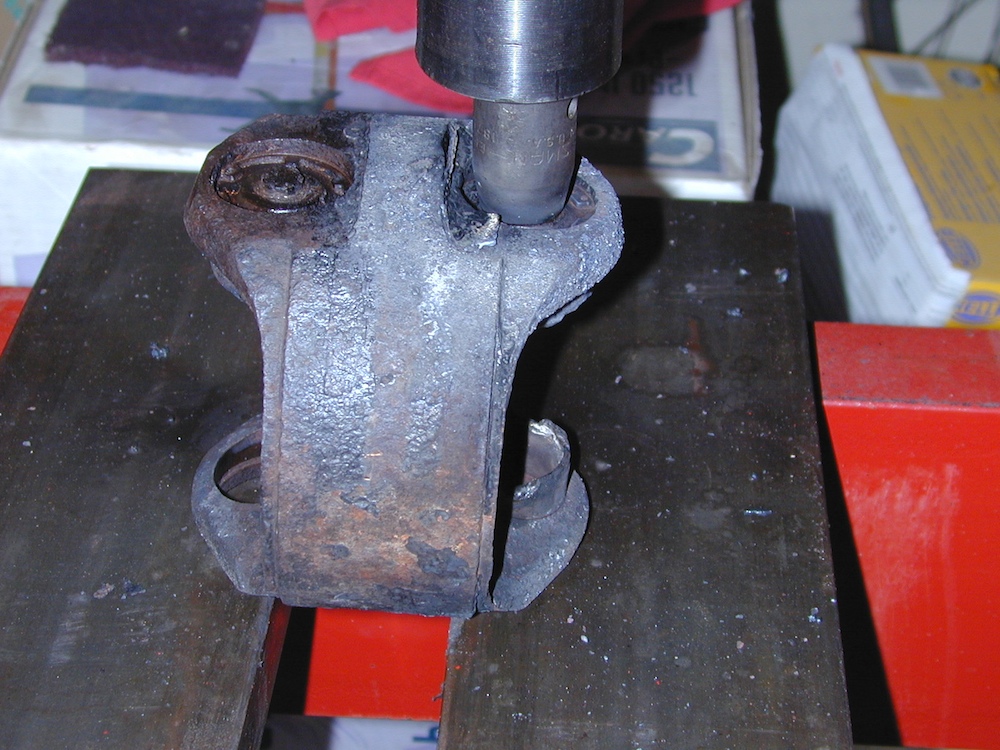
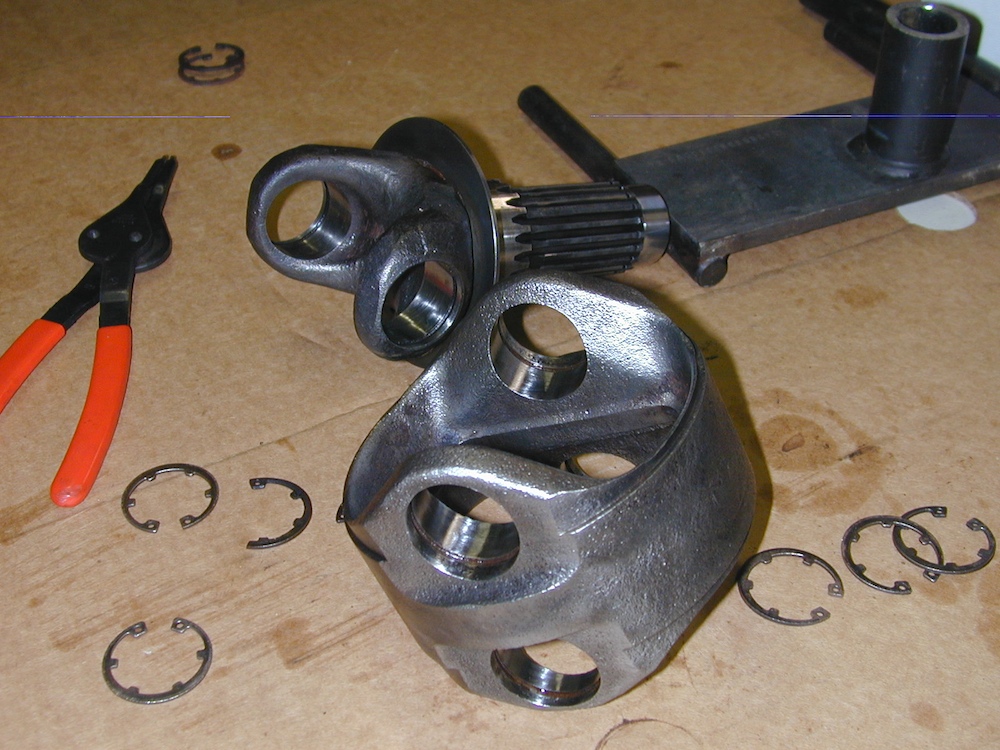
Taking the other side apart. The tool is pulling the bearings on the king pin.
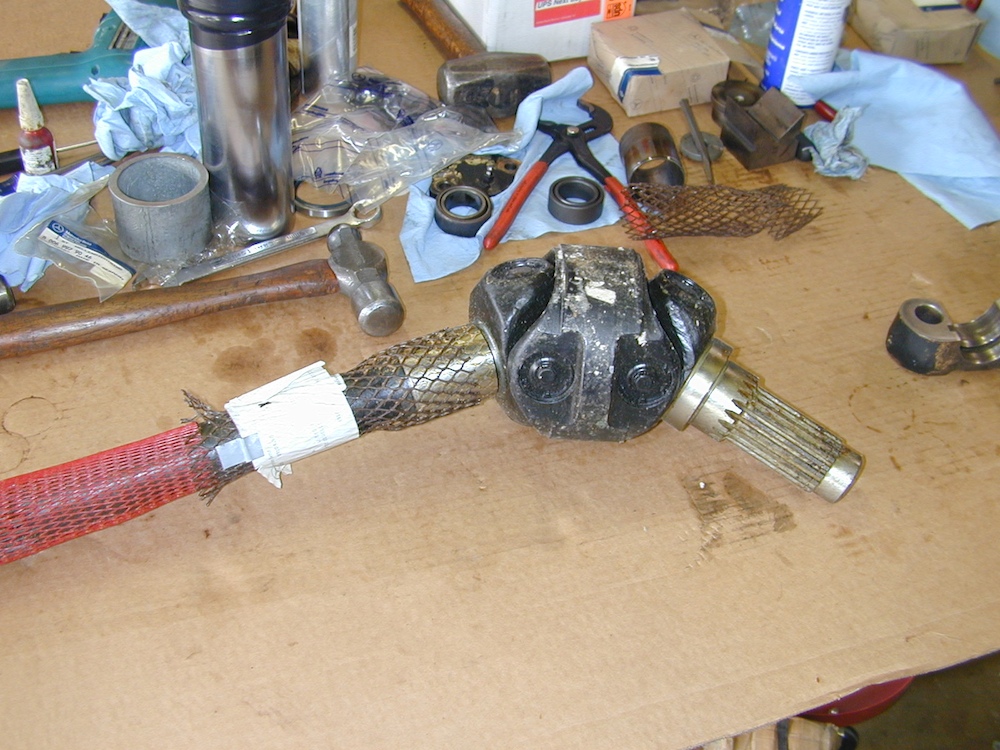
This joint and yoke look shot as well.
This part of the yoke broke apart during the disassembly. Likely this was just as well as it caused a replacement sooner rather than later.
Kai spent a ton of time doing this work on his truck. Given the age of the components and the hard service they had seen in a salt water environment, it was a wonder that they lasted as long as they did. The repair was a success and the truck still drives well 8 years later.